
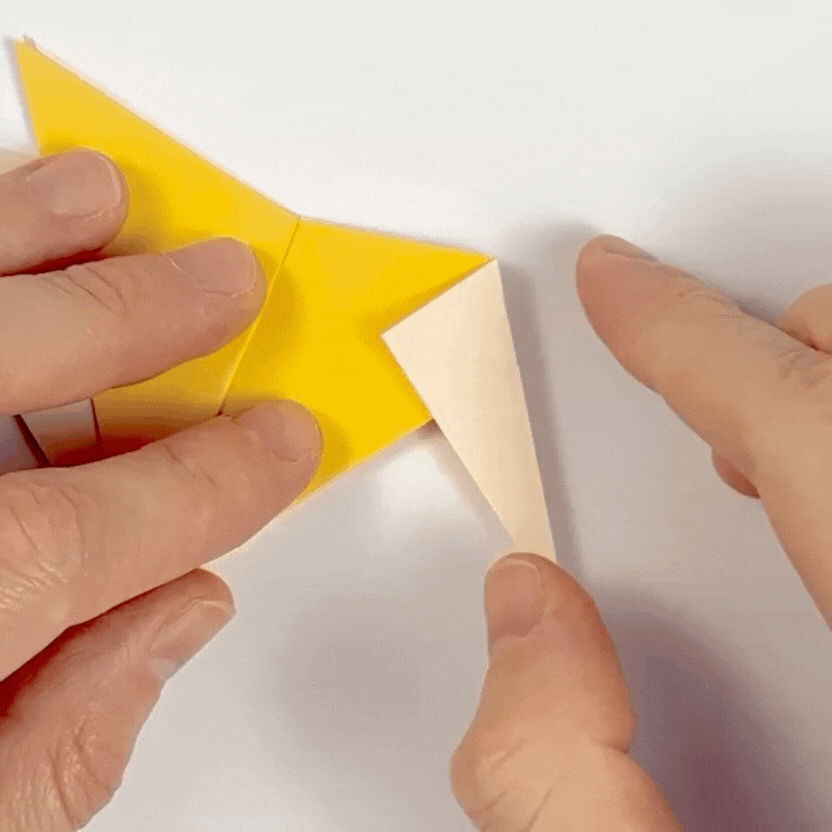
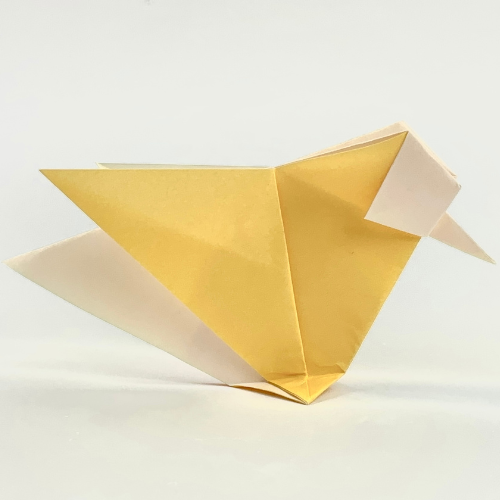
How to Fold an Easy Origami Sparrow
This charming origami sparrow was designed by Simon Andersen and is a joy to fold. It’s a beginner-friendly model with no tricky steps, making it perfect for anyone looking to explore bird folds without the frustration.
One of the highlights of this model is the elegant color change at the head and tail, a detail that really shines when using patterned or dual-colored paper.
Whether you go with a soft floral, a bold geometric pattern, or classic kraft paper, the results always feel expressive and full of character. The compact body, pointed tail, and neat little beak give it a quiet personality that works well on its own or as part of a flock.
Origami Sparrow Step-by-Step Instructions
- Difficulty: Easy – Beginner Level 3
- Folding time: 5-10 minutes
Recommended Paper
15×15 cm (6×6 in) Kami or Chiyogami
Step 1
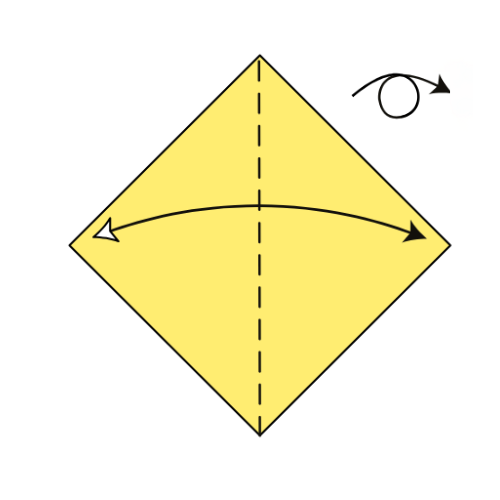
Start with the colored side facing up. Fold and unfold the vertical diagonal. Then, turn the paper over.
Step 2

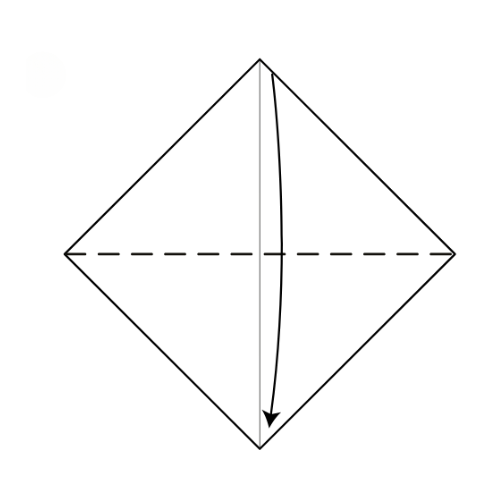
Fold the horizontal diagonal from top to bottom.
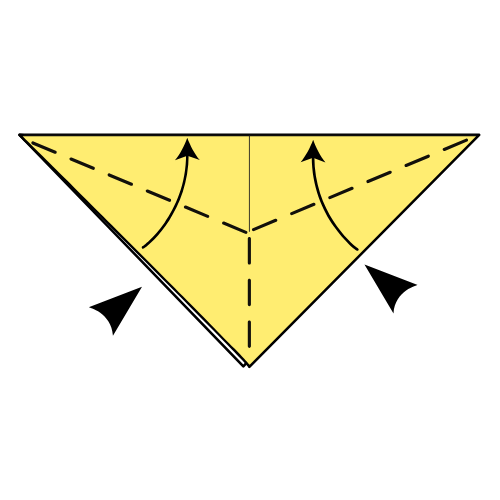
Step 3

Fold the left and right edges up to the top edge. For each side, crease only from the corner to the centerline, then unfold.
Step 4
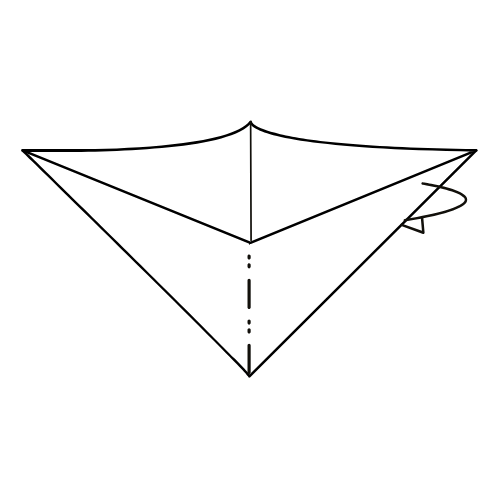
Fold the bottom edges of the top layer up along the creases you just made. The paper won’t lie flat at this point.
Mountain fold the model in half from right to left.
Step 5


Rotate the model about 110° counterclockwise.
Step 6

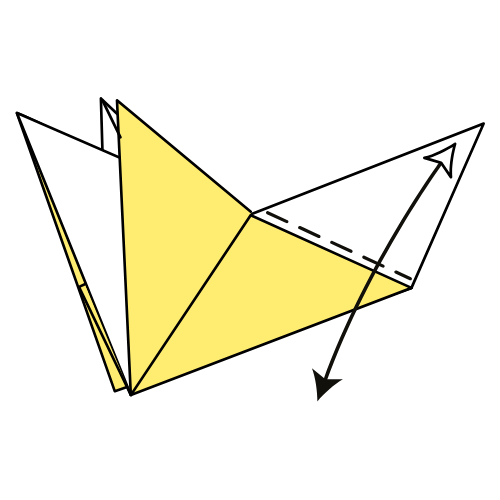
Fold the bottom corner up to meet the top left corner.
Step 7

Fold the flap you just made in half.
Step 8

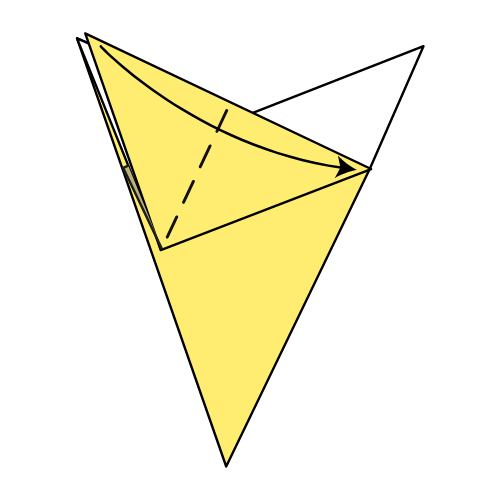
Fold and unfold the top flap along the dashed line. The crease should run from the bottom left corner to the point where the top two edges meet.
Step 9

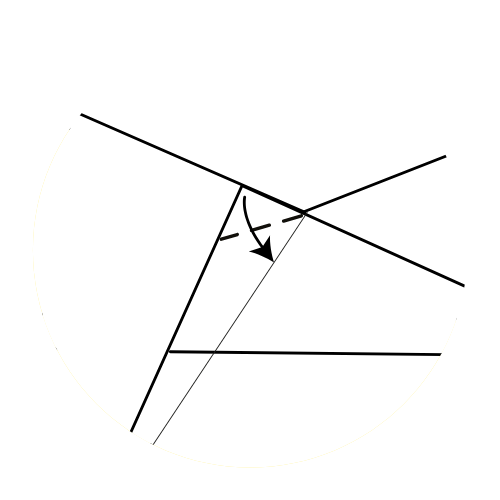
Fold the top corner of the flap down to meet the crease you just made.
Step 10

Fold the top flap to the left along the crease from Step 8.
Step 11

Repeat Steps 6 to 11 on the other side.
🐦 Folding tip: After turning the model, mirror the steps on the right side.
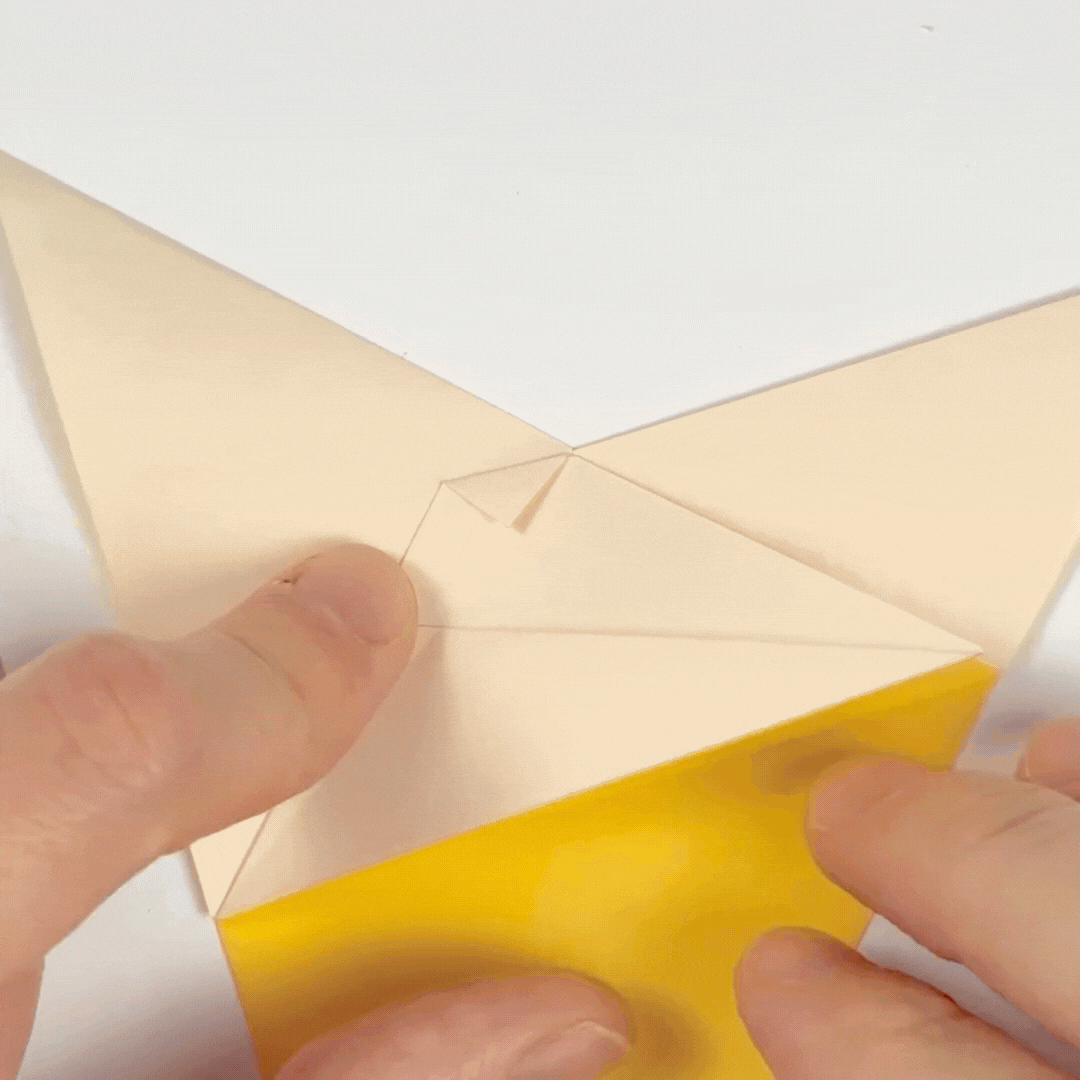
Step 12
Fold the right triangle inward along the line where the two layers meet. Crease well, then unfold.
Step 13
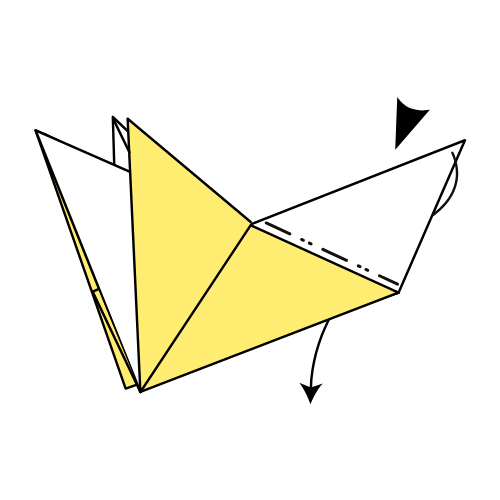
Inside reverse fold along the creases you just made.
Step 14
Fold the right edge to meet the left edge. Then, do the same on the other side.
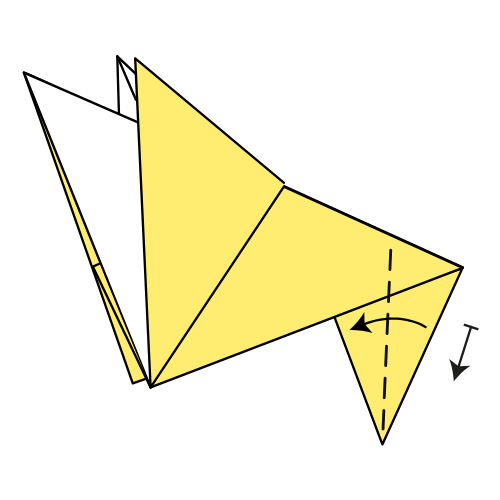
Step 15

Flip the top flap to the left.
Step 16

Fold the bottom corner up to meet the top corner.
Step 17

Fold the flap you just made down so it sticks out from the bottom edge.
🐦 Folding tip: This becomes the sparrow’s beak. Adjust the length if you want a short or long beak!
Step 18

Flip the left flap back to the right.
Step 19

Fold the bottom corner up. Repeat on the other side so your sparrow can stand on its own.
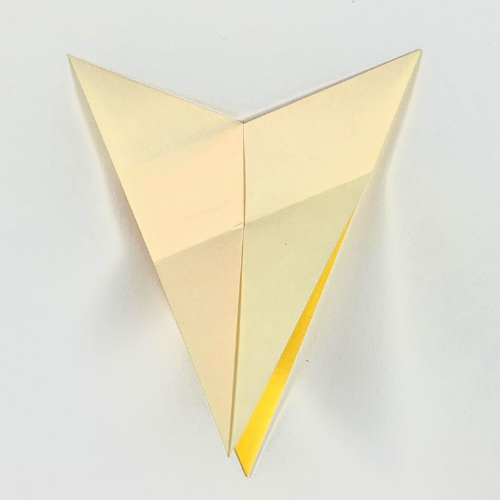
All done! Your origami sparrow is ready to take flight!

If you enjoyed folding this sparrow, try making a few more in different colors, patterns, and sizes to create your own little flock.
For more relaxing origami moments, be sure to join us on YouTube where we share step-by-step tutorials, and sign up for our newsletter to get fresh models, tips, and inspiration delivered to your inbox.

Download the Complete Origami Sparrow Printable PDF Instructions
This printable PDF is part of our Origami Friends membership on Patreon. As a member, you get access to these diagrams, our full library of 120+ printable PDFs, and member-only content.
Watch the Origami Sparrow Video Tutorial
Enjoyed this tutorial?
Subscribe to our YouTube channel for new inspiring origami videos every week!


It’s been a while, but this one was a nice way to get back into it again. Thanks for the tutorials! I see I still have a bunch of new ones to work on hahah
Welcome back, Mustafa. Very nice paper, as always. Thanks for sharing!