How to Fold an Origami Basket Chick
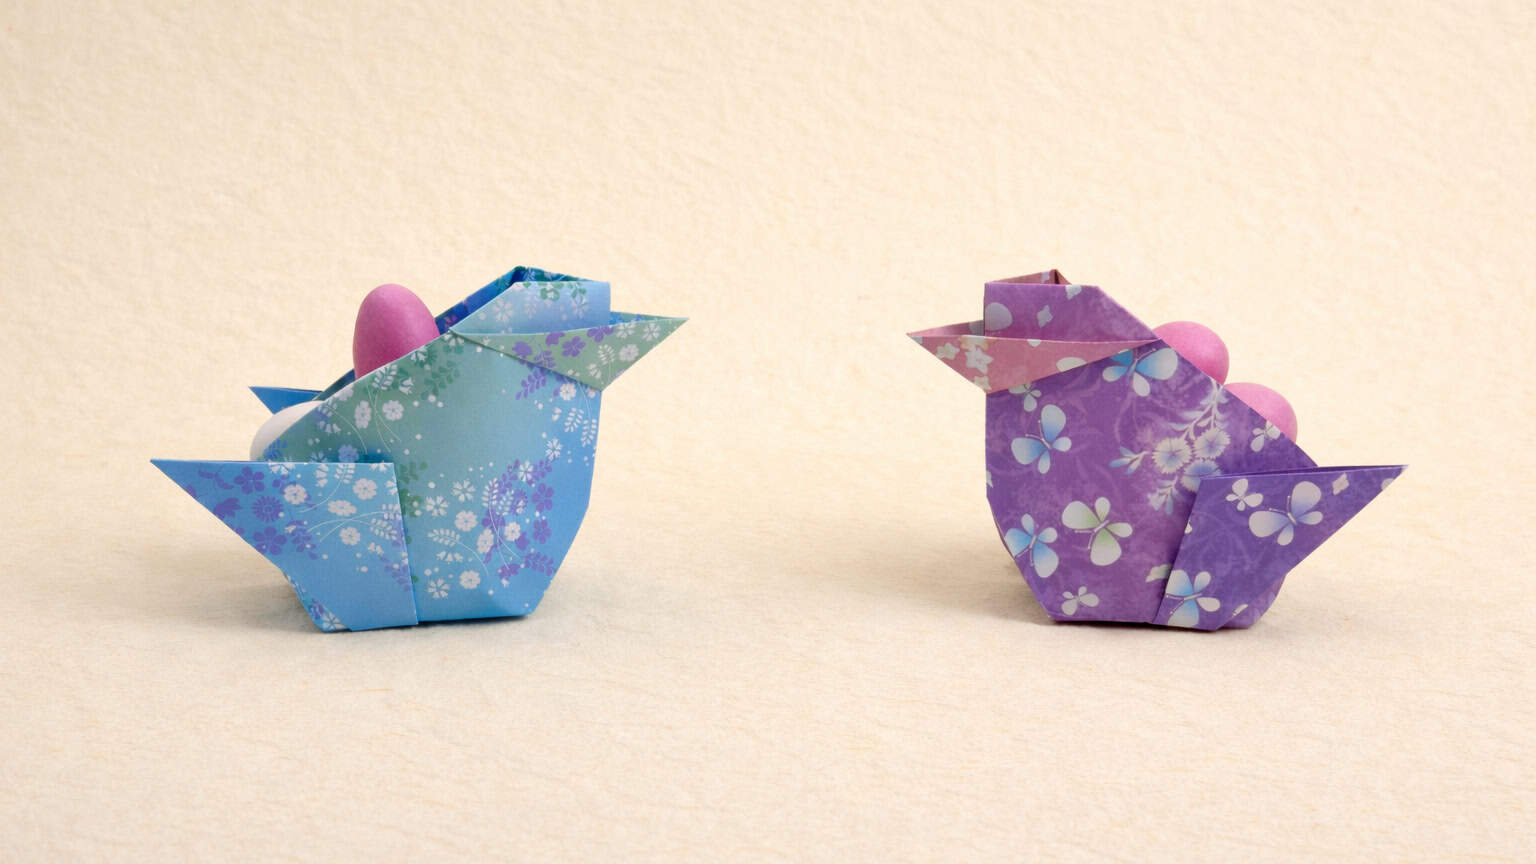
This cute origami chick, designed by Simon Andersen, is a fun and easy model that works great for spring or Easter.
With its hollow center, it can hold small candies, mini eggs, or even a full-sized egg when folded from standard origami paper.
Whether you’re making a festive decoration or just looking for a light, creative project, this little origami chick is a cheerful one to fold.
Origami Basket Chick Step-by-Step Instructions
- Difficulty: Easy – Beginner Level 3
- Folding time: 10 minutes
Recommended Paper
15×15 cm (6×6 in) Kami
Step 1


Start with the white side of the paper facing up. Fold it in half vertically, then unfold.
Step 2


Fold the top edges inward to meet the centerline.
Step 3


Fold the top corner down to the line created in Step 2, where the colored and white sides of the paper meet. Then, unfold.
Step 4

Fold the top corner at the back of the model along the crease made in Step 3.
Step 5

Fold the top left and right corners inward along the dotted lines.
Step 6


Turn the paper over.
Step 7

Pinch the bottom corner of the top flap and flatten it along the dotted line while folding the right side to the back.
Step 8


Fold the bottom right corner up to the reference point. Crease well, then unfold.
Step 9

Inside reverse fold along the creases made in Step 9.
Step 10


Fold the bottom corner of the top flap up to the reference point located under the beak. Repeat this step on the back side.
Step 11


Fold the wing along the dotted line, then repeat on the back. The crease should run from the bottom angle to the top edge of the wing.
Step 12

Mountain fold the bottom corner inward along the dotted line, then repeat on the back.
Step 13

Gently open the flaps at the top of the model in opposite directions. Pull slightly to flatten the inner flap and create a hollow space inside.
The Completed Origami Chick


And there you have it. Your basket chick is complete!
Fill it with treats, display it on the table, or tuck it into a spring gift.
It’s a simple model with lots of charm and is perfect for adding a handmade touch to Easter or any time of year.
If you fold some, we’d love to see them. Share a photo in the comments or tag us on social media.

Download the Complete Origami Chick Printable PDF Instructions
This printable PDF is part of our Origami Friends membership on Patreon. As a member, you get access to these diagrams, our full library of printable PDFs, and member-only content.


This was amazing!i loved it useful for presents and it was nice to make it