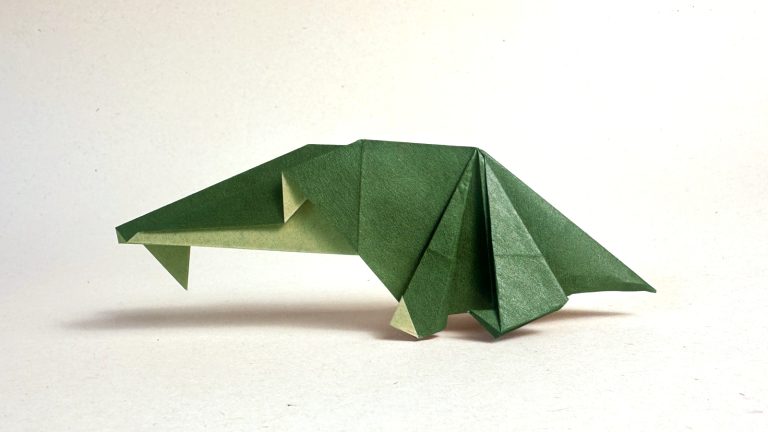
How to Fold an Easy Origami Cicada
The traditional origami cicada is one of the oldest recorded insect models in origami history, with this version, folded from the origami samurai helmet, dating back to 1845.
It is a simple but clever design that captures the cicada’s distinct body shape using just a few folds. This model is a great introduction to traditional origami models and a fun, accessible project for beginners.
The flat, angular look gives it a timeless feel that has helped it endure for generations.
Traditional Origami Cicada Step-by-Step Instructions
- Difficulty: Easy – Beginner Level 1
- Folding time: Less than 5 minutes
Recommended Paper
15×15 cm (6×6 in) Kami
Step 1
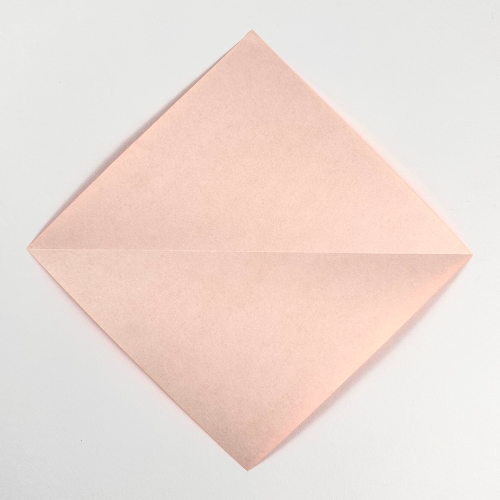

Start with the white side of the paper facing up, in a diamond position. Fold the paper in half from bottom to top along the horizontal diagonal.
Step 2
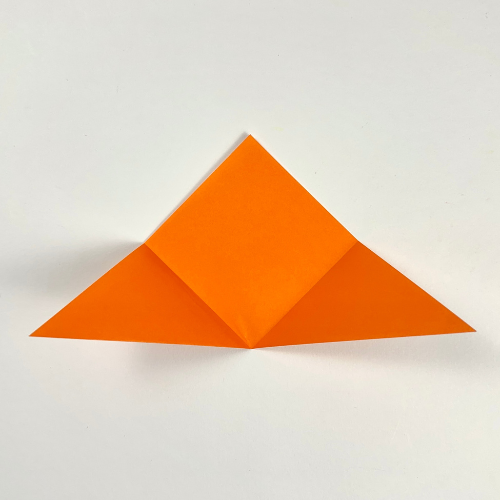
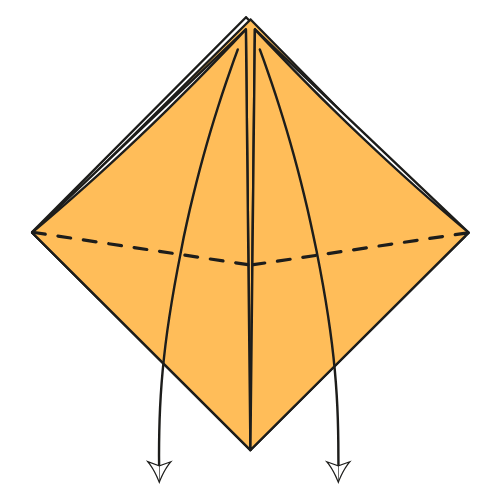
Fold the left and right corners up to meet the top corner.
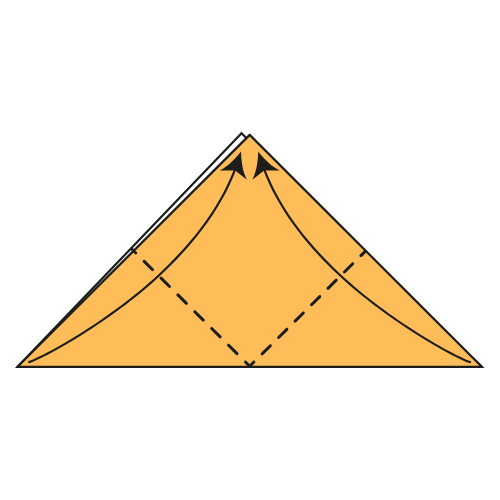
Step 3
Fold the top corners of the top flaps down along the dotted lines. The corners should stick out past the square.
✨ Folding tip: These will become the cicada’s wings. Try to match the angle and placement on both sides for symmetry.
Step 4
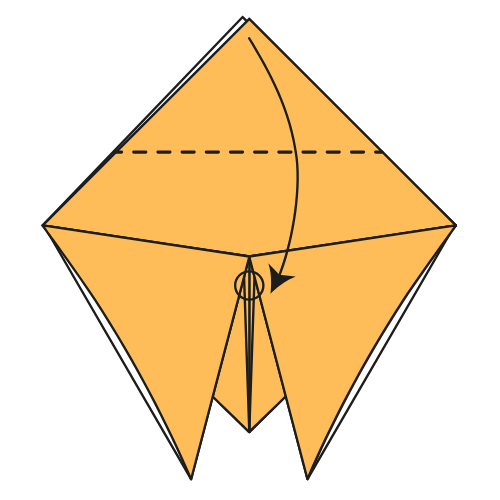
Fold down the top corner of just one layer along the dotted line. It should land on the centerline and slightly cover the wings.
Step 5

Fold the top corner of the remaining layer down, just short of the flap you folded in Step 4. Leave a small gap between them to create a color change.
Step 6

Fold the top edge down along the dotted line. The new flap should be slightly higher than 1 centimeter.
✨ Folding tip: Hold all the layers firmly while folding this step to keep things aligned. You might see thin strips of the white side peeking out on each side. Don’t worry! They’ll be hidden in the next step.
Step 7
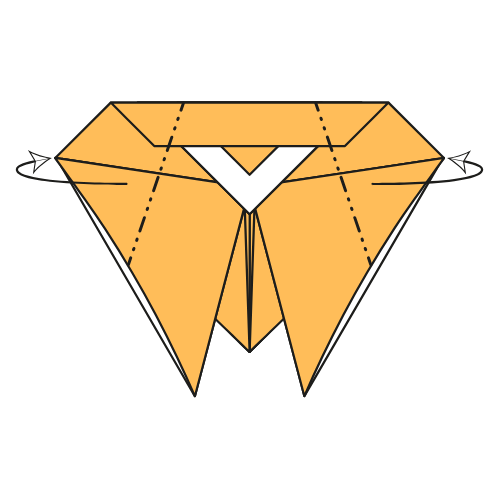
Fold the left and right corners behind the model. Adjust the angle of each fold to your liking.
✨ Folding tip: To match the angles perfectly, fold one side first, then slightly fold the model in half and align with the first crease.
Your Origami Cicada Is Now Buzzing With Style!
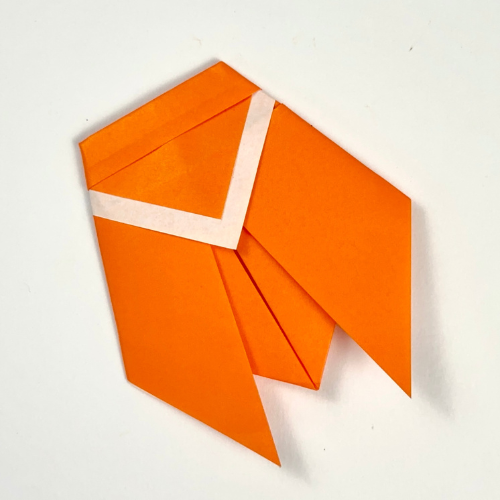

Your cicada is complete. With just a few folds, you have recreated a model that has been passed down through nearly two centuries of origami tradition.
It is always satisfying to fold something with such a long history, a small connection to the past, made with your own hands.
If you are looking for more ways to get creative this season, you might also enjoy these summer craft ideas.
And if you share your cicada online, tag us or leave a comment. We would love to see it.

Download the Complete Origami Cicada Printable PDF Instructions
This printable PDF is part of our Origami Friends membership on Patreon. As a member, you get access to these diagrams, our full library of 120+ printable PDFs, and member-only content.
Watch the Origami Cicada Video Tutorial
Enjoyed this tutorial?
Subscribe to our YouTube channel for new inspiring origami videos every week!