
How to Fold an Origami 5-Pointed Star
This origami 5-pointed star, designed by Nick Robinson, is a fun and satisfying modular model made from five folded units.
Each point starts with a square sheet and comes together to create a clean, dimensional star.
It’s perfect for beginners or anyone in the mood for a quick, eye-catching decoration.
The folds are simple, the assembly is easy, and the finished star works great as part of your seasonal decor.
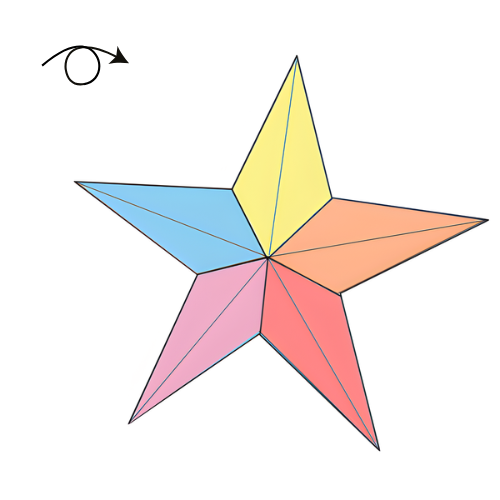
You can stick with a single color for a classic look, or mix five colors to make it more playful or festive, just like I did.
Origami 5-Pointed Star Step-by-Step Instructions
- Difficulty: Easy – Beginner Level 2
- Folding time: 10 minutes
Recommended Paper
5 sheets of 5x5cm (2×2 in) Kami for a 10×7 cm (4×2.75 in) star
Step 1
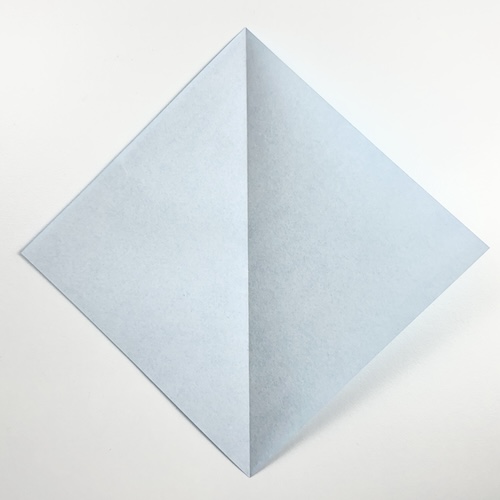
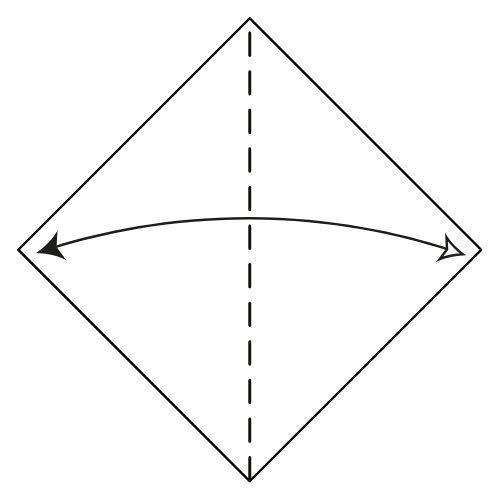
Start with the white side of the paper facing up in a diamond position. Fold and unfold along the vertical diagonal.
Step 2
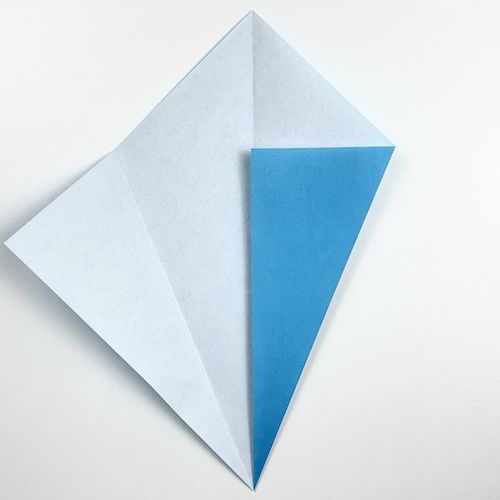
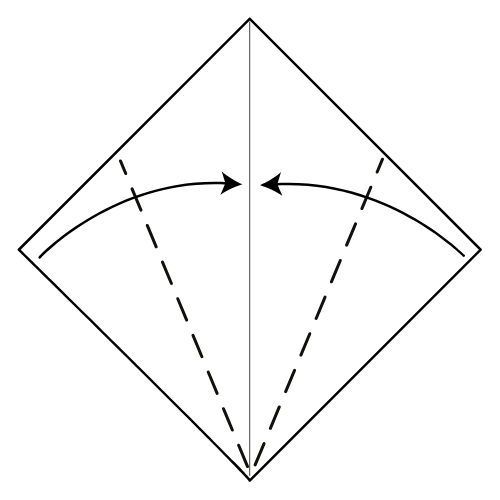
Fold the bottom left and bottom right edges in to meet the centerline.
Step 3
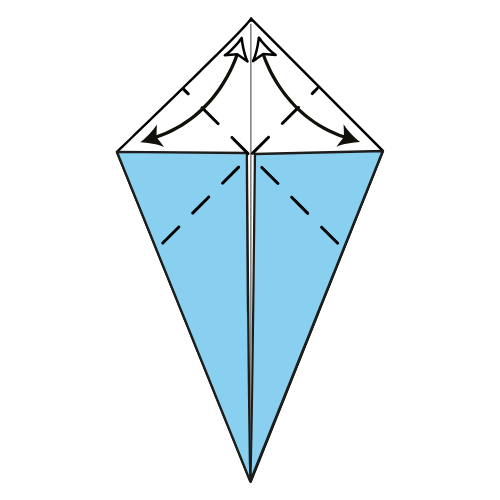
Fold the top corner down to meet the left corner, then unfold. Repeat for the right corner.
Step 4
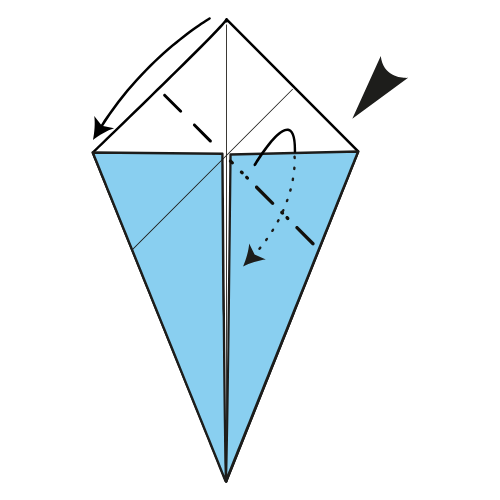
Make an inside reverse fold on the right corner area. The top flap will rest over the left flap.
Step 5


Untuck the left flap so it sits on top.
Step 6
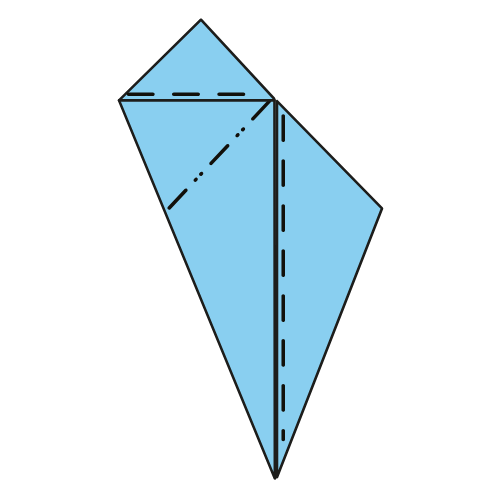
Reinforce the creases you already made (2 valley folds and 1 mountain fold).
Step 7

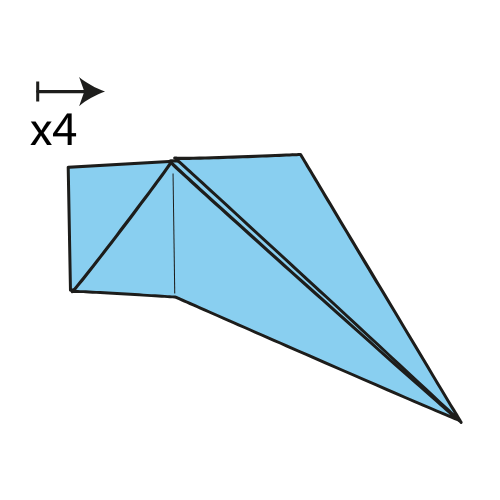
Repeat Steps 1 to 6 four more times. You’ll end up with 5 identical units.
⭐ Note: From this step on, I’m switching to 5×5 cm (2×2 in) kami so it fits better in the camera frame.
Step 8

Take two units. Slide the triangular flap of one unit behind the right flap of the other unit.
Step 9

Tuck the triangular flap of the right unit in between the top layers of the left unit’s right flap.
Step 10

Repeat the same connection three more times with the remaining units to complete the star.
⭐ Folding tip: Use clips to keep the units in place while assembling. It helps keep things aligned!
The Completed Origami 5-Pointed Star

I hope you enjoyed folding this star. It’s one of those models that’s quick to make and always looks good, whether you hang it up or use it as a holiday decoration.
For more tutorials like this one, don’t forget to join our newsletter to get beautiful new models sent straight to your inbox.

Download the Complete Origami 5-Pointed Star Printable PDF Instructions
This printable PDF is part of our Origami Friends membership on Patreon. As a member, you get access to these diagrams, our full library of printable PDFs, and member-only content.


Man I didn’t even make it because I only have rectangle paper at home and when I try to make it square paper it’s not coming correct☹️
You can cut a square from a rectangle by folding an angle bisector. For example by folding the left edge to the top edge. You can then cut the paper strip on the left side. I’ll try to publish a tutorial soon on the site but you can find that on YT.
Here’s how I did my star.
Nice colors! Thanks for sharing 🙂