How to Fold an Origami Sea Turtle
Let’s learn how to fold a traditional origami sea turtle, a simple model with a clean, flat design that works well for cards or decorations.
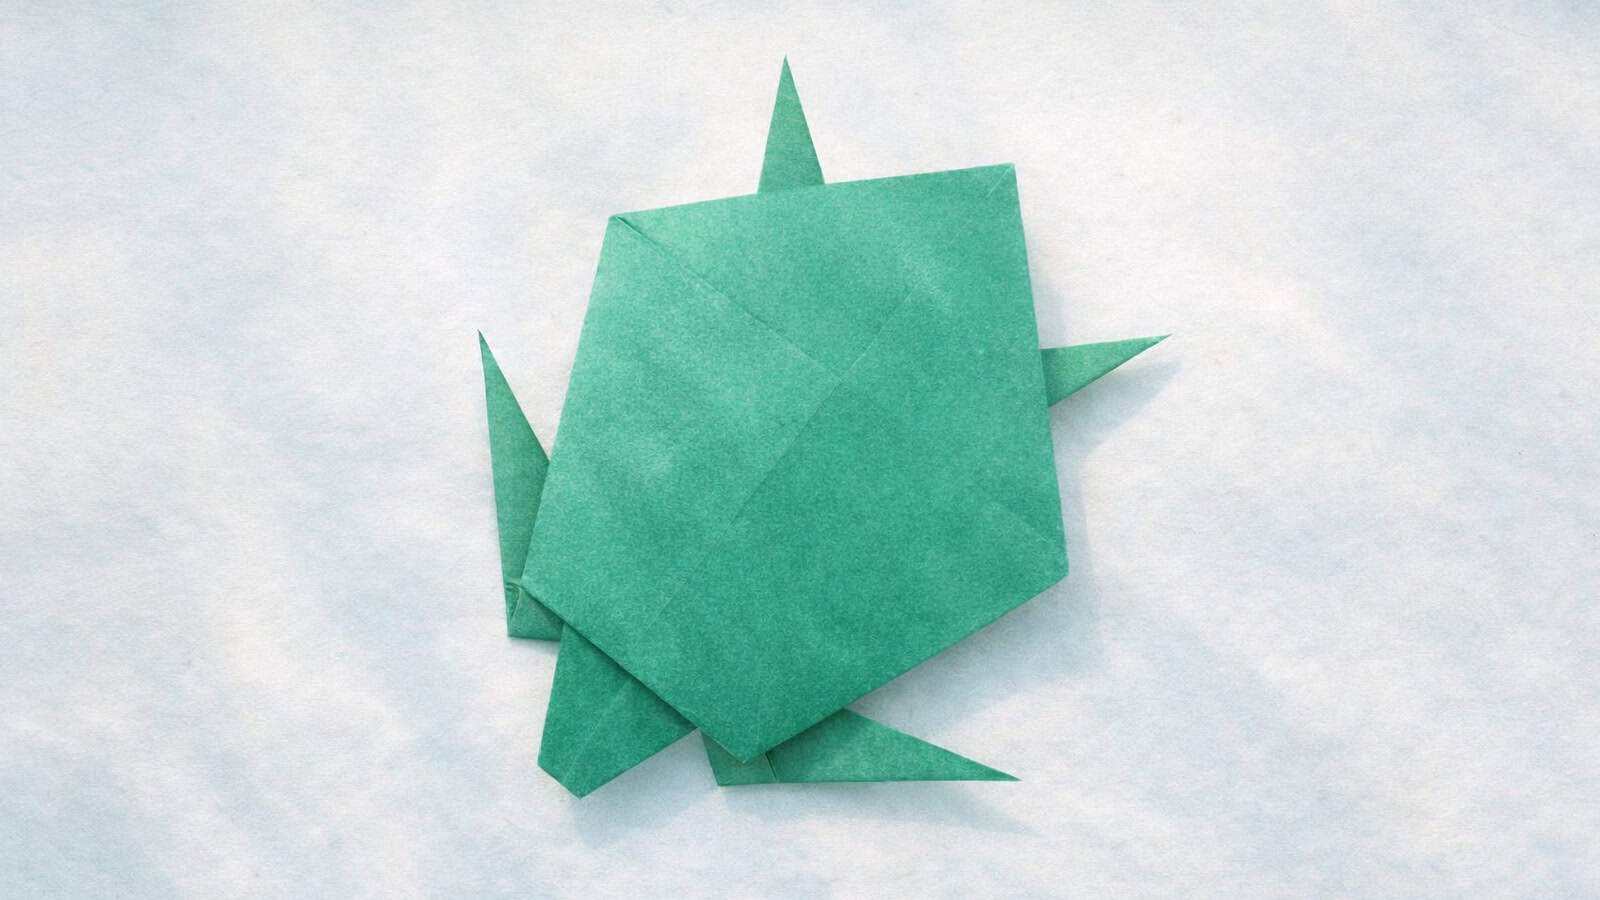
The finished turtle has a broad shell with four pointed flippers extending outward, along with a small head and tail. The low, spread-out silhouette gives it a calm, steady look.
This is a beginner-friendly model folded from a bird base. Most of the steps are straightforward, and near the end, a cut is used to form the back flippers.
If you’d prefer a version without cutting, we also have another origami turtle tutorial on the site that is slightly more advanced.
Origami Sea Turtle Step-by-Step Instructions
- Difficulty: Easy – Beginner level 3
- Folding time: 5-10 minutes
- Material: Scissors
Recommended Paper
15×15 cm (6×6 in) Kami
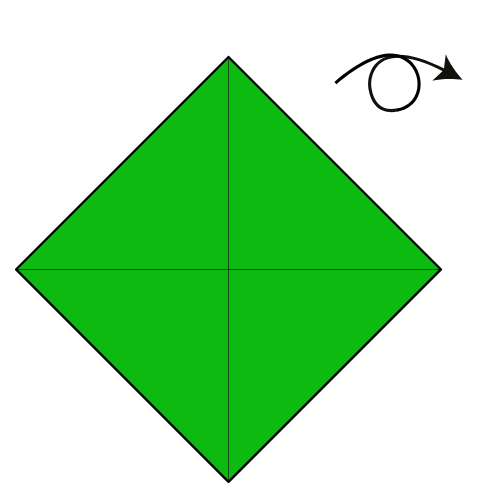
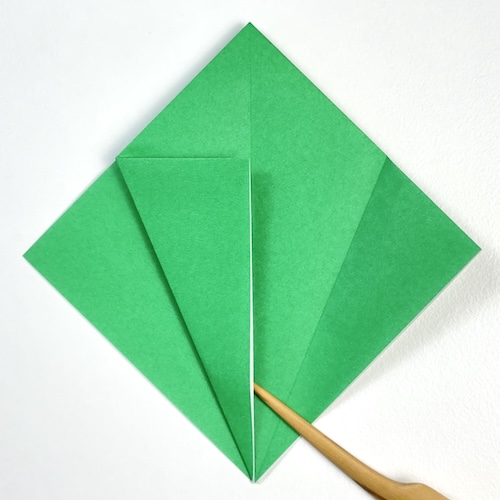
Step 1
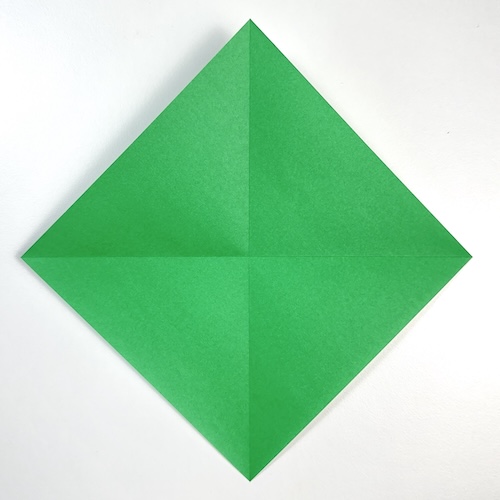
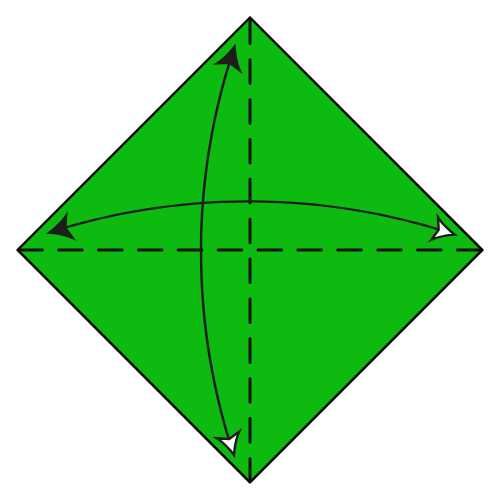
Start with the colored side facing up in a diamond position. Fold and unfold along both diagonals of the square.
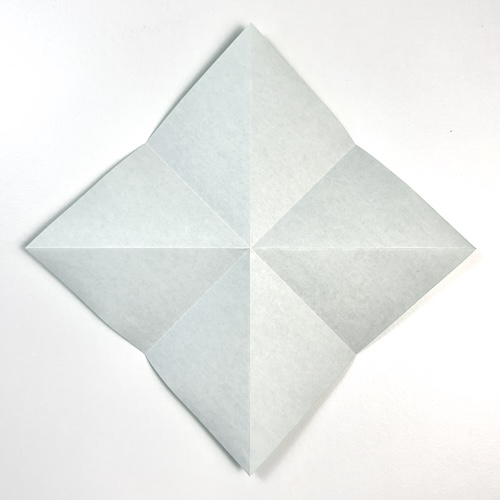
Step 2
Turn the paper over.
Step 3
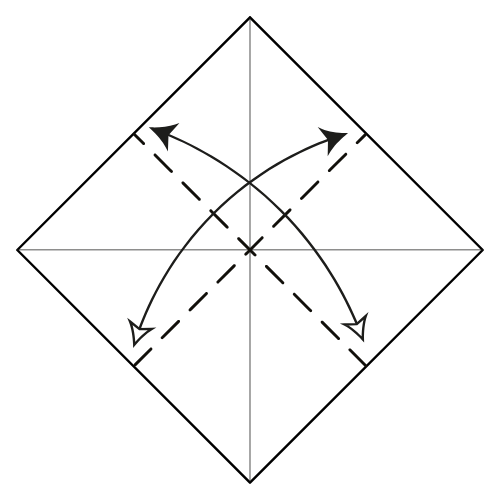
Fold and unfold the paper side to side in both directions.
Step 4
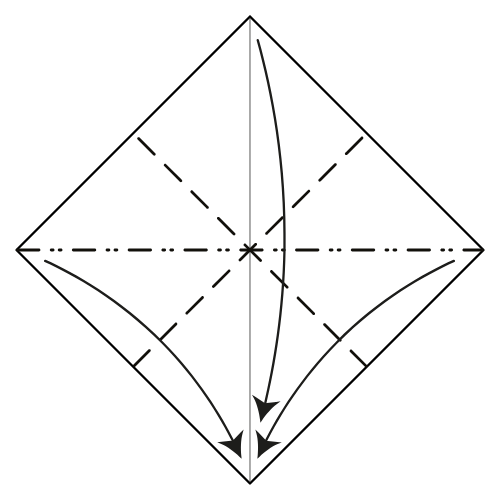
Collapse along the existing creases to form a square base by bringing the left and right corners down to meet the bottom corner.
Step 5
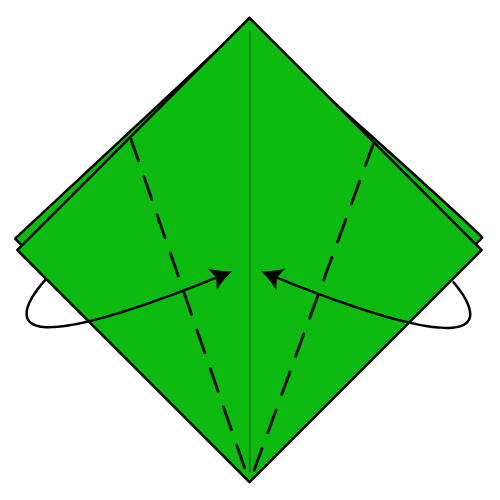
Fold the top flaps’ left and right edges to meet the vertical centerline.
Step 6
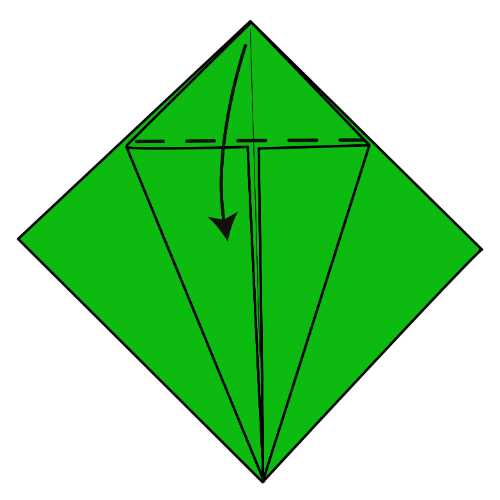
Fold the top corner down so the crease aligns with the top edges of the flaps from Step 5.
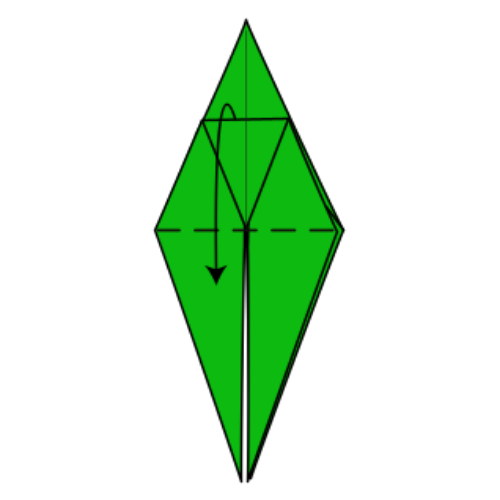
Step 7

Unfold the folds from Step 5.
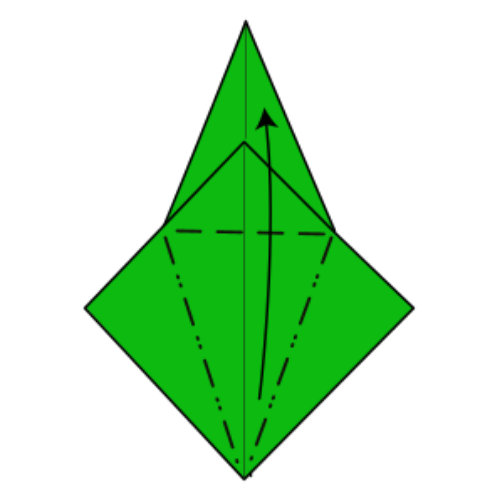
Step 8
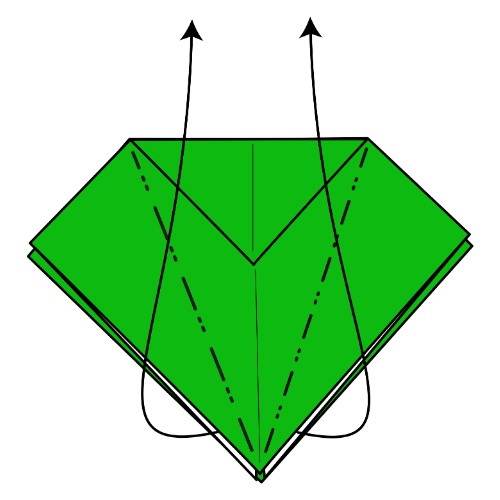

Lift the top layer and bring the bottom corner up to form a petal fold. The outer edges will meet the vertical centerline.
Step 9

Turn the model over.
Step 10
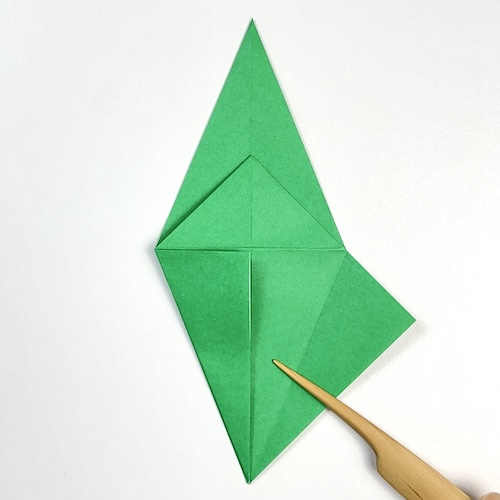
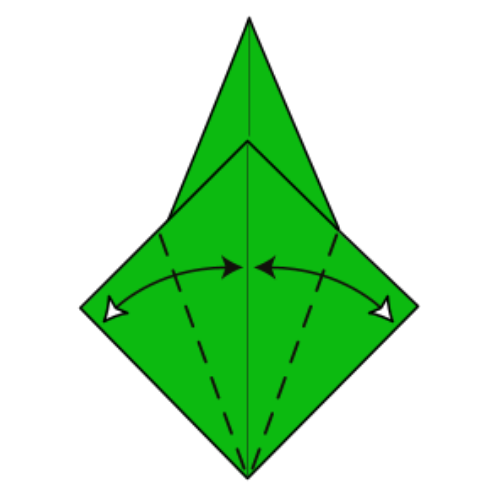
Fold and unfold the left and right edges to meet the vertical centerline.
Step 11
Repeat Step 8 to form another petal fold on this side.
Step 12

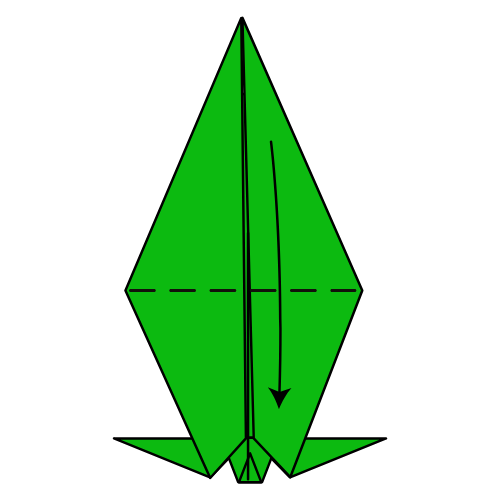
Fold the top flap’s top corner down to the horizontal centerline.
Step 13
Fold the top flap down along the horizontal centerline.
Step 14
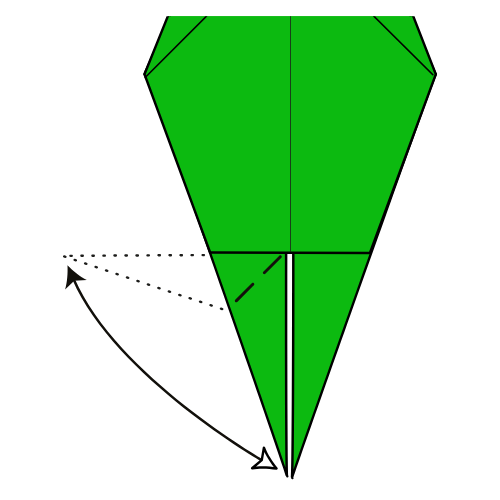
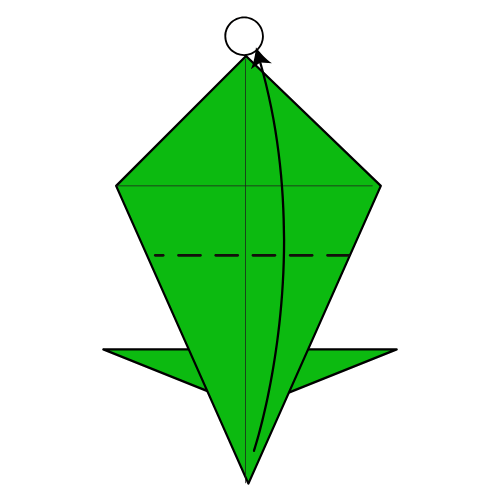
Fold the bottom left tip to the left, aligning its edge with the bottom edge of the flap from Step 13. Crease well, then unfold.
Step 15
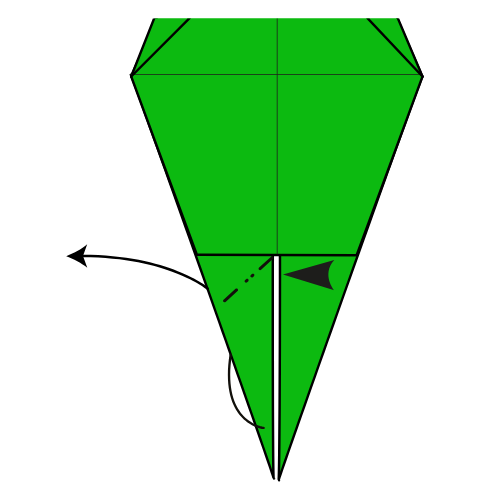
Inside reverse fold along the creases from Step 14.
Step 16
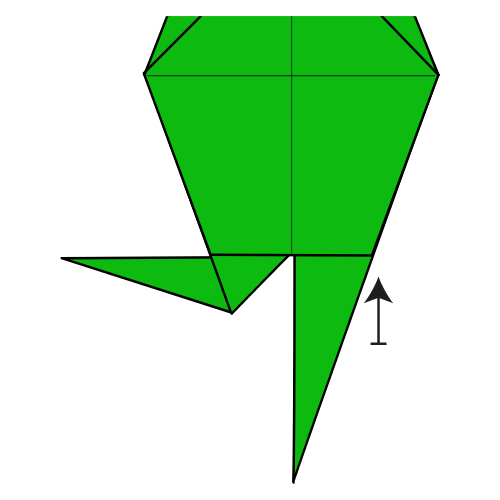
Repeat Steps 14 and 15 on the right side. These form the turtle’s front legs.
Step 17
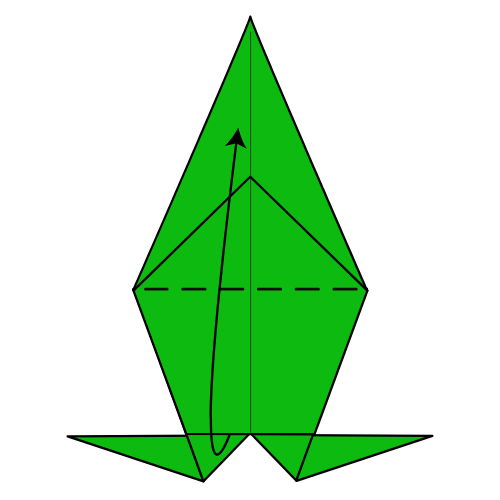
Fold the top flap up along the horizontal centerline.
Step 18
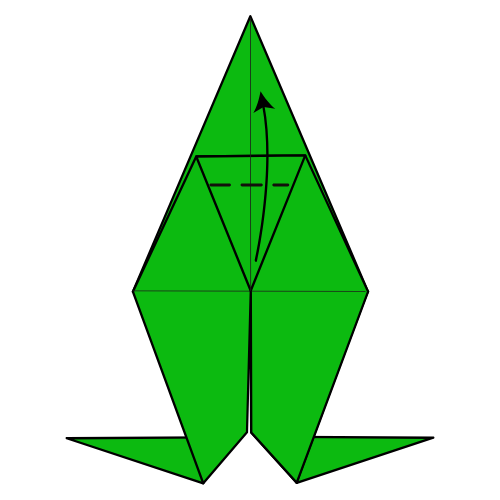
Fold the top triangle’s tip up along the dashed line to form the turtle’s head. Check the diagram for positioning since there is no exact reference point.
🐢 Folding tip: We’ll be able to adjust this later to change the turtle’s proportions.
Step 19
Fold the same tip slightly down.
Step 20
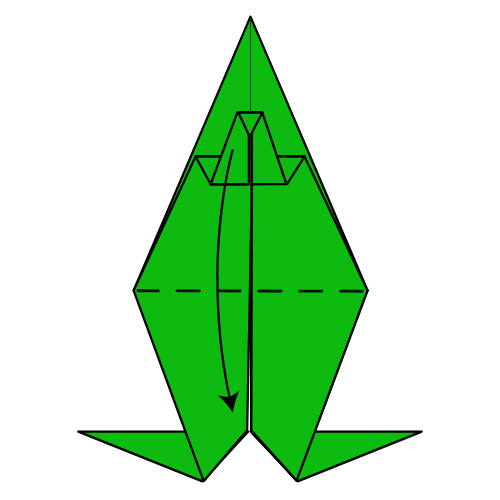
Fold the top flap down again along the horizontal centerline.
Step 21
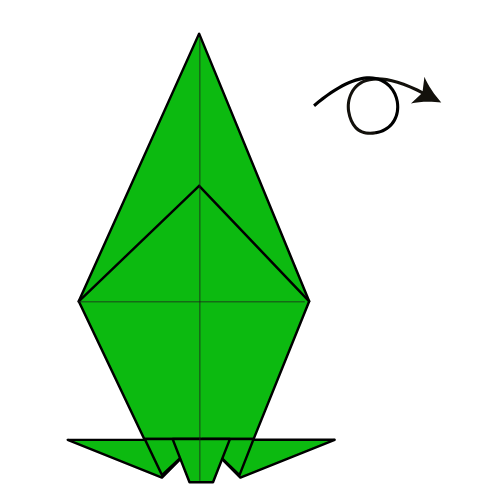
Turn the model over.
Step 22
Fold the top part down along the horizontal centerline, only one flap.
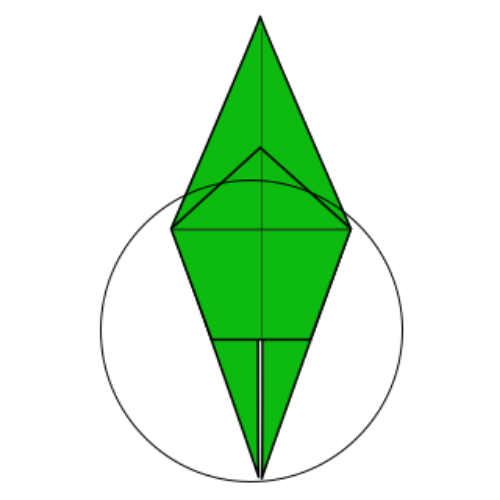
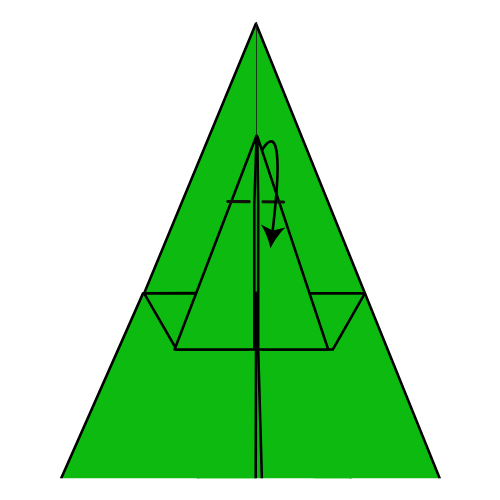
Step 23
Fold the bottom corner up slightly above the top corner.
Step 24
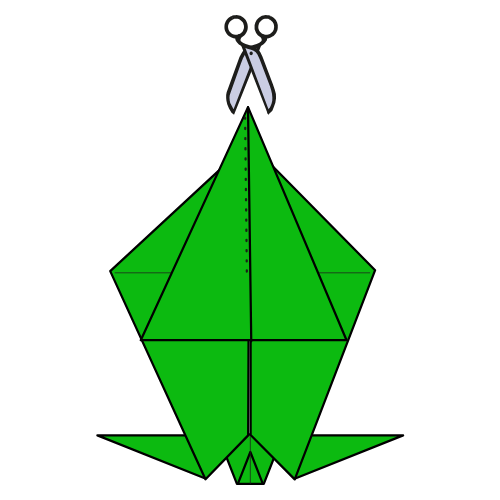
Cut the top layer in half, from the top tip down to the level of the horizontal centerline at the back.
Step 25
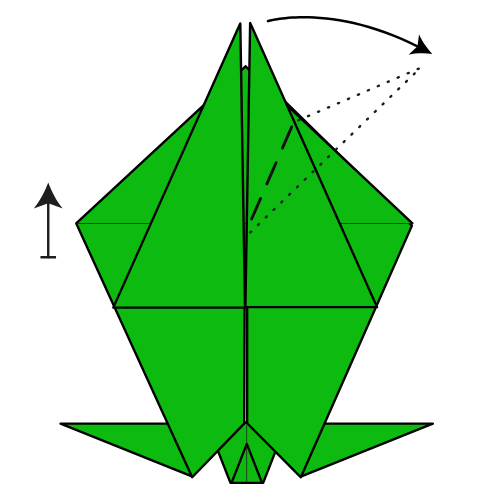
Fold one flap to the right and one to the left symmetrically to form the back legs. Use the diagram as a guide.
Step 26

Open and spread the layers from Step 25, then squash fold them down.
Step 27

Fold the two flaps from Step 26 upward so they stick out from the shell. Then turn the model over.
🐢 Folding tip: You can fold the back legs in half, adjust the angle of the front legs, and change the length of the head to your liking. You can watch the video to see how I do it.
The Completed Origami Sea Turtle
🐢 Folding tip: This model has lots of layers and may not lie flat. You can use a bit of glue if you want to display it or attach it to a card.
I hope you enjoyed folding this origami sea turtle. It’s a simple model, but the final shape comes together nicely once the flippers are adjusted.
If you fold one, feel free to share a photo in the comments. It’s always nice to see the different papers and sizes people use.
If you’d like to keep folding, you can explore more easy origami tutorials or browse other origami animals on the site.
You can also get new tutorials and folding ideas in our newsletter here. And if you prefer video instructions, you can follow along on YouTube.

Download the Complete Origami Sea Turtle Printable PDF Instructions
This printable PDF is part of our Origami Friends membership on Patreon. As a member, you get access to these diagrams, our full library of 120+ printable PDFs, and member-only content.


nice! i love this website!