
How to Fold an Origami Pig
This origami pig might just be one of the cutest models I’ve ever folded.
Adriano Mariani, the designer, calls it Maialino, which means Little Pig in Italian, and the name fits perfectly.
The folding sequence is smooth and satisfying, and there’s a lovely color change that makes the belly stand out. I especially love how the pig looks up, like it’s curious or waiting for a treat. And that little curled tail at the end? It’s such a fun detail to add.
If you are looking for something simple, playful, and full of personality, I think you are going to really enjoy this one.
Origami Pig Step-by-Step Instructions
- Difficulty: Easy – Beginner Level 4
- Folding time: 5-10 minutes
Recommended Paper
15×15 cm (6×6 in) Kami
Step 1


Start with the white side of the paper facing up in a diamond position. Fold and unfold both diagonals.
Step 2

Bring the top corner down to the center point. Lightly pinch the middle of the top edge to mark a small reference point.
Step 3

Fold the bottom corner up to meet the reference point you made in Step 2.
Step 4


Turn the paper over.
Step 5


Fold the left and right corners to the center point. The bottom edges should line up neatly.
Step 6


Turn the model over.
Step 7

Fold the left and right edges to the centerline, but only fold the top layers.
🐷 Folding tip: The back layer will move forward when you fold. Lift it gently while creasing to avoid unwanted crease marks!
Step 8


Rotate the model 180° clockwise.
Step 9


On the right side, fold the top edge of the top flap toward the centerline.
Step 10

Fold only the top layer up and bring the bottom corner to the edge above. Crease well, then unfold.
Step 11

Using the crease from Step 10, reverse fold the flap and tuck it underneath the top layer.
Step 12

Fold the top-right triangle behind the model, using the edge of the top flap (Step 9) as a guide. Crease well, then unfold.
Step 13

Inside reverse fold the top-right triangle using the creases you just made in Step 12.
Step 14

Fold the top flap created in Step 13 down.
Step 15

Repeat Steps 9 to 14 on the left side.
Step 16

Fold the top corner down to form the snout. See the next diagram for reference.
Step 17

Mountain fold the model in half, from right to left.
Step 18


Rotate the model 90° counterclockwise.
Step 19


Fold the right corner (the tail) down along the dotted line. Start the crease just after the pig’s ear and leave a small gap between the tail and the front trotter. Crease well, then unfold.
Step 20

Open the bottom layers and inside reverse fold the right part of the model along the creases made in Step 19.
Step 21

Open the flap made in Step 20 and fold the edges toward the centerline.
🐷 Folding tip: This step is easier to do midair. Hold your piggy up!
Step 22

Fold the bottom edge of the tail to meet the left edge. Repeat on the other side.
Step 23

Open the flap from Step 20 again and fold the bottom corner up. The tail should stick out, but you should see only one paper layer. Then close the flap. This shapes the tail and back trotters.
Step 24

Open the tail and curl it for a cute effect.
Step 25

On each side, fold the bottom edge of the ear to the centerline.
Step 26

Open the ear and bring the top corner down to shape it. Use soft folds.
Step 27

Once more, fold the top corner of the ear down using a soft, gentle fold to refine the shape.
🐷 Folding tip: Feel free to shape the ears however you like! You can also curl them inward for a cute touch.
Step 28

Repeat Steps 27 to 28 on the other side.
Step 29

On both sides, give a gentle curve to the body to give your piggy a further 3-D look.
🎉 You did it! Your adorable piggy is ready to oink into action!


Well done on folding your origami pig. I hope you had a good time with it.
There’s something really sweet about this model. It’s easy to fold, but it still manages to feel expressive and alive, especially with the way it lifts its head and that curly little tail at the end. Adriano really gave it character.
If you enjoyed this model, I’d love for you to join our newsletter or subscribe to our YouTube channel so you can keep folding with us.
And if you want to share your Piggy, feel free to tag us on socials or drop it in the comments. I’d be so happy to see it.

Download the Full Origami Pig Printable PDF
Instructions
We’d love to keep you in the loop, so by sharing your email with us, you’ll be signed up for our mailing list. Don’t worry; we won’t bombard you with spammy emails, and your information is safe with us – we won’t share it with anyone else.
Watch the Origami Pig Video Tutorial
Enjoyed this tutorial?
Subscribe to our YouTube channel for new inspiring origami videos every week!


which type of paper did you use in the tutorial?
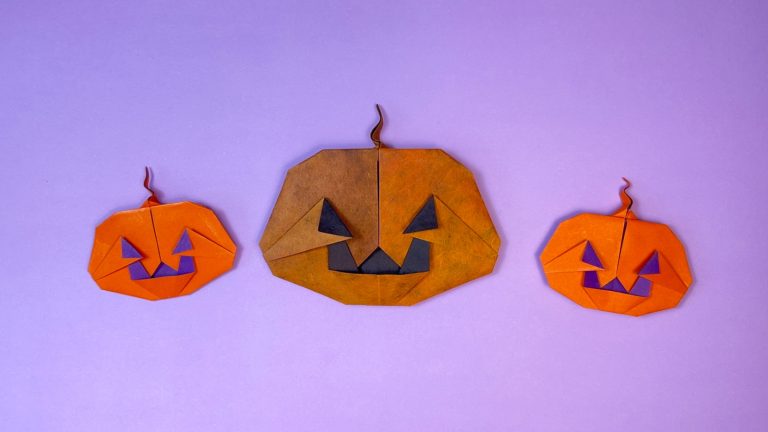
Hi Olivia, We’re using Kami in our tutorials because it makes the steps easier to follow, each side has a different color. In the featured photo, the pigs on the left and right are folded with Kami, while the one in the center is made with Damul.
so cute
It turned out so cute!