
How to Fold an Origami Snake
Celebrate the Year of the Snake with this charming origami snake designed by Oriol Esteve! Named the “Zodiac Snake,” this easy-to-follow model is perfect if you’re ready to try something a bit more sophisticated without feeling overwhelmed.
What makes this model particularly appealing is its accessibility. The clear folding sequence makes each step straightforward while still resulting in a beautiful model.
Ready to fold your origami snake? Let’s get started!
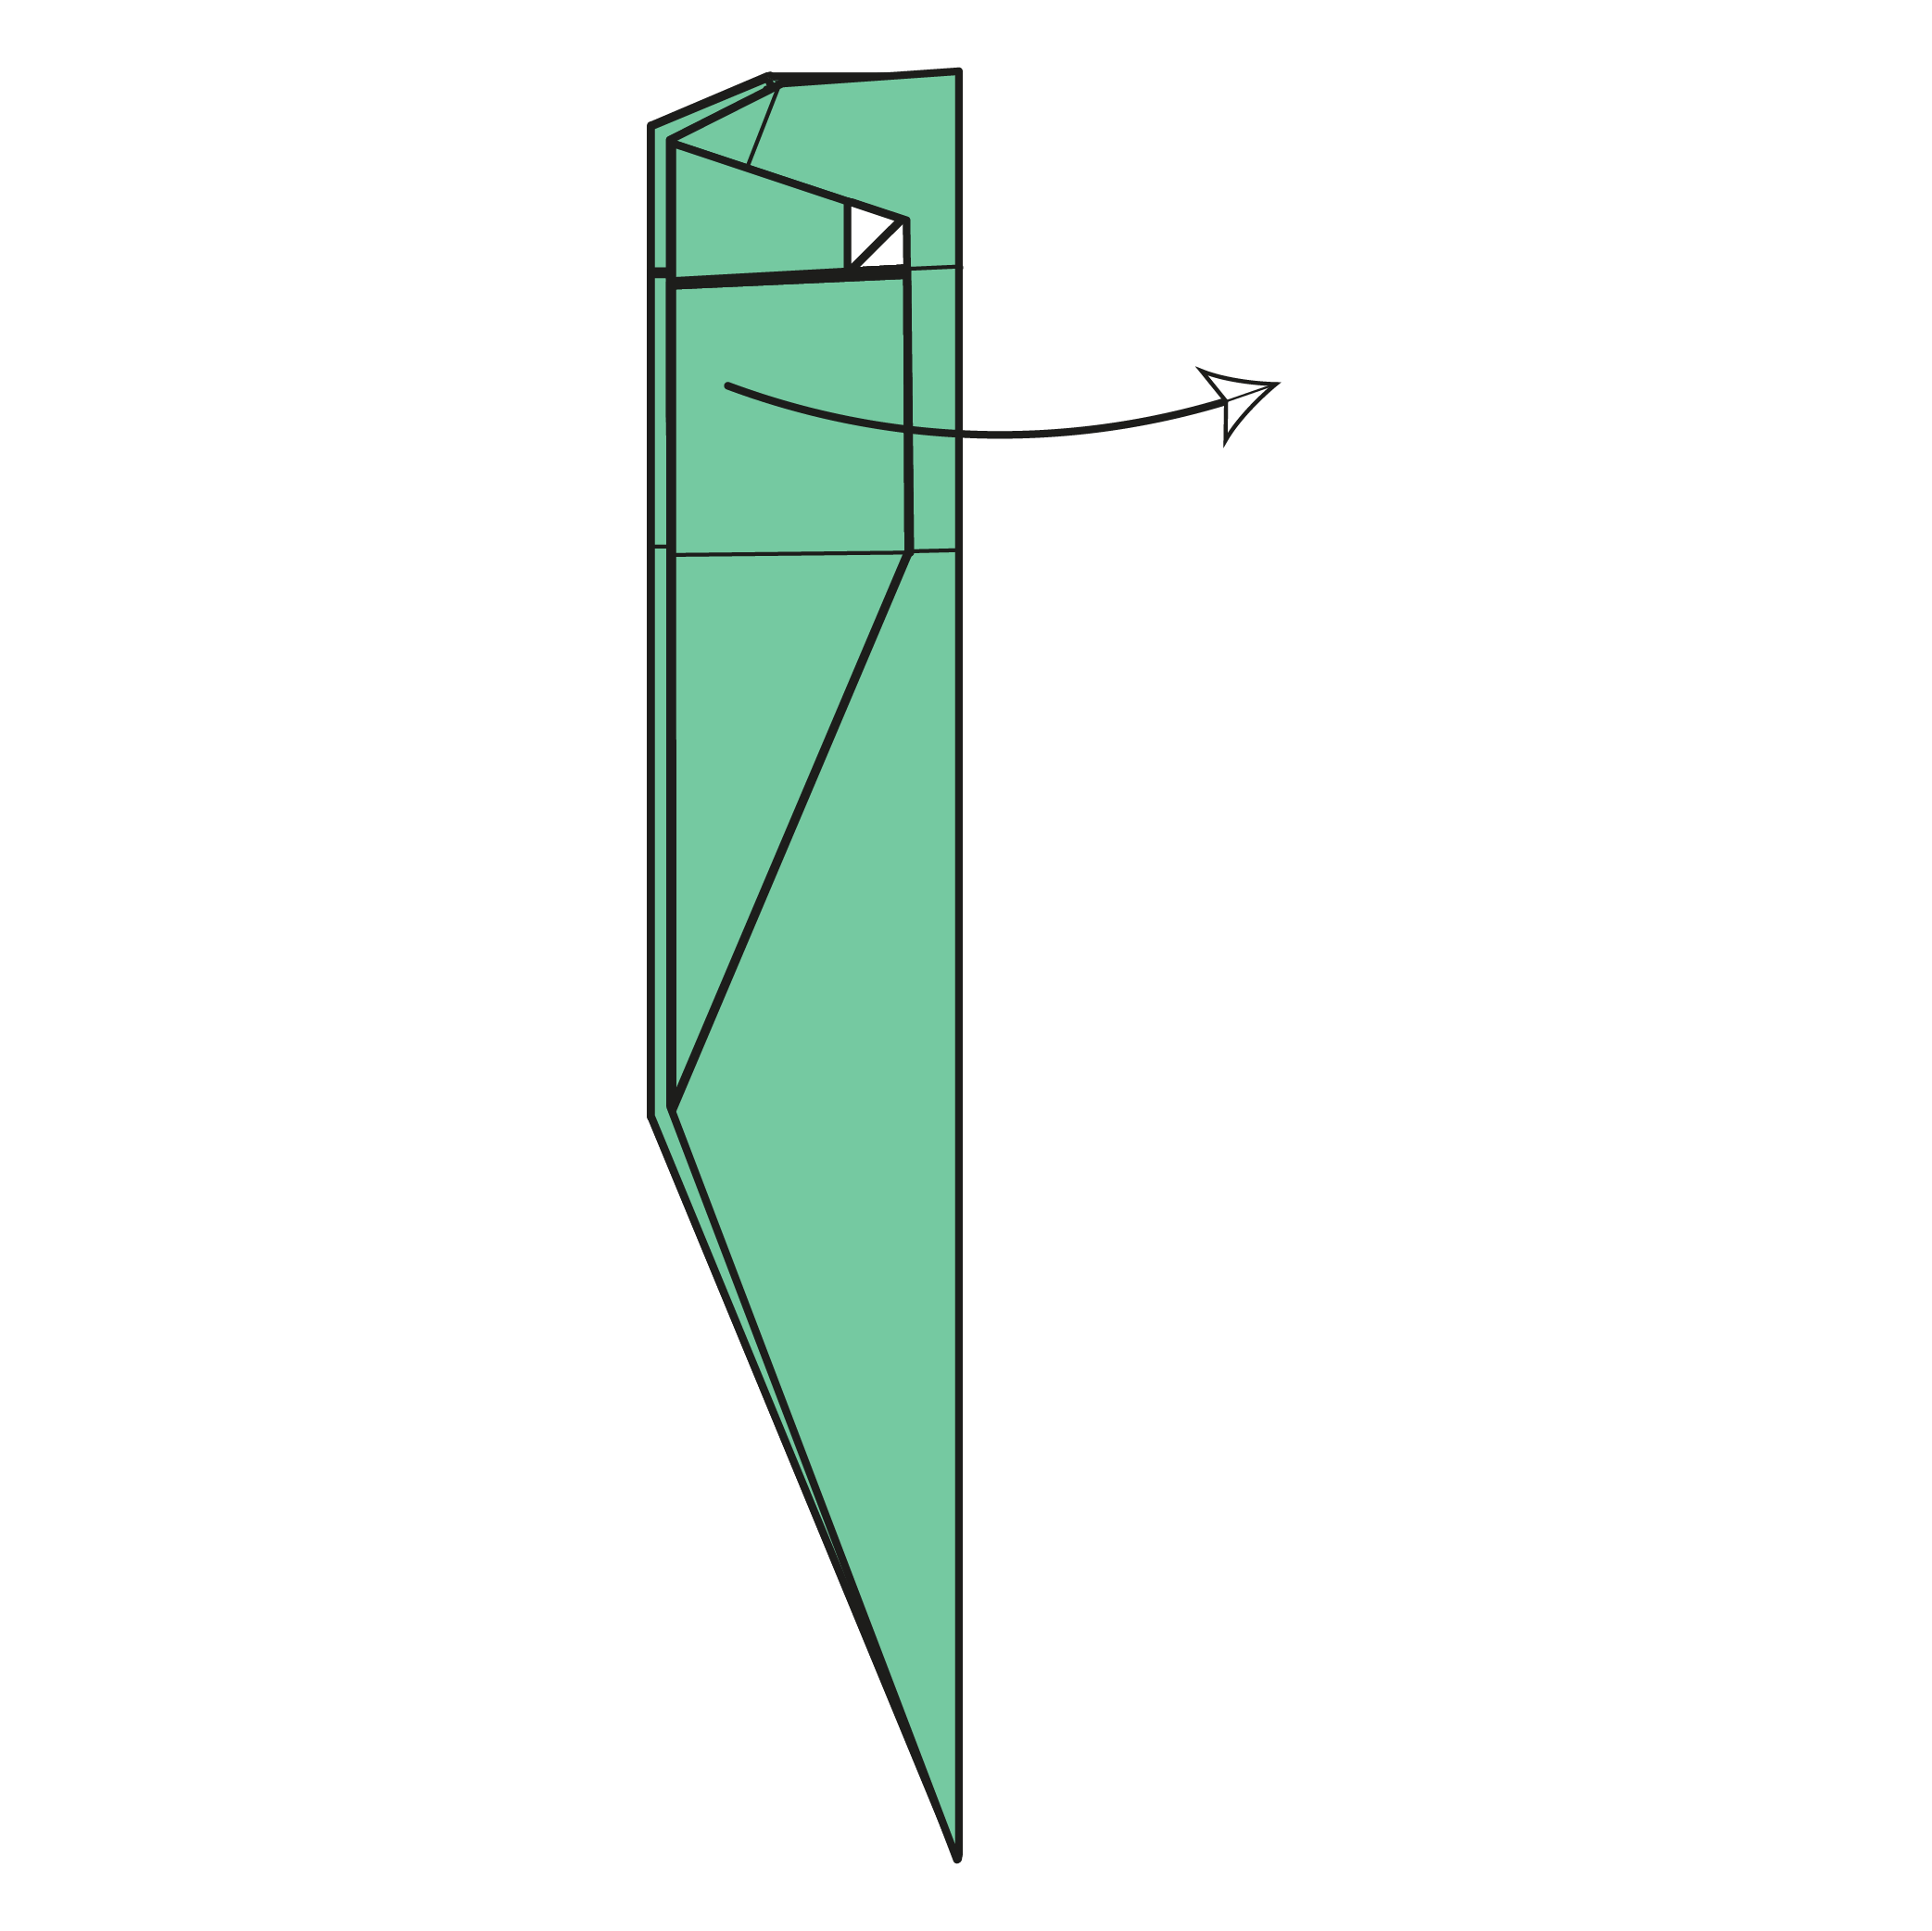
Origami Snake Step-by-Step Instructions
- Difficulty: Easy – Beginner Level 5
- Folding time: 15 minutes
Recommended Paper
6 x 6 in (15 x 15 cm) origami paper (Kami)
Step 1


Start with the colored side of the paper facing up. Fold it in half diagonally, then unfold.
Step 2


Turn the paper over.
Step 3


Fold the top edges to meet the center crease.
Step 4


Fold the bottom edges toward the centerline, but only crease from the point where the colored and white parts of the paper meet down to the bottom corner. Then, unfold.
Step 5


Fold the bottom edges to the line where the colored side and white side of the paper meet. Then, unfold.
Step 6

Fold the bottom corner up along the same line where the colored and white sides meet.
Step 7

Fold the top flap down along the dotted line. Use the intersection of the creases created in Step 5 as a reference point.
Step 8

Bring the top corner down behind the model and make a mountain fold along the dotted line where the colored and white sides meet.
Step 9


Pull the top flap downwards, unfolding Steps 6 and 7.
Step 10


Turn the model over.
Step 11


Fold the left and right edges to the triangle edges.
Step 12


Turn the model over.
Step 13

Fold the bottom corner of the top edge. Crease only at the center along the dotted line, using the creases from Steps 4 and 5 as guides. Then, unfold.
Step 14

Bring the bottom corner of the top flap to the top edge and squash fold, using the existing creases as guides.
Step 15


Rotate the model 180°.
Step 16


Bring the bottom flap down, unfolding Step 8.
Step 17

Fold the model in half right to left, using the existing crease.
Step 18

Fold the left edge of the top flap almost to the right edge, leaving a small gap (about 2 mm). Repeat on the back side.
🐍 Folding Tip: While folding this step, hold the lower layers to prevent a white gap from appearing on the other side.
Step 19

Flip the top flap to the right.
Step 20


Fold the top edges to the center line, then unfold.
🐍 Folding Tip: Again, hold all layers together to prevent gaps on the other side.
Step 21


Fold the left and right edges along the dotted lines. The creases should start from the reference points and end where the folds from Step 20 meet the edges.
Step 22

Refold the creases from Step 20 to the center line.
Step 23


Fold the top corner slightly inward (a couple of millimeters).
Step 24

Make a Rabbit ear fold on the triangular flap to create the snake ́s tongue. Then, squash to the left side.
Step 25

Fold the model in half right to left.
Step 26

Gently pull out the tongue.
Step 27

Fold along the dotted line, using the reference points as guides (they should meet). Then, unfold.
Step 28

Inside reverse fold the snake ́s body along the crease from Step 26.
Step 29


Rotate the model 90° counterclockwise.
Step 30

Mountain fold the right edge and tuck it between the layers to form the snake ́s body. Repeat on the back side.
Step 31

Inside reverse fold the snake ́s body again.
🐍 Folding Tip: Adjust the angle to your liking! The head should bend slightly toward the body to help the snake stand.
Step 32

Gently curve the body by rounding it with your fingers. You can shape it into a natural S-curve or any wavy form you like to give the snake a lifelike appearance.
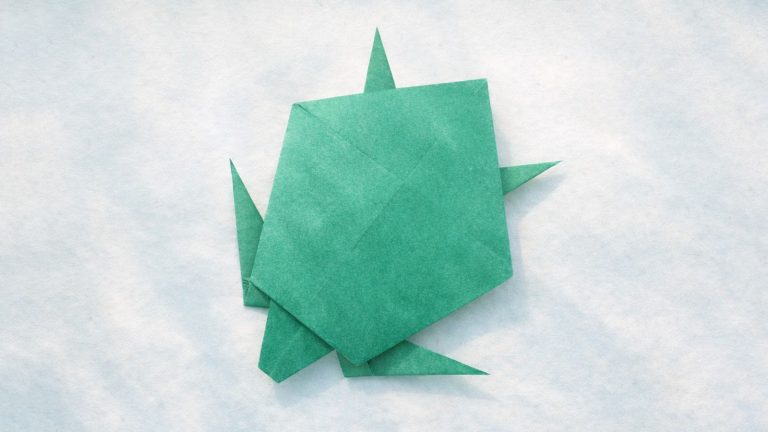
The Completed Origami Snake


Congratulations on completing your origami snake!
Feel free to experiment with different papers and colors. After all, snakes come in many beautiful patterns and shades.
We’d love to see your creations! Share them with us in the comments below or on Socials.

Download the Complete Origami Snake Printable PDF Instructions
This printable PDF is part of our Origami Friends membership on Patreon. As a member, you get access to these diagrams, our full library of 120+ printable PDFs, and member-only content.
Watch the Origami Snake Video Tutorial
Enjoyed this tutorial?
Subscribe to our YouTube channel for new inspiring origami videos every week!


cool!!!!!!! thank you!
cool