How to Fold a Traditional Origami Box With Lid
These instructions will show you how to make an origami box, also known as a masu box.
Masu boxes were originally square wooden boxes used to measure portions of rice during the feudal period in Japan. They came in various sizes, ranging from about 0.18 L to as big as 18 L.
This paper version is quite easy to fold and makes a perfect little box to hold small items like paper clips, candies, or whatever you want.
When you’re finished, the paper should lock together and hold its shape pretty well. If you find that a flip or two keeps sticking out at the bottom of the inside of the box, you can use a bit of tape or glue to hold them down.
If you fill the boxes with something, that’ll hold everything down nicely as well.
Are you ready to create an origami box? Let’s get started.
Traditional Origami Masu Box Step-by-Step Instructions
- Difficulty: Easy – Beginner Level 3
- Folding time: 10 minutes
Recommended Paper
15×15 cm (6×6 in) Chiyogami
Step 20
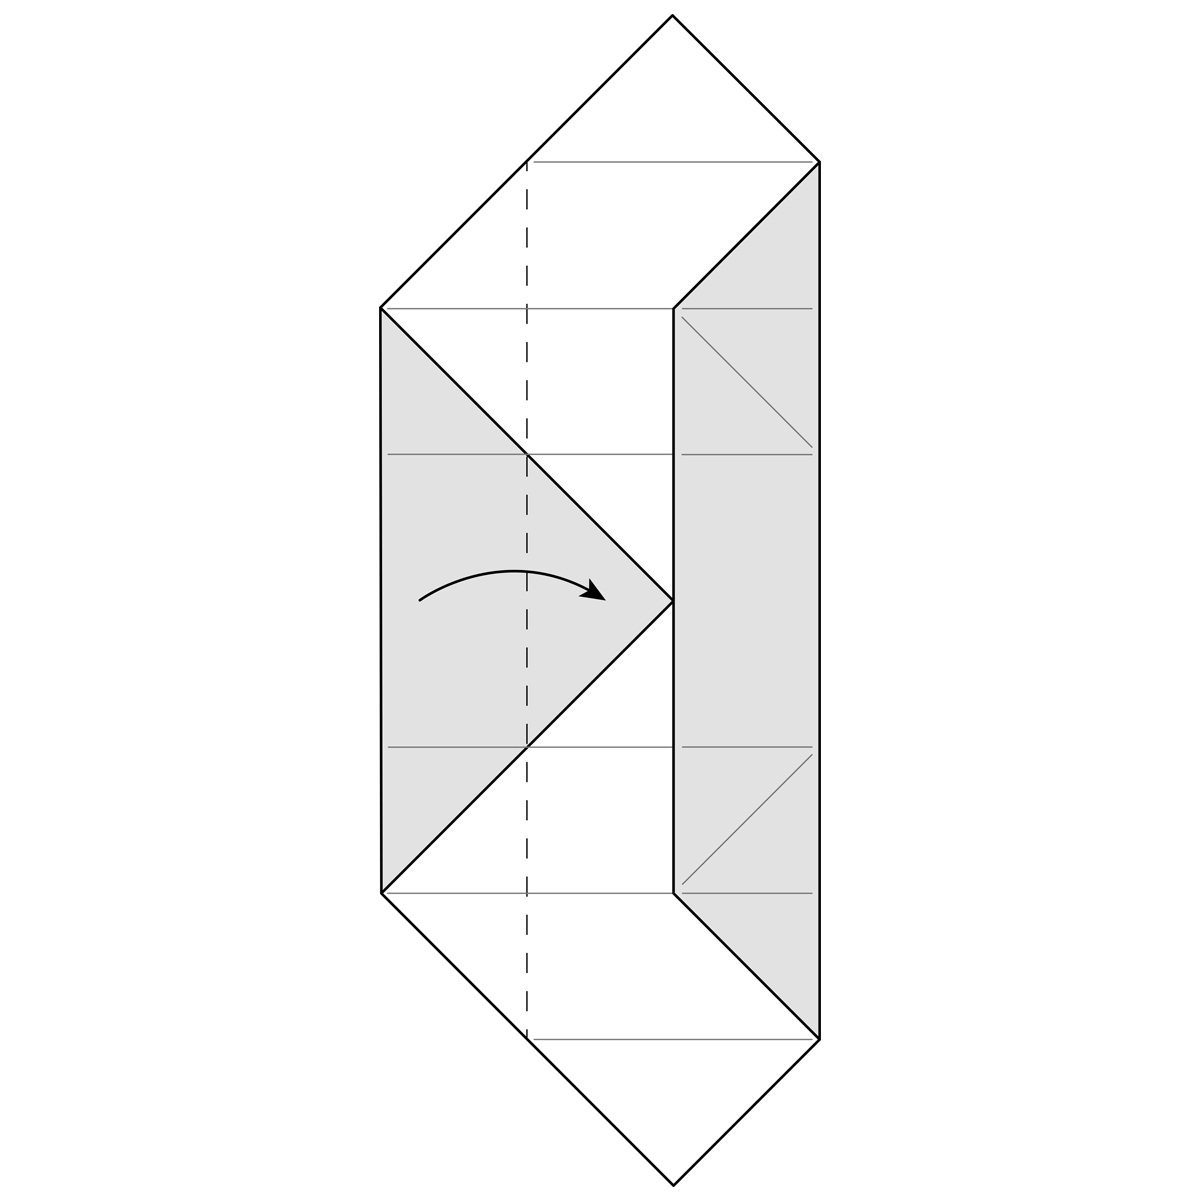
Fold the other side of the box now along the existing creases as you did in steps 17 and 18. The paper should fall into place and give you a shape, just like in step 18.
Fold the top flap of paper down along the dotted line to form the edge of the box. Fold the top triangle of paper up a little bit to also fit into the bottom of the box, just like in step 19.
How to Create a Lid for Your Paper Box?
If you want to fold a lid for your box, you have a couple of options. First, you can simply use slightly larger paper and fold the lid exactly the same way you did the box itself.
This can be a bit difficult, especially if you’re using standard origami paper like Kami, where each piece you have is exactly the same size.
The other option you have is to fold the box again, but in steps 3, 4, 5, and 6, where you fold the corners of the paper, don’t fold them all the way to the center. This is what I did here.
This will result in a shape that looks like the image below at the end of step 6.
Then, continue to fold the model by following the steps above, just like you did before. Fold the paper to the center when it asks you for the following steps.
This will give you a slightly larger box that makes a perfect lid. The triangle flaps in the bottom of the box don’t stay in place as well as they do for the bottom, so feel free to use a tiny piece of tape or some glue to hold them there.
If you close the box by putting the lid over the bottom, it will hold its shape very nicely, even without tape or glue.
How did you do? Post a photo of your box in the comments because we’d love to see it!
If you need help or clarification with any of these steps, feel free to ask in the comments as well.
And if you’re looking for more fun models to fold, you can check our easy origami page or our boxes collection.

Download the Full Origami Box Printable PDF
Instructions
We’d love to keep you in the loop, so by sharing your email with us, you’ll be signed up for our mailing list. Don’t worry; we won’t bombard you with spammy emails, and your information is safe with us – we won’t share it with anyone else.
Watch the Origami Box Video Tutorial
Enjoyed this tutorial?
Subscribe to our YouTube channel for new inspiring origami videos every week!


Hi everyone, I just wanted to let you know that we’ve added some helpful images and videos to make things easier for you (especially step 17). I hope this helps!
Help With 17!
Hi Sam! Check the gifs in steps 17 and 19. They show you how to fold one side of the box in two steps. The video in step 20 shows you how to do it for the other side. The folds are the same, and you already created the creases in the previous steps. We’ll also post a video in the coming weeks.
Oh, I looked really hard and realized it was super easy. I am making a bigger one because it’s too small
Thank you! Made a perfect box for my homemade truffle Christmas gifts. I used the 8x*” paper.
Cool, I loved it
Its so COOl!
Neat folds! Well done 🙌