
How to Fold an Origami Candy Box
This traditional origami candy box is one of those quick, delightful models that’s just as useful as it is fun to fold.
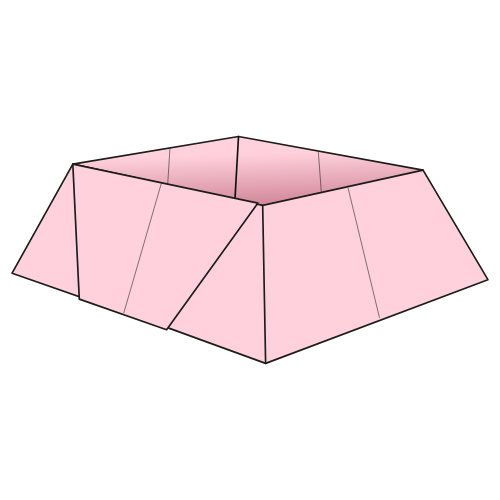
With its shallow depth and gentle pyramidal shape at the base, it’s perfect for holding small treats, paper clips, or any tiny treasures.
The folding sequence is very beginner-friendly with no tricky steps, just a clean, satisfying result.
A great project if you’re just starting out or want something easy to share with kids.
Origami Candy Box Step-by-Step Instructions
- Difficulty: Easy – Beginner Level 3
- Folding time: 5-10 minutes
Recommended Paper
15×15 cm (6×6 in) Kami
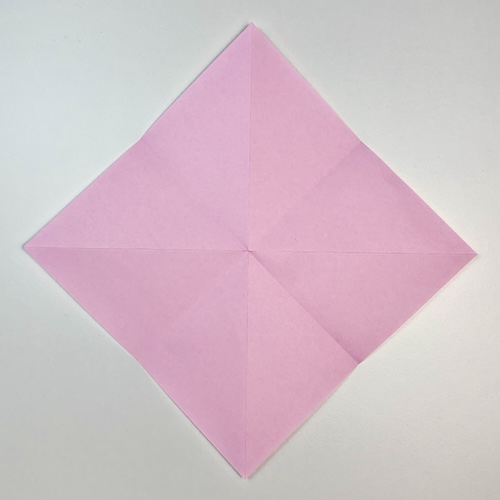
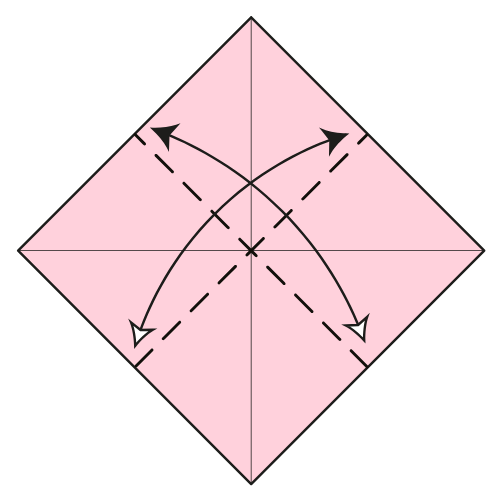
Step 1
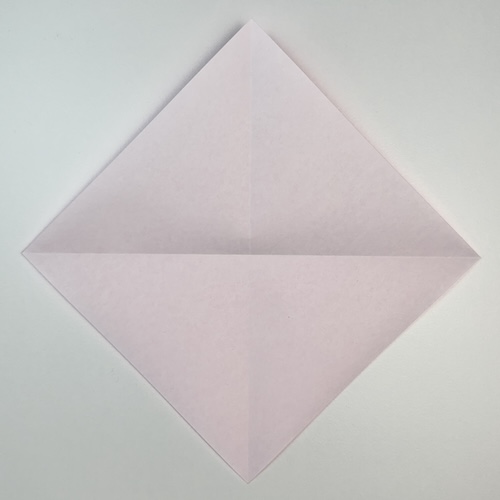
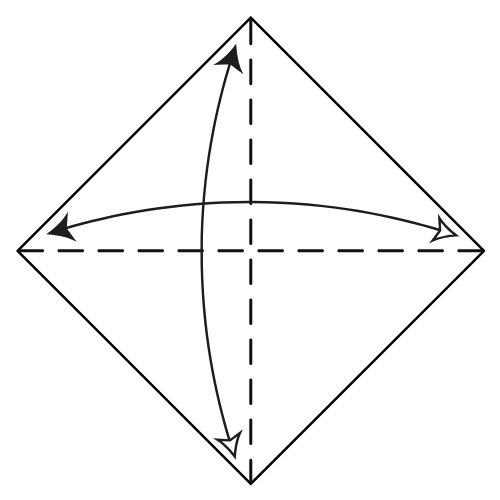
Start with the white side of the paper facing up in a diamond position. Fold and unfold both diagonals.
Step 2
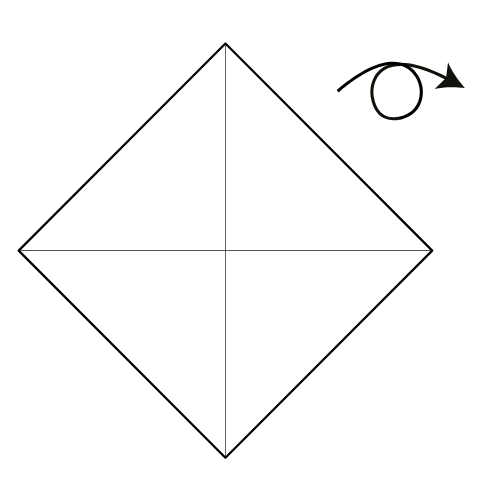
Turn the paper over.
Step 3
Fold and unfold from side to side, left and right.
Step 4
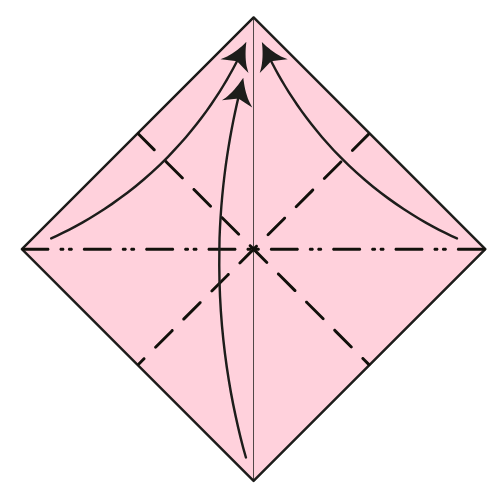
Collapse the paper along the existing creases, bringing the corners together from bottom to top, to form a square base.
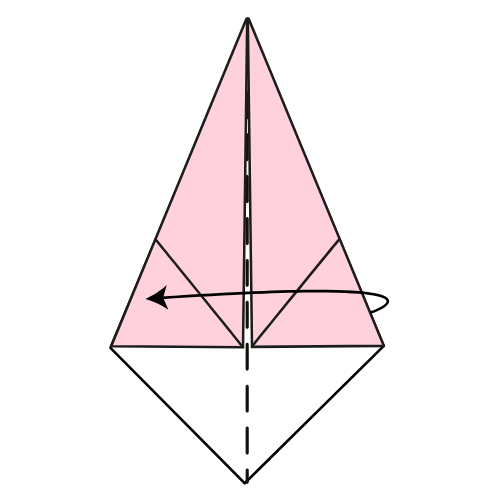
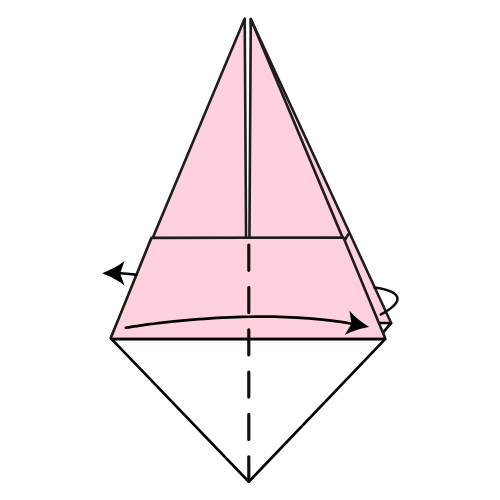
Step 5
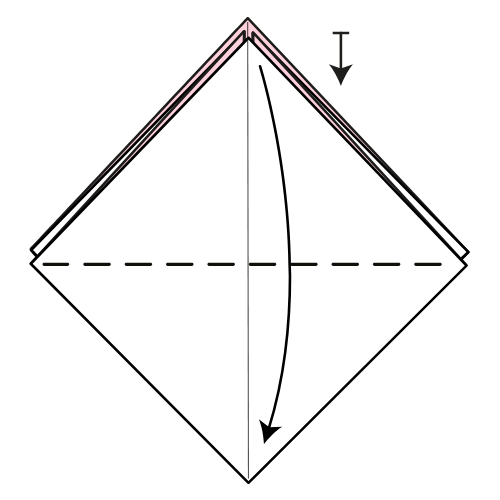
Fold the top corner down to meet the bottom corner (just one layer). Repeat on the other side.
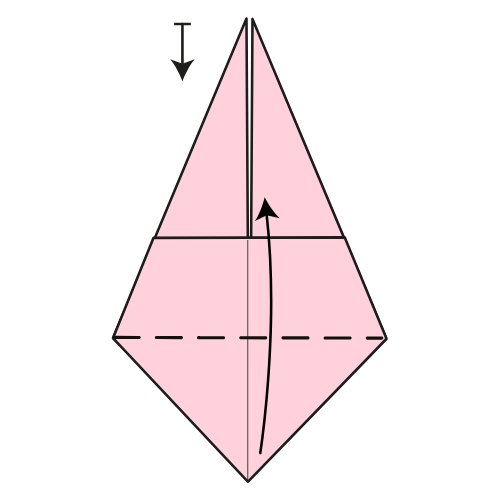
Step 6
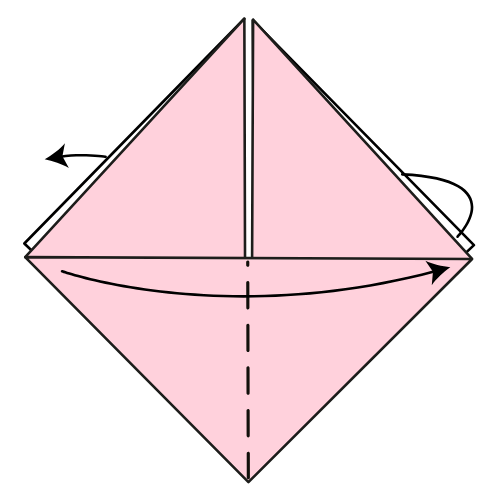
Flip the top left flap over to the right. Repeat on the other side.
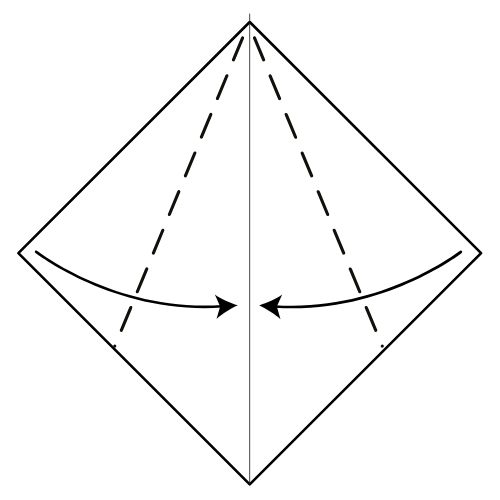
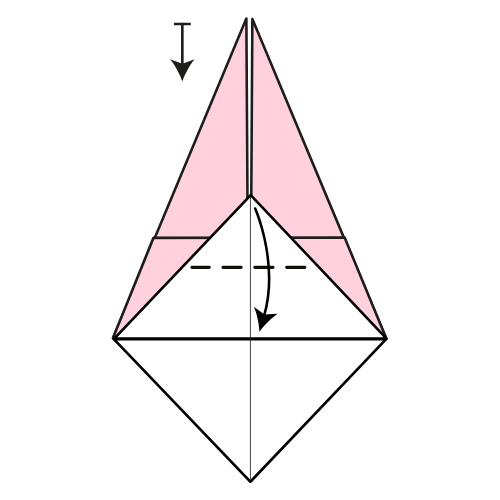
Step 7

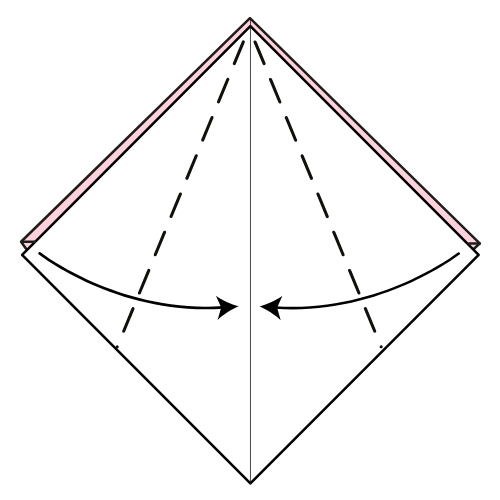
Fold the top left and right edges in to meet the centerline.
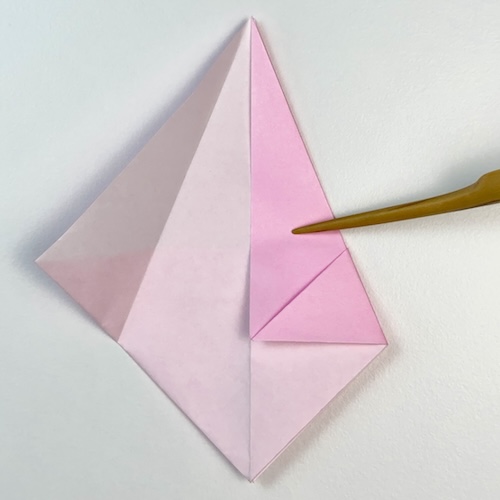
Step 8
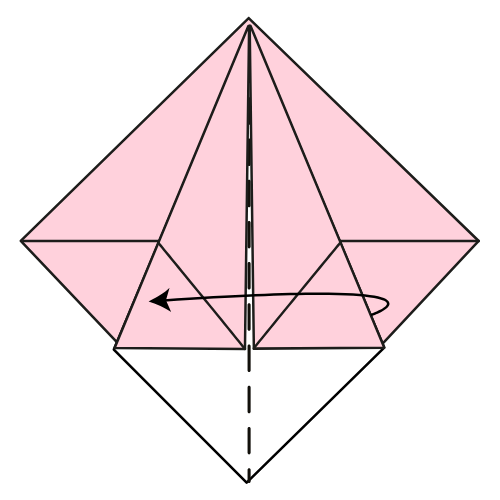
Flip the top right flap over to the left.
Step 9
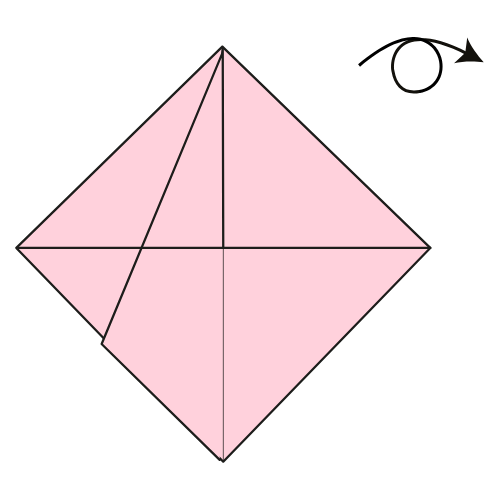
Turn the model over.
Step 10
Fold the top left and right edges in to the centerline, just like before.
Step 11
Flip the top right flap over to the left.
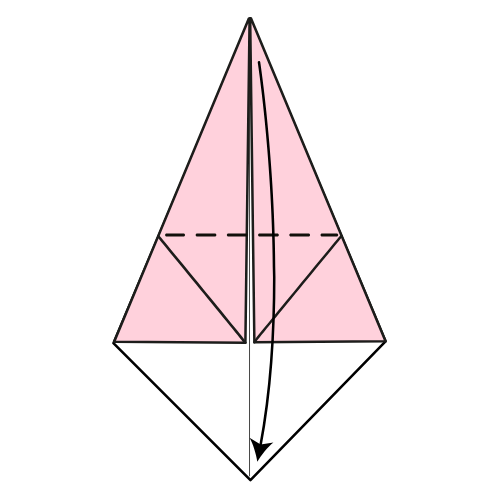
Step 12
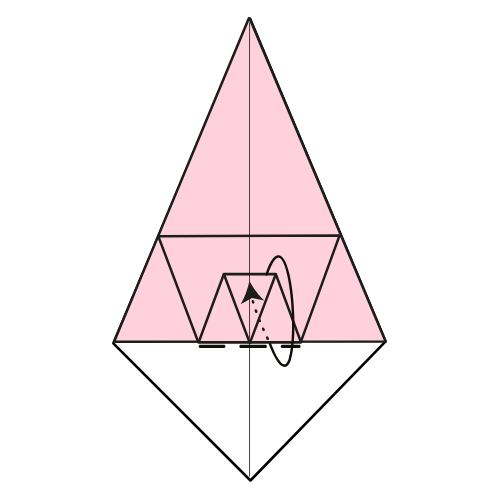
Fold the bottom corner up (just one layer). The crease should run from the left to the right corner. Repeat on the other side.
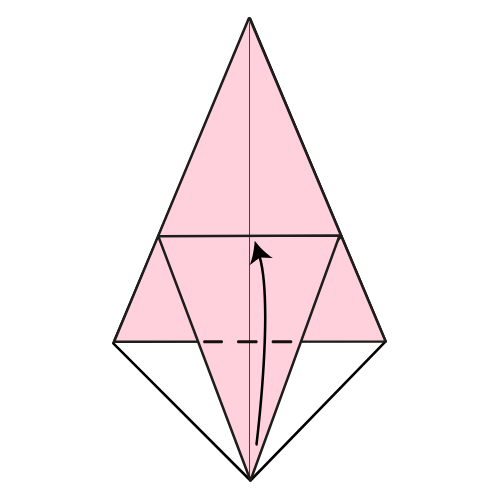
Step 13
Fold the top flap’s top corner down to meet the nearest horizontal line.
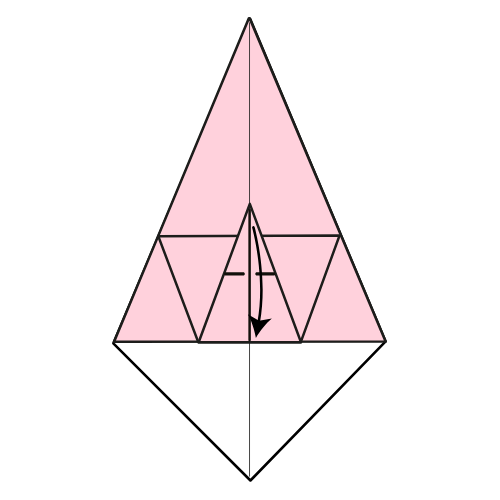
Step 14

Tuck the top flap into the pocket underneath.
🍬 Folding tip: Hold all layers together while tucking them in the pocket.
Step 15
Flip the top left flap to the right. Repeat on the other side.
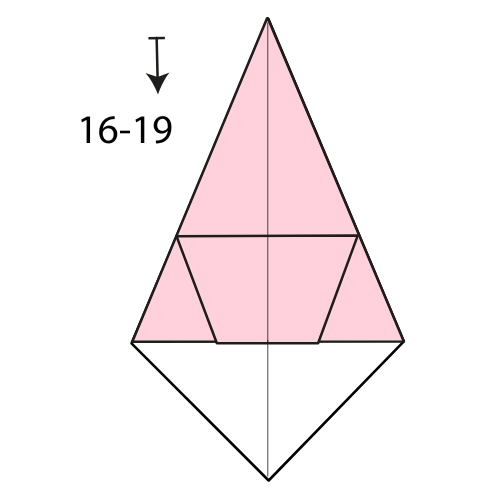
Step 16
Fold the top corner down to meet the bottom corner.
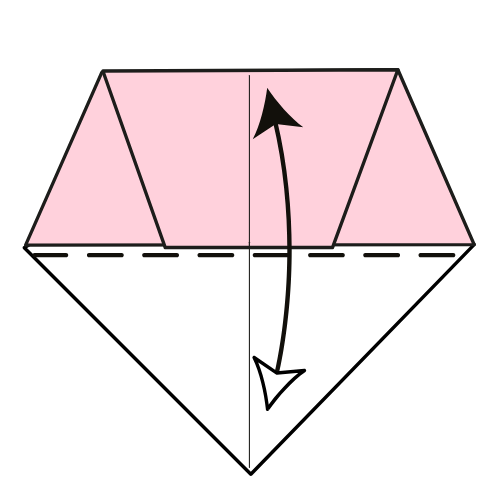
Step 17
Fold the top flap’s bottom corner up. Your crease should line up with the bottom edge of the layer beneath.
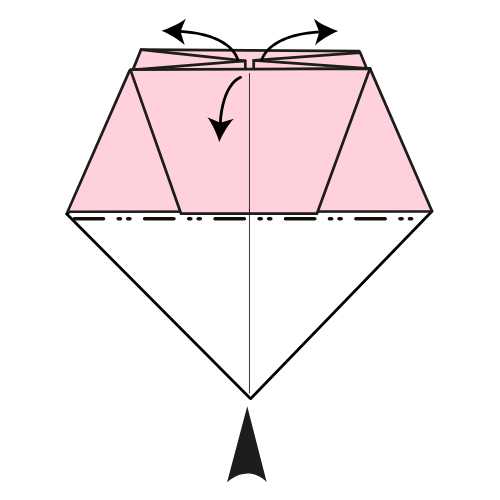
Step 18
Fold the top flap’s top corner down to meet the nearest horizontal line.
Step 19
Tuck the top flap into the pocket underneath.
Step 20
Repeat Steps 16 to 19 on the other side.
Step 21
Fold the bottom corner up along the central horizontal line. Crease well, then unfold.
Step 22
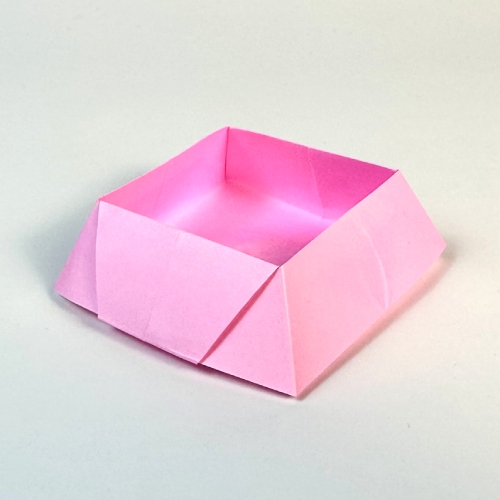
Open the box by gently spreading the top layers apart. At the same time, push the bottom section upward to flatten it into shape.
🍭 Sweet! Your origami candy box is ready.
We hope you enjoyed folding this sweet little box!
Try making a few in different colors to create a cheerful collection for your desk or table.
If you enjoyed this, be sure to check out our YouTube channel for more relaxing tutorials and sign up for our newsletter to get new models, folding tips, and inspiration every week.

Download the Complete Origami Candy Box Printable PDF Instructions
This printable PDF is part of our Origami Friends membership on Patreon. As a member, you get access to these diagrams, our full library of printable PDFs, and member-only content.


Loved this!
For a few mins I thought I was making something else
I would love to share my folds but my tab is showing can’t complete operation due to low memory 😭😭😅