
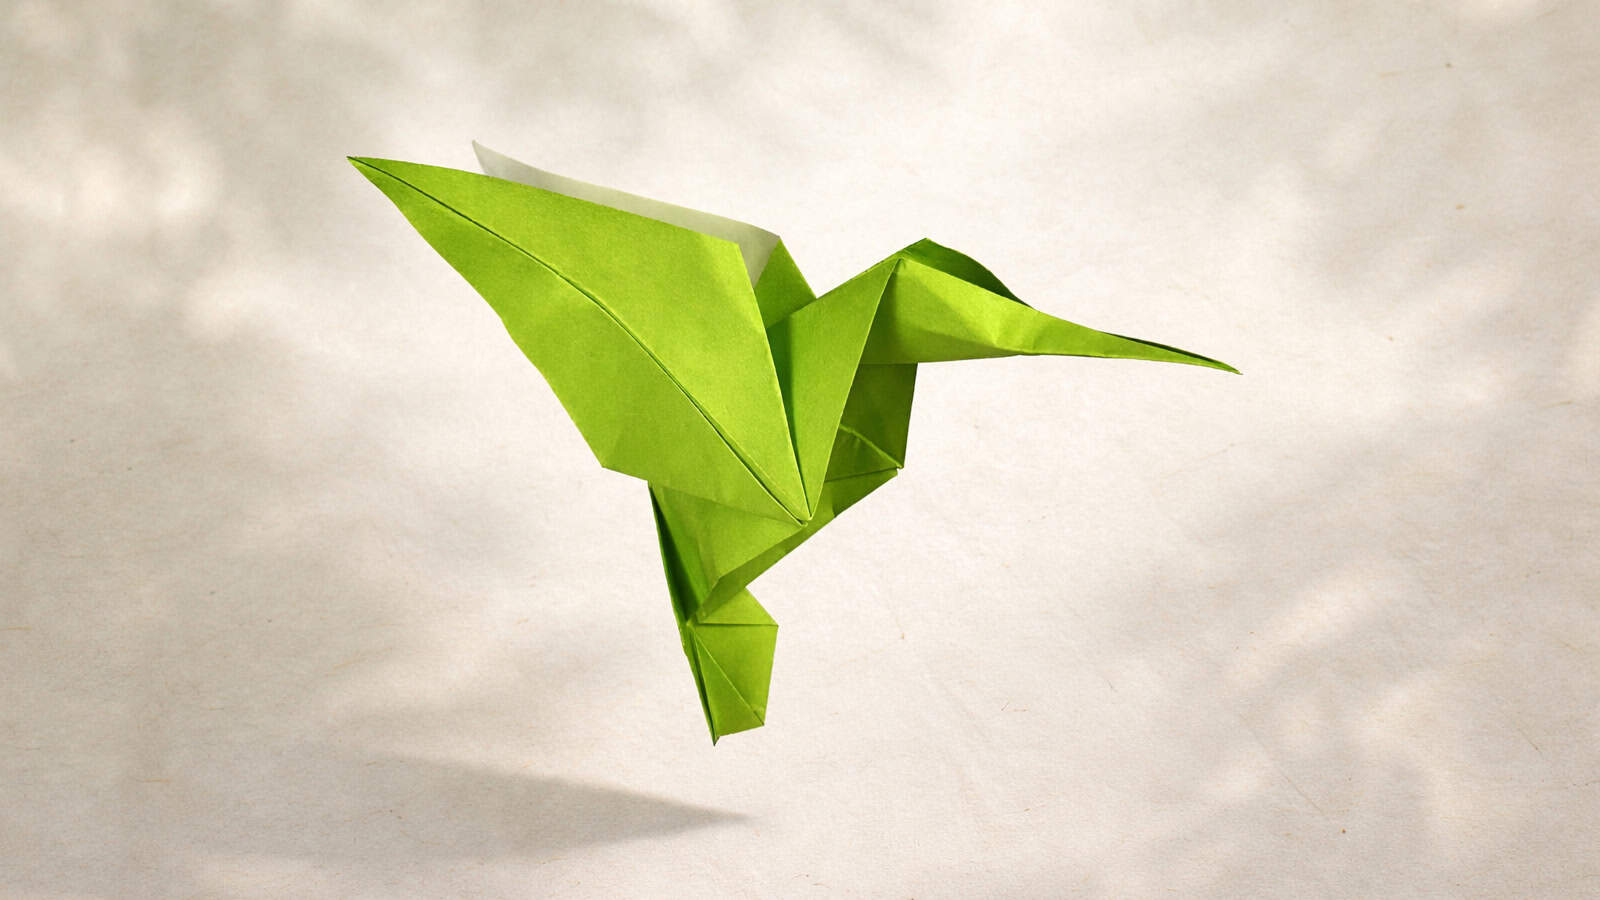
How to Fold an Origami Hummingbird

 Cekouat León
 This origami hummingbird was designed by Cekouat León, an origami artist and wildlife enthusiast who studies animals closely. That perspective shows in the proportions. Even in a simple model, the body, wings, and beak feel balanced and lifelike. Cekouat wanted to create a hummingbird that’s “for everyone,” and he keeps the sequence approachable while still giving the design a clear, recognizable form.
The model starts from the classic bird base, and most of the steps stay straightforward. The one place you’ll want to take your time is shaping the beak. A little precision there makes the whole model read clearly as a hummingbird.
What you end up with is a clean, angular shape that captures the idea of a hovering bird with long wings and a sharp, narrow beak. Even a single color piece of paper can make this feel expressive.
Origami Hummingbird Step-by-Step Instructions
- Difficulty: Easy – Beginner level 4
- Folding time: 10-15 minutes
Recommended Paper
6 x 6 in (15 x 15 cm) origami paper (Kami) or Tant origami paper
Step 1
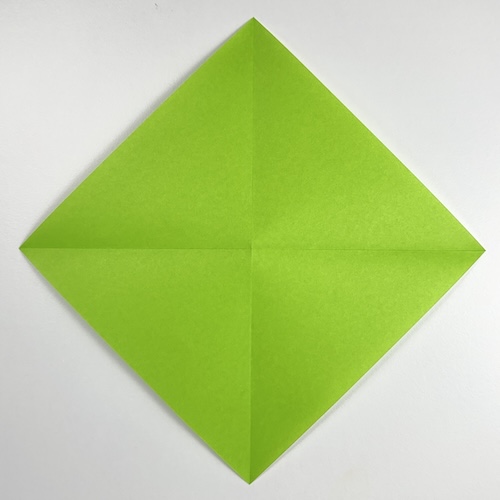
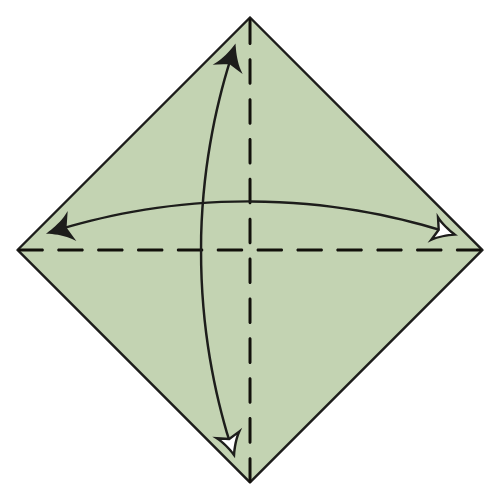
Start with the colored side facing up in a diamond position. Fold and unfold both diagonals.
Step 2
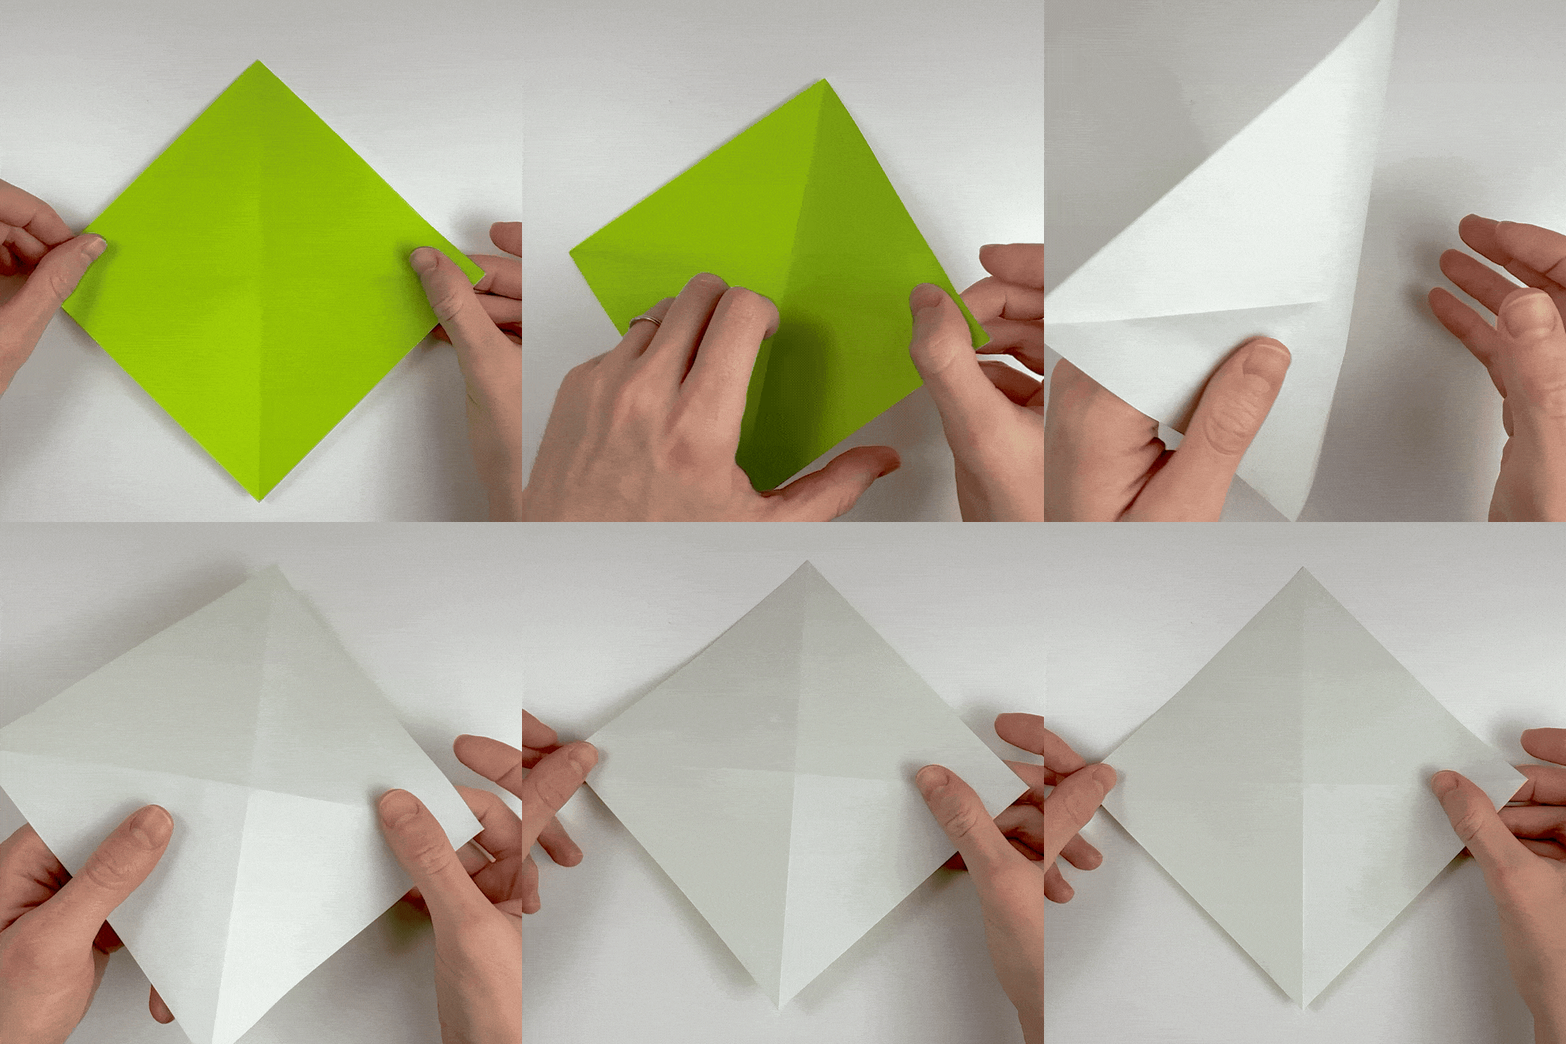
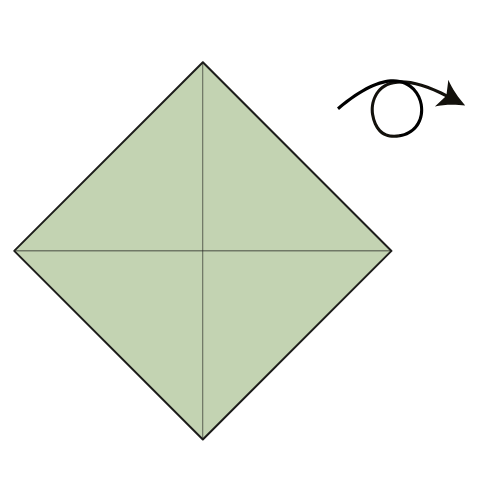
Turn the paper over.
Step 3
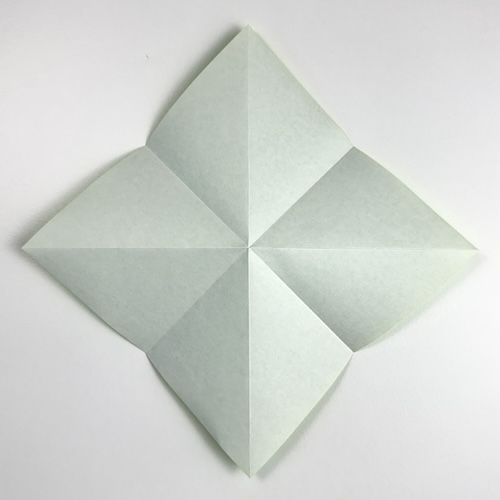
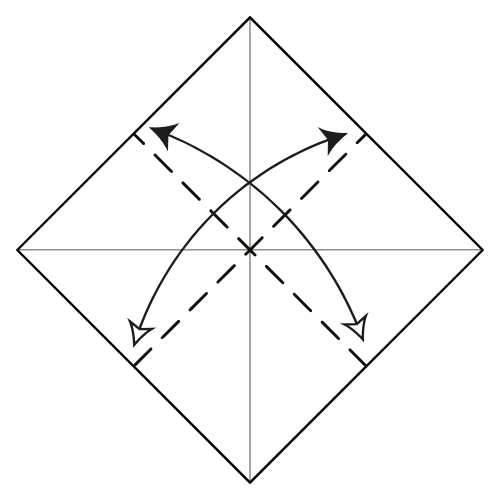
Fold and unfold the paper in half horizontally and vertically.
Step 4
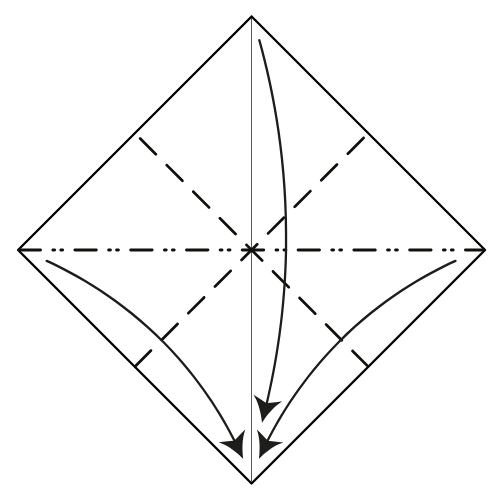
Bring the left and right corners down to the bottom corner. Collapse the paper into a Square base using the existing creases.
Step 5
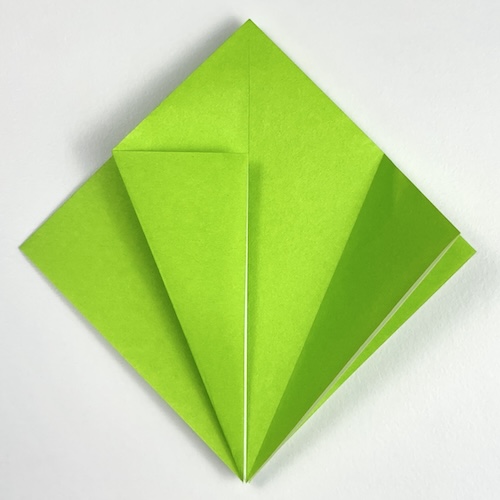
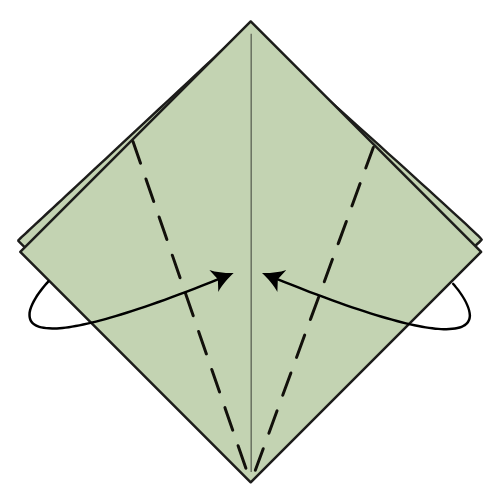
Fold the top flap’s left and right edges to the vertical centerline.
Step 6
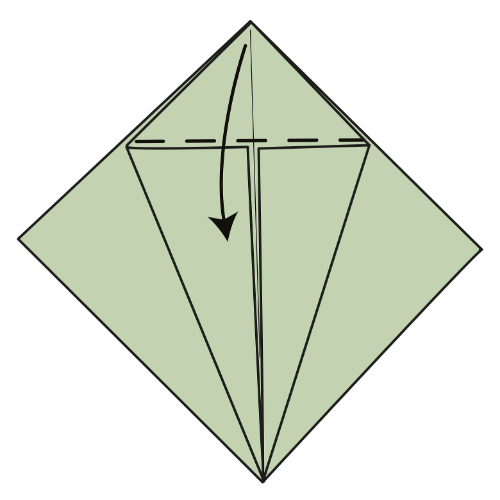
Fold the top corner down so it aligns with the top edges you created in Step 5.
Step 7
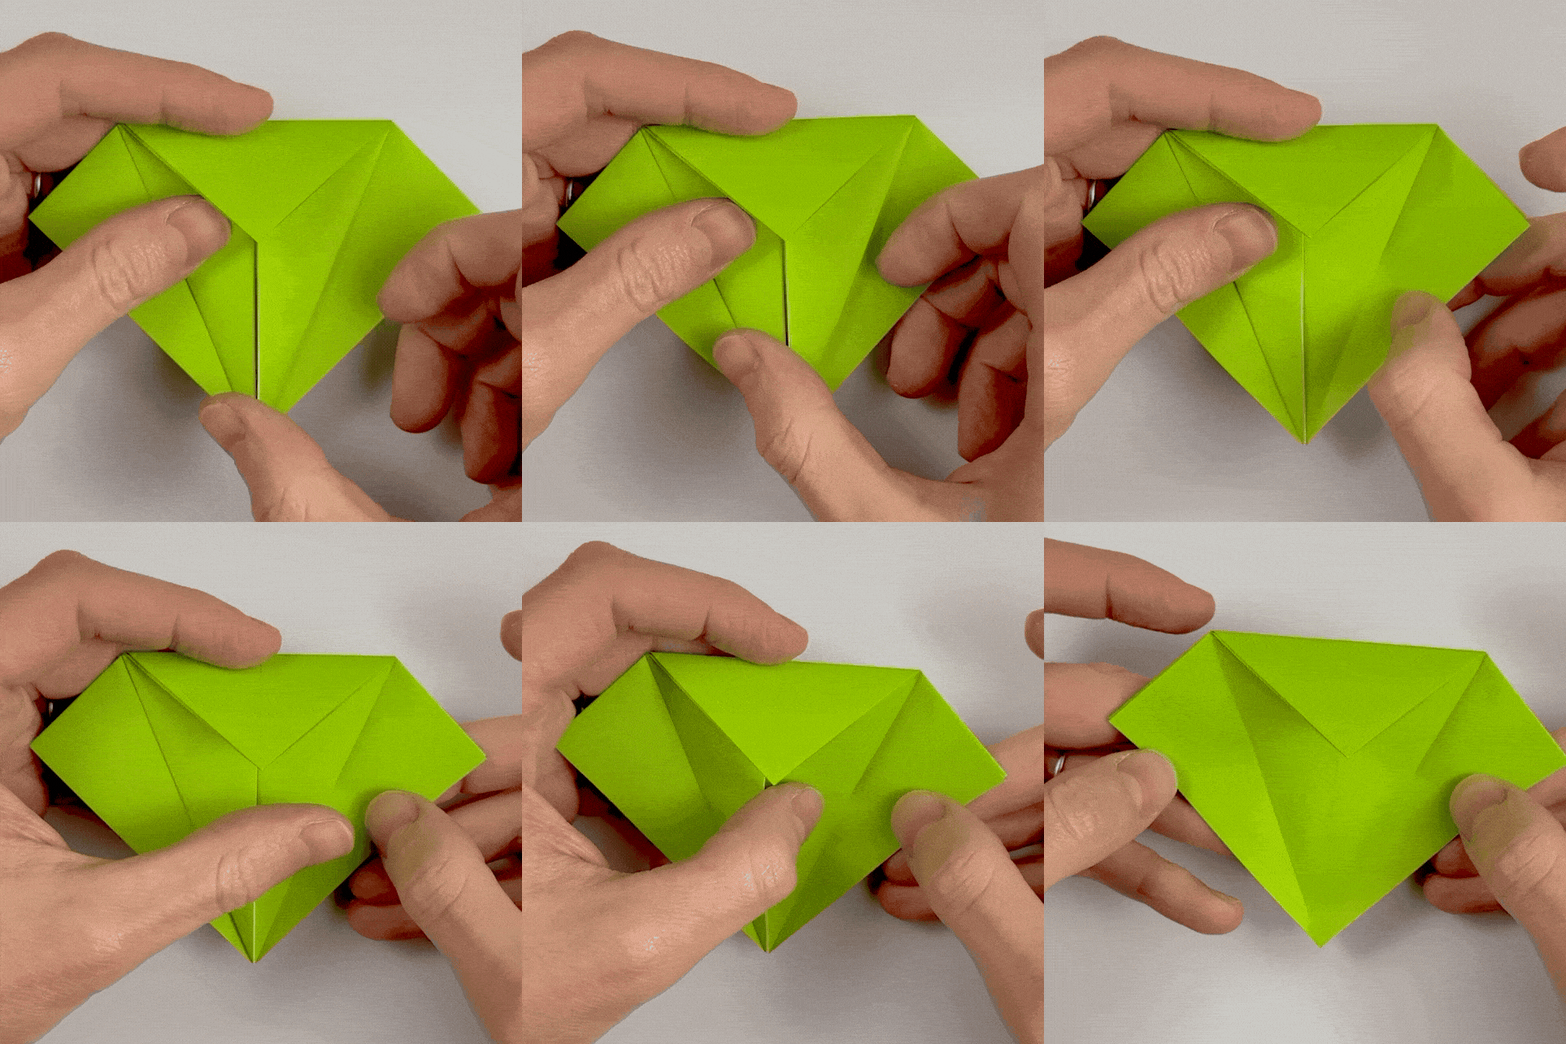
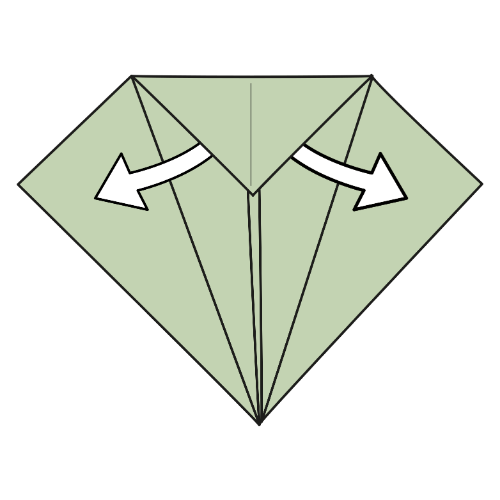
Unfold the folds from Step 5.
Step 8
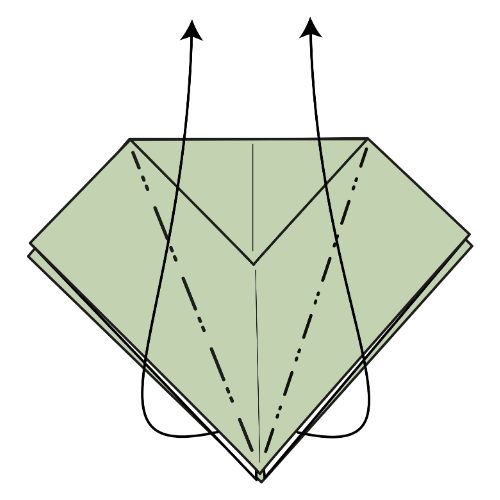
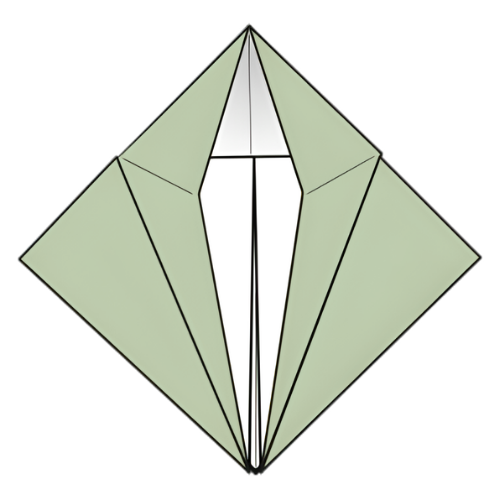
Lift the top layer and bring the bottom corner up to form a Petal fold. The outer edges should meet the vertical centerline.
Petal fold in progress.
Step 9
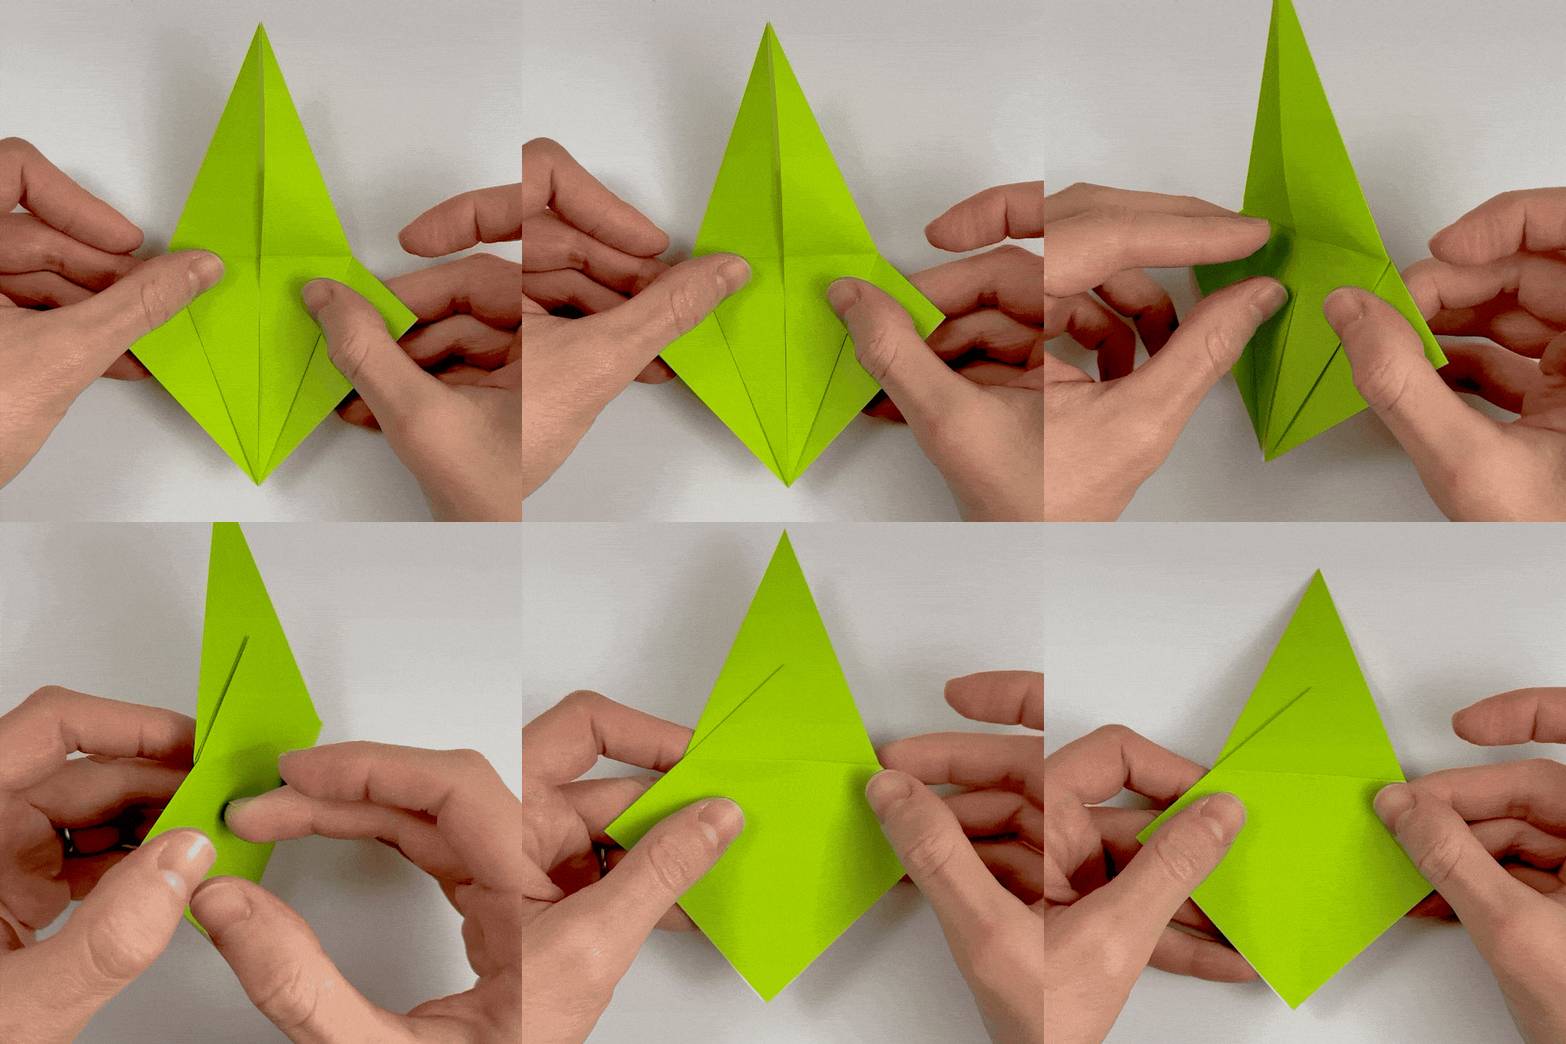
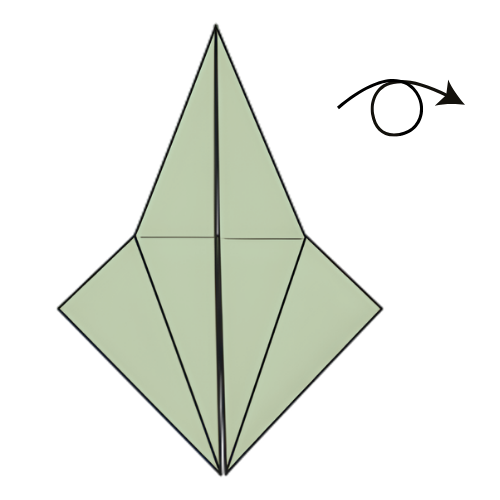
Turn the model over.
Step 10
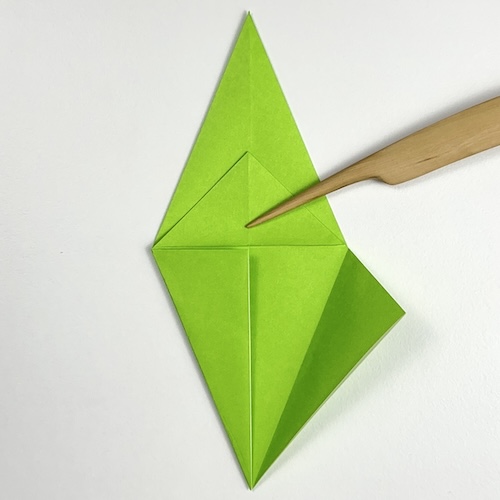
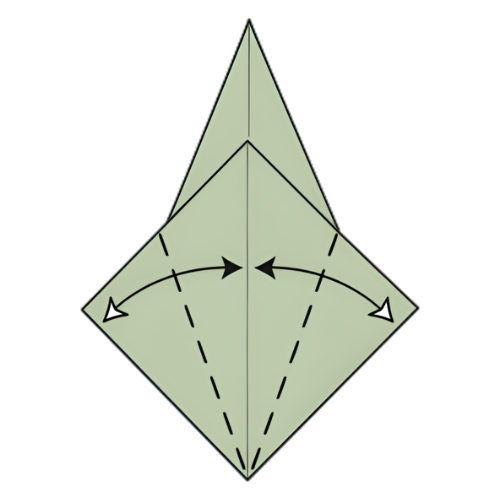
Fold and unfold the left and right edges to meet the vertical centerline.
Step 11
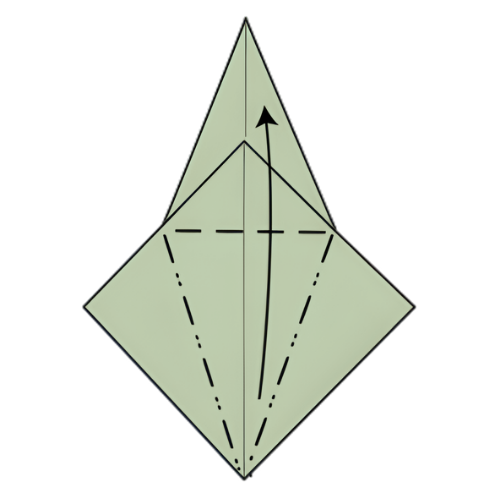
Just like in Step 8, lift the top layer and bring the bottom corner up to form another Petal fold.
Step 12
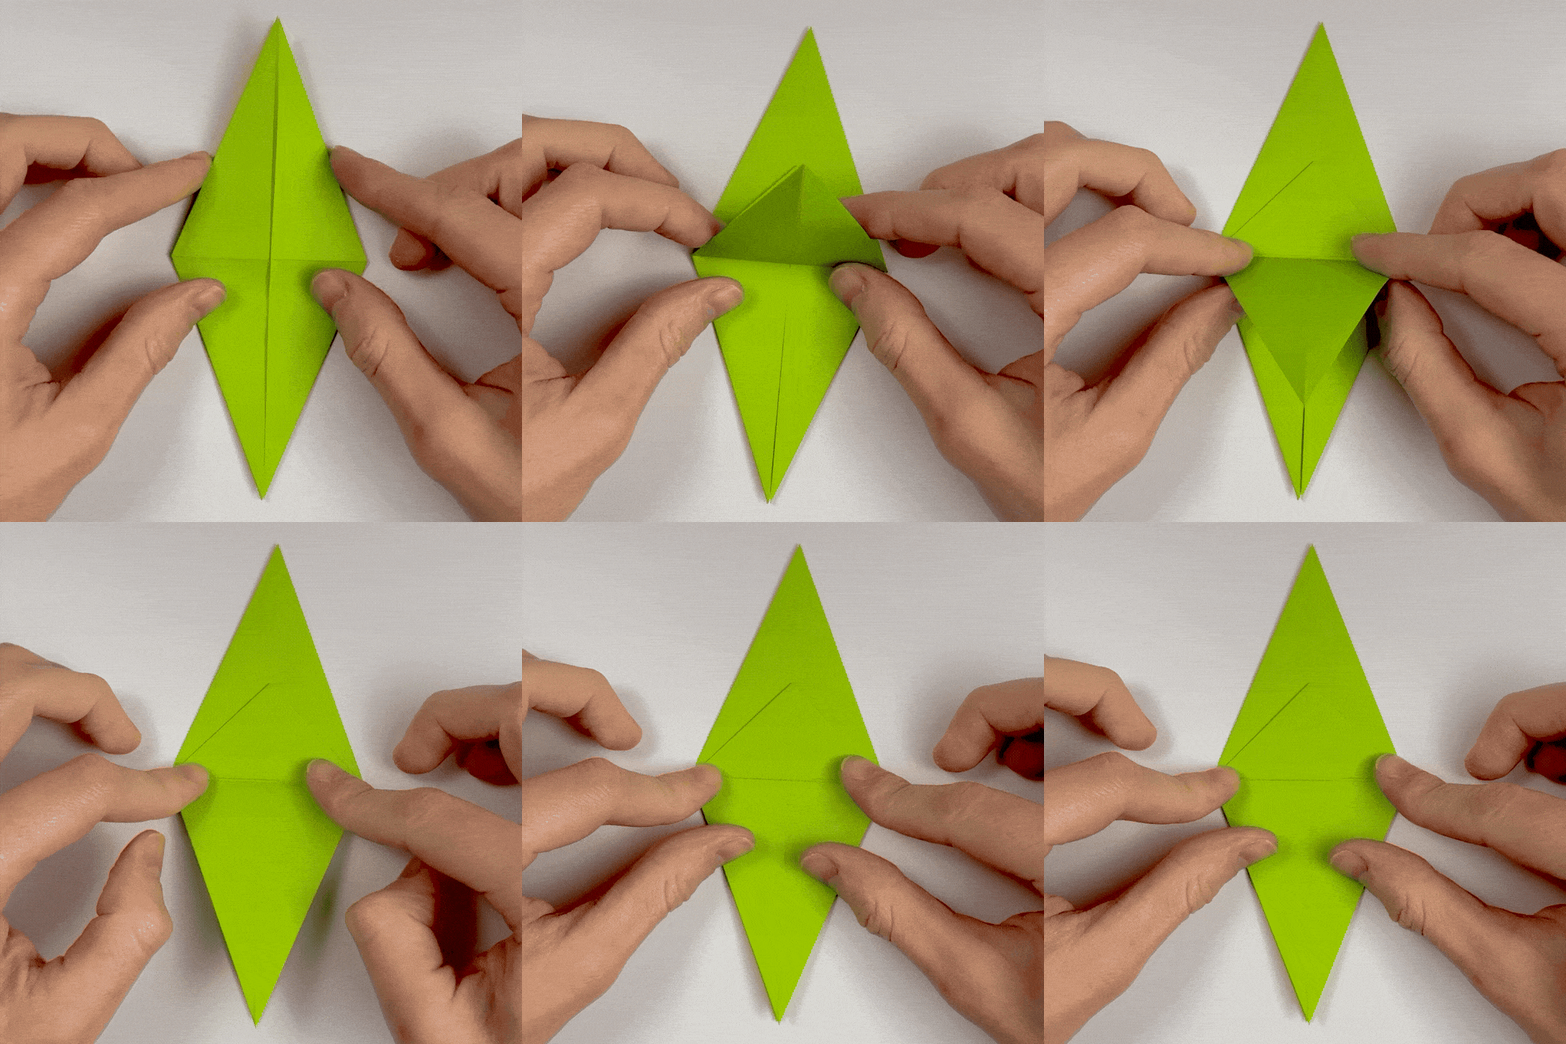
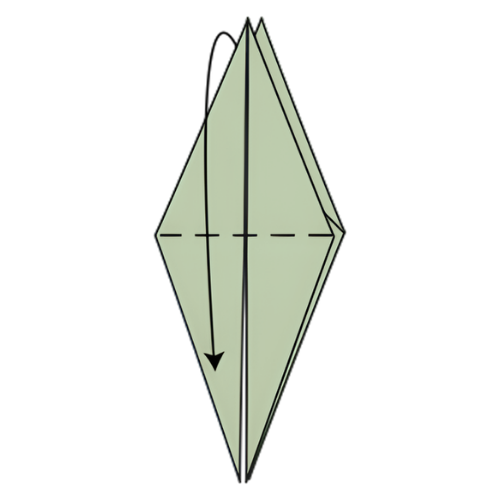
Fold the top flap down along the existing crease.
Step 13
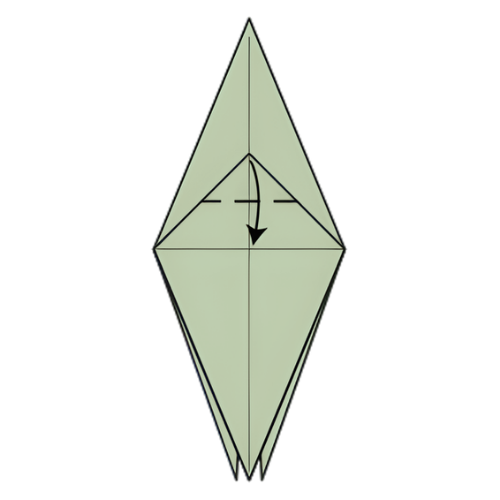
Fold the top corner of the middle flap down to the horizontal centerline.
Step 14
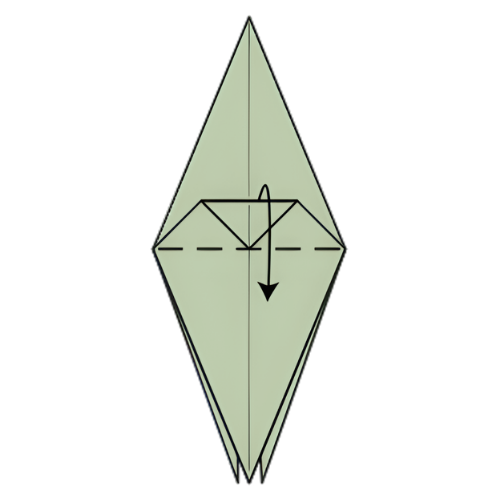
Fold the middle flap down along the horizontal centerline.
Step 15
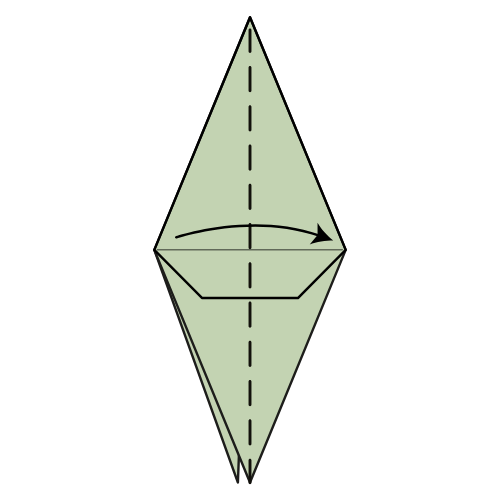
Fold the model in half from left to right.
Step 16
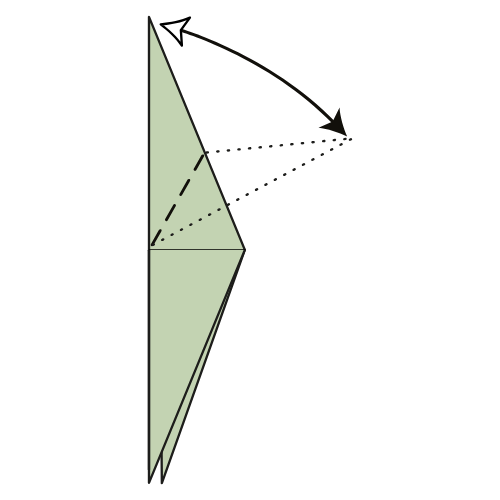
Fold the top corner to the right. Start your crease from the horizontal centerline. Crease well, then unfold.
🐦 Folding tip: There is no exact reference point for this fold. This will become the bird’s head, so fold it to your liking.
Step 17
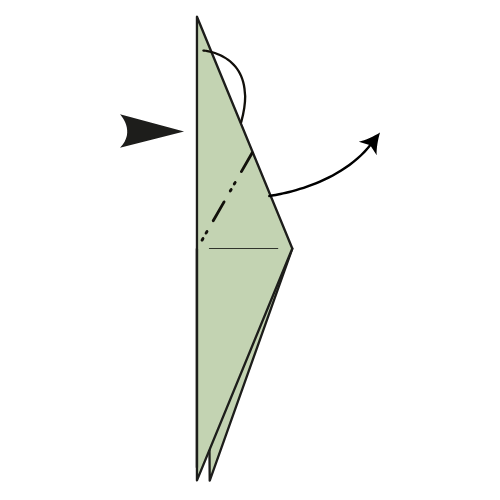
Inside reverse fold along the creases you just made to form the head.
Step 18
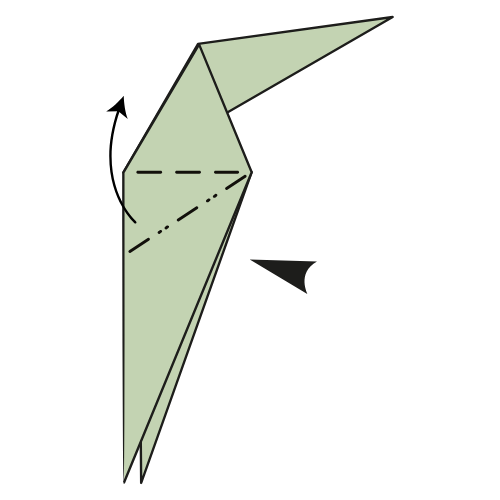
Lift the bottom flap. Place a finger under the first layer and gently separate the layers. Push on the left edge and squash fold.
🐦 Folding tip: We want the top and bottom parts of the wings to be symmetrical. Look at the back of your model and align the creases before squashing. Take your time here.
Step 19
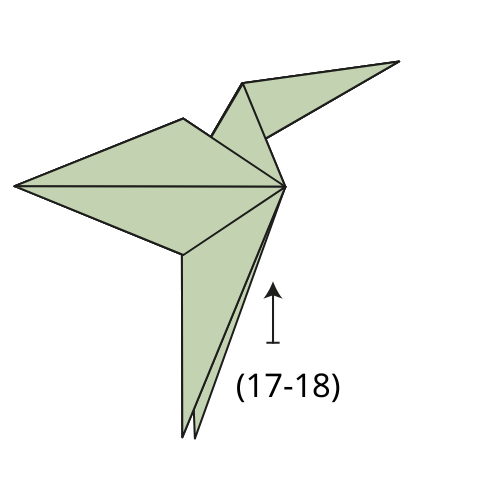
Repeat Steps 17 and 18 on the other side.
Step 20
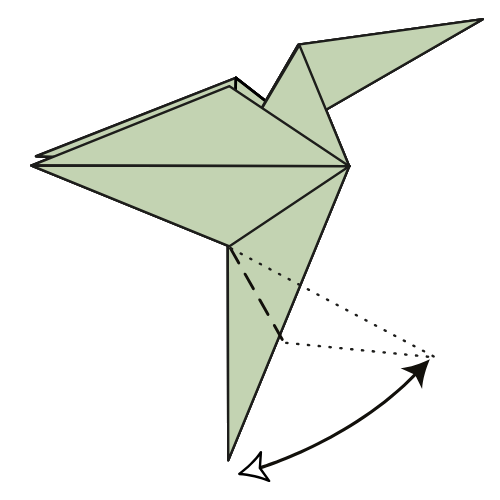
Fold the bottom corner to the right. Start your crease where the wing and body intersect. Crease well, then unfold.
🐦 Folding tip: Again, there is no exact reference point for the tail. Just fold it in a way that looks good to you.
Step 21
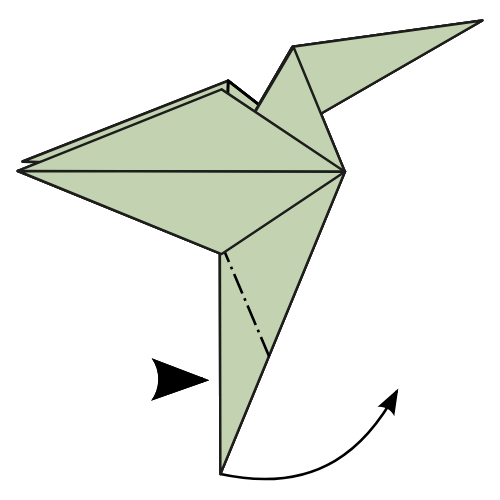
Inside reverse fold along the creases you just made to form the tail.
Step 22
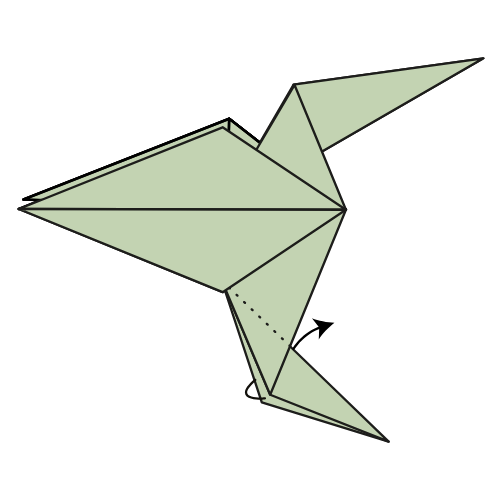
Fold the flap at the back of the tail upward.
Step 23
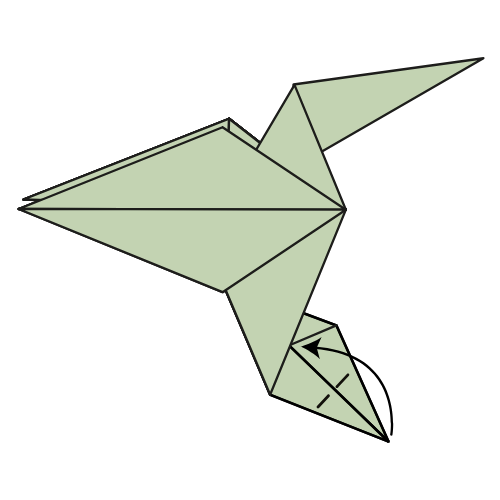
Fold the bottom corner up to the point where the layers intersect.
Step 24
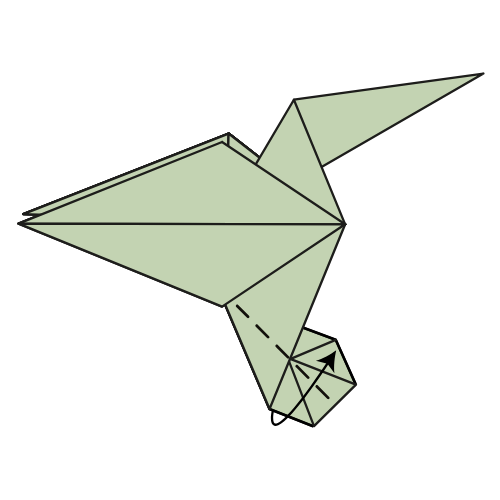
Fold the tail in half from bottom to top.
Step 25
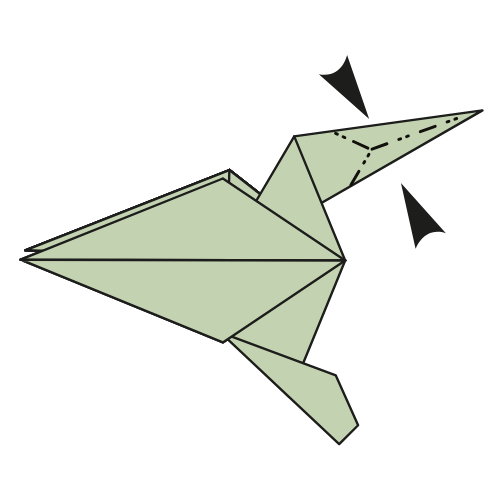
Pinch the head area to shape the beak.
🐦 Folding tip: Take your time and make precise folds. If this step feels tricky, check the video where I show exactly how to shape the beak. You’ve got this 👍
Your Origami Hummingbird Is Complete
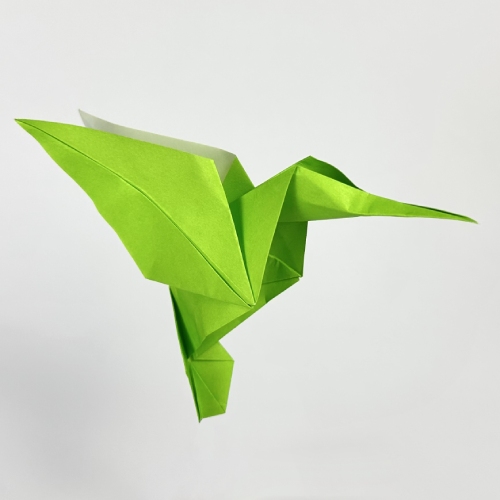
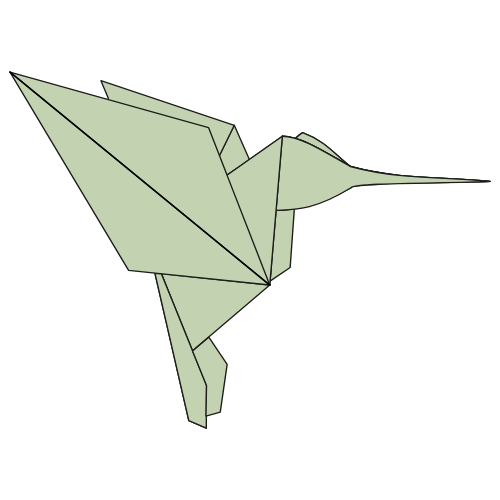
I hope you enjoyed folding this hummingbird and taking the time to shape it just the way you like.
If you make one, feel free to share a picture in the comments, I’d love to see how yours turned out.
And if you’d like more models like this, you can check out our origami animal collection or explore more origami birds on the site.
You can also subscribe to our origami YouTube channel for step-by-step video tutorials, and join our newsletter to get new models and ideas sent straight to your inbox.
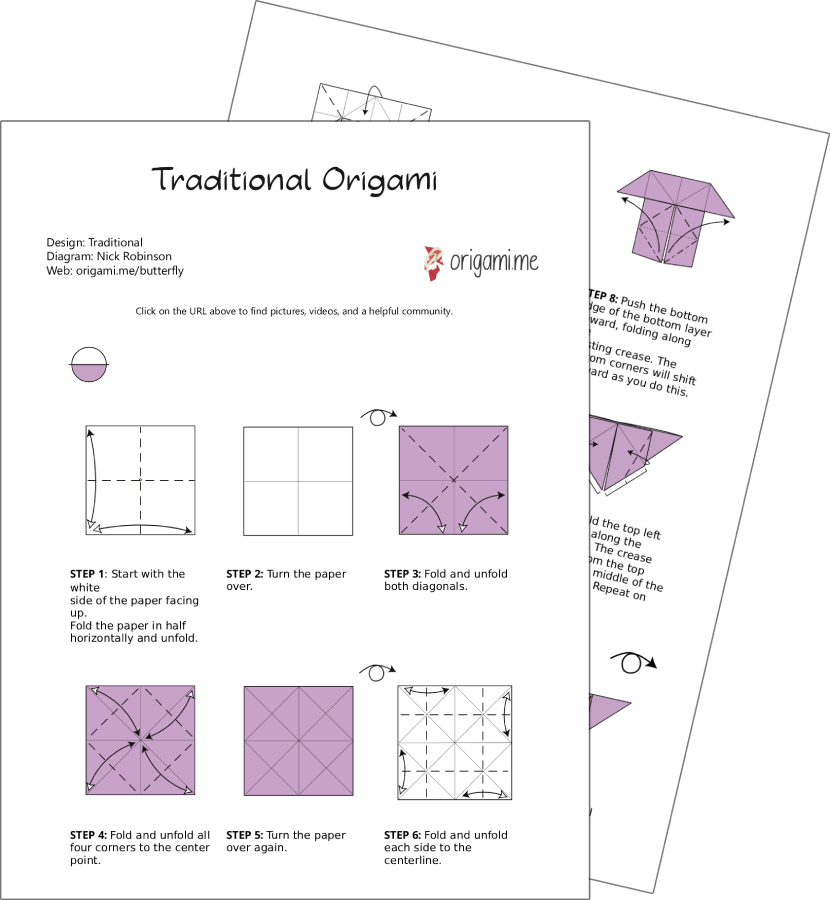
Download the Complete Origami Hummingbird Printable PDF Instructions
This printable PDF is part of our Origami Friends membership on Patreon. As a member, you get access to these diagrams, our full library of printable PDFs, and member-only content.
🎓 Need printables licensed for classroom or group use? See the Origami Library for Educators →





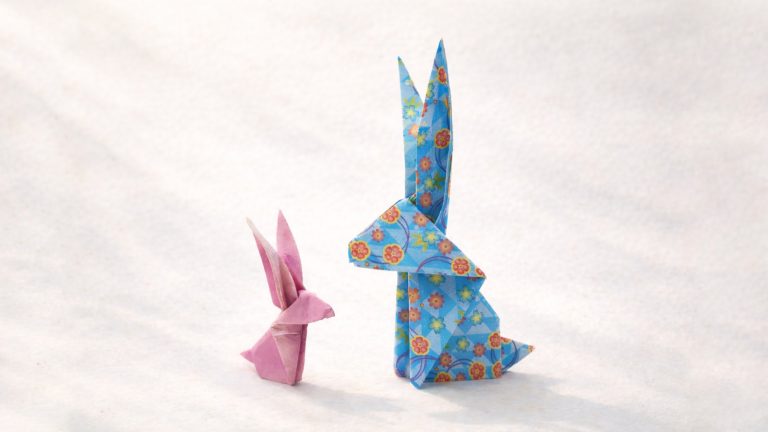

If you do the head/wings/tail the opposite direction of the instructions, you can get the color side on the wings.
Hi Sean! It’s always fun to modify a folding sequence and see how it goes 🙂
it cool I like it
yeah