
How to Fold an Origami Cat
Some origami models capture more than just a shape. They bring personality to life. This cute origami cat, designed by Nicolas Terry, does exactly that.
With clever folds that create a playful color change, this design gives this paper cat a unique expression and a striking appearance.
While it’s an easy model, a little folding experience will help with some details.
If you’re looking for a fun project that plays with contrast and character, this one is worth trying.
Let’s start folding!
Origami Cat Step-by-Step Instructions
- Difficulty: Easy – Beginner Level 5
- Folding time: 15 minutes
Recommended Paper
15×15 cm (6×6 in) Kami
Step 1


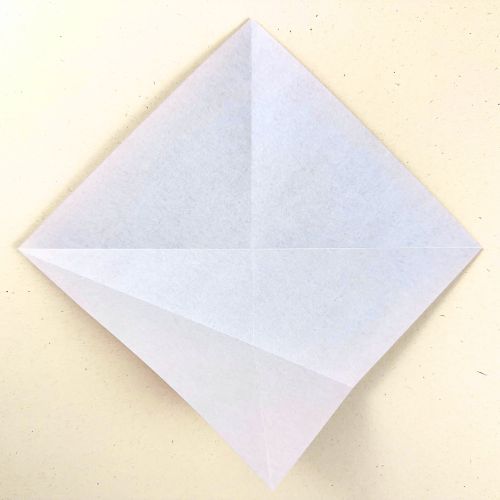
Start with the white side facing up. Fold the paper diagonally in both directions, then unfold.
Step 2

Fold the bottom left edge to meet the center crease.
Step 3

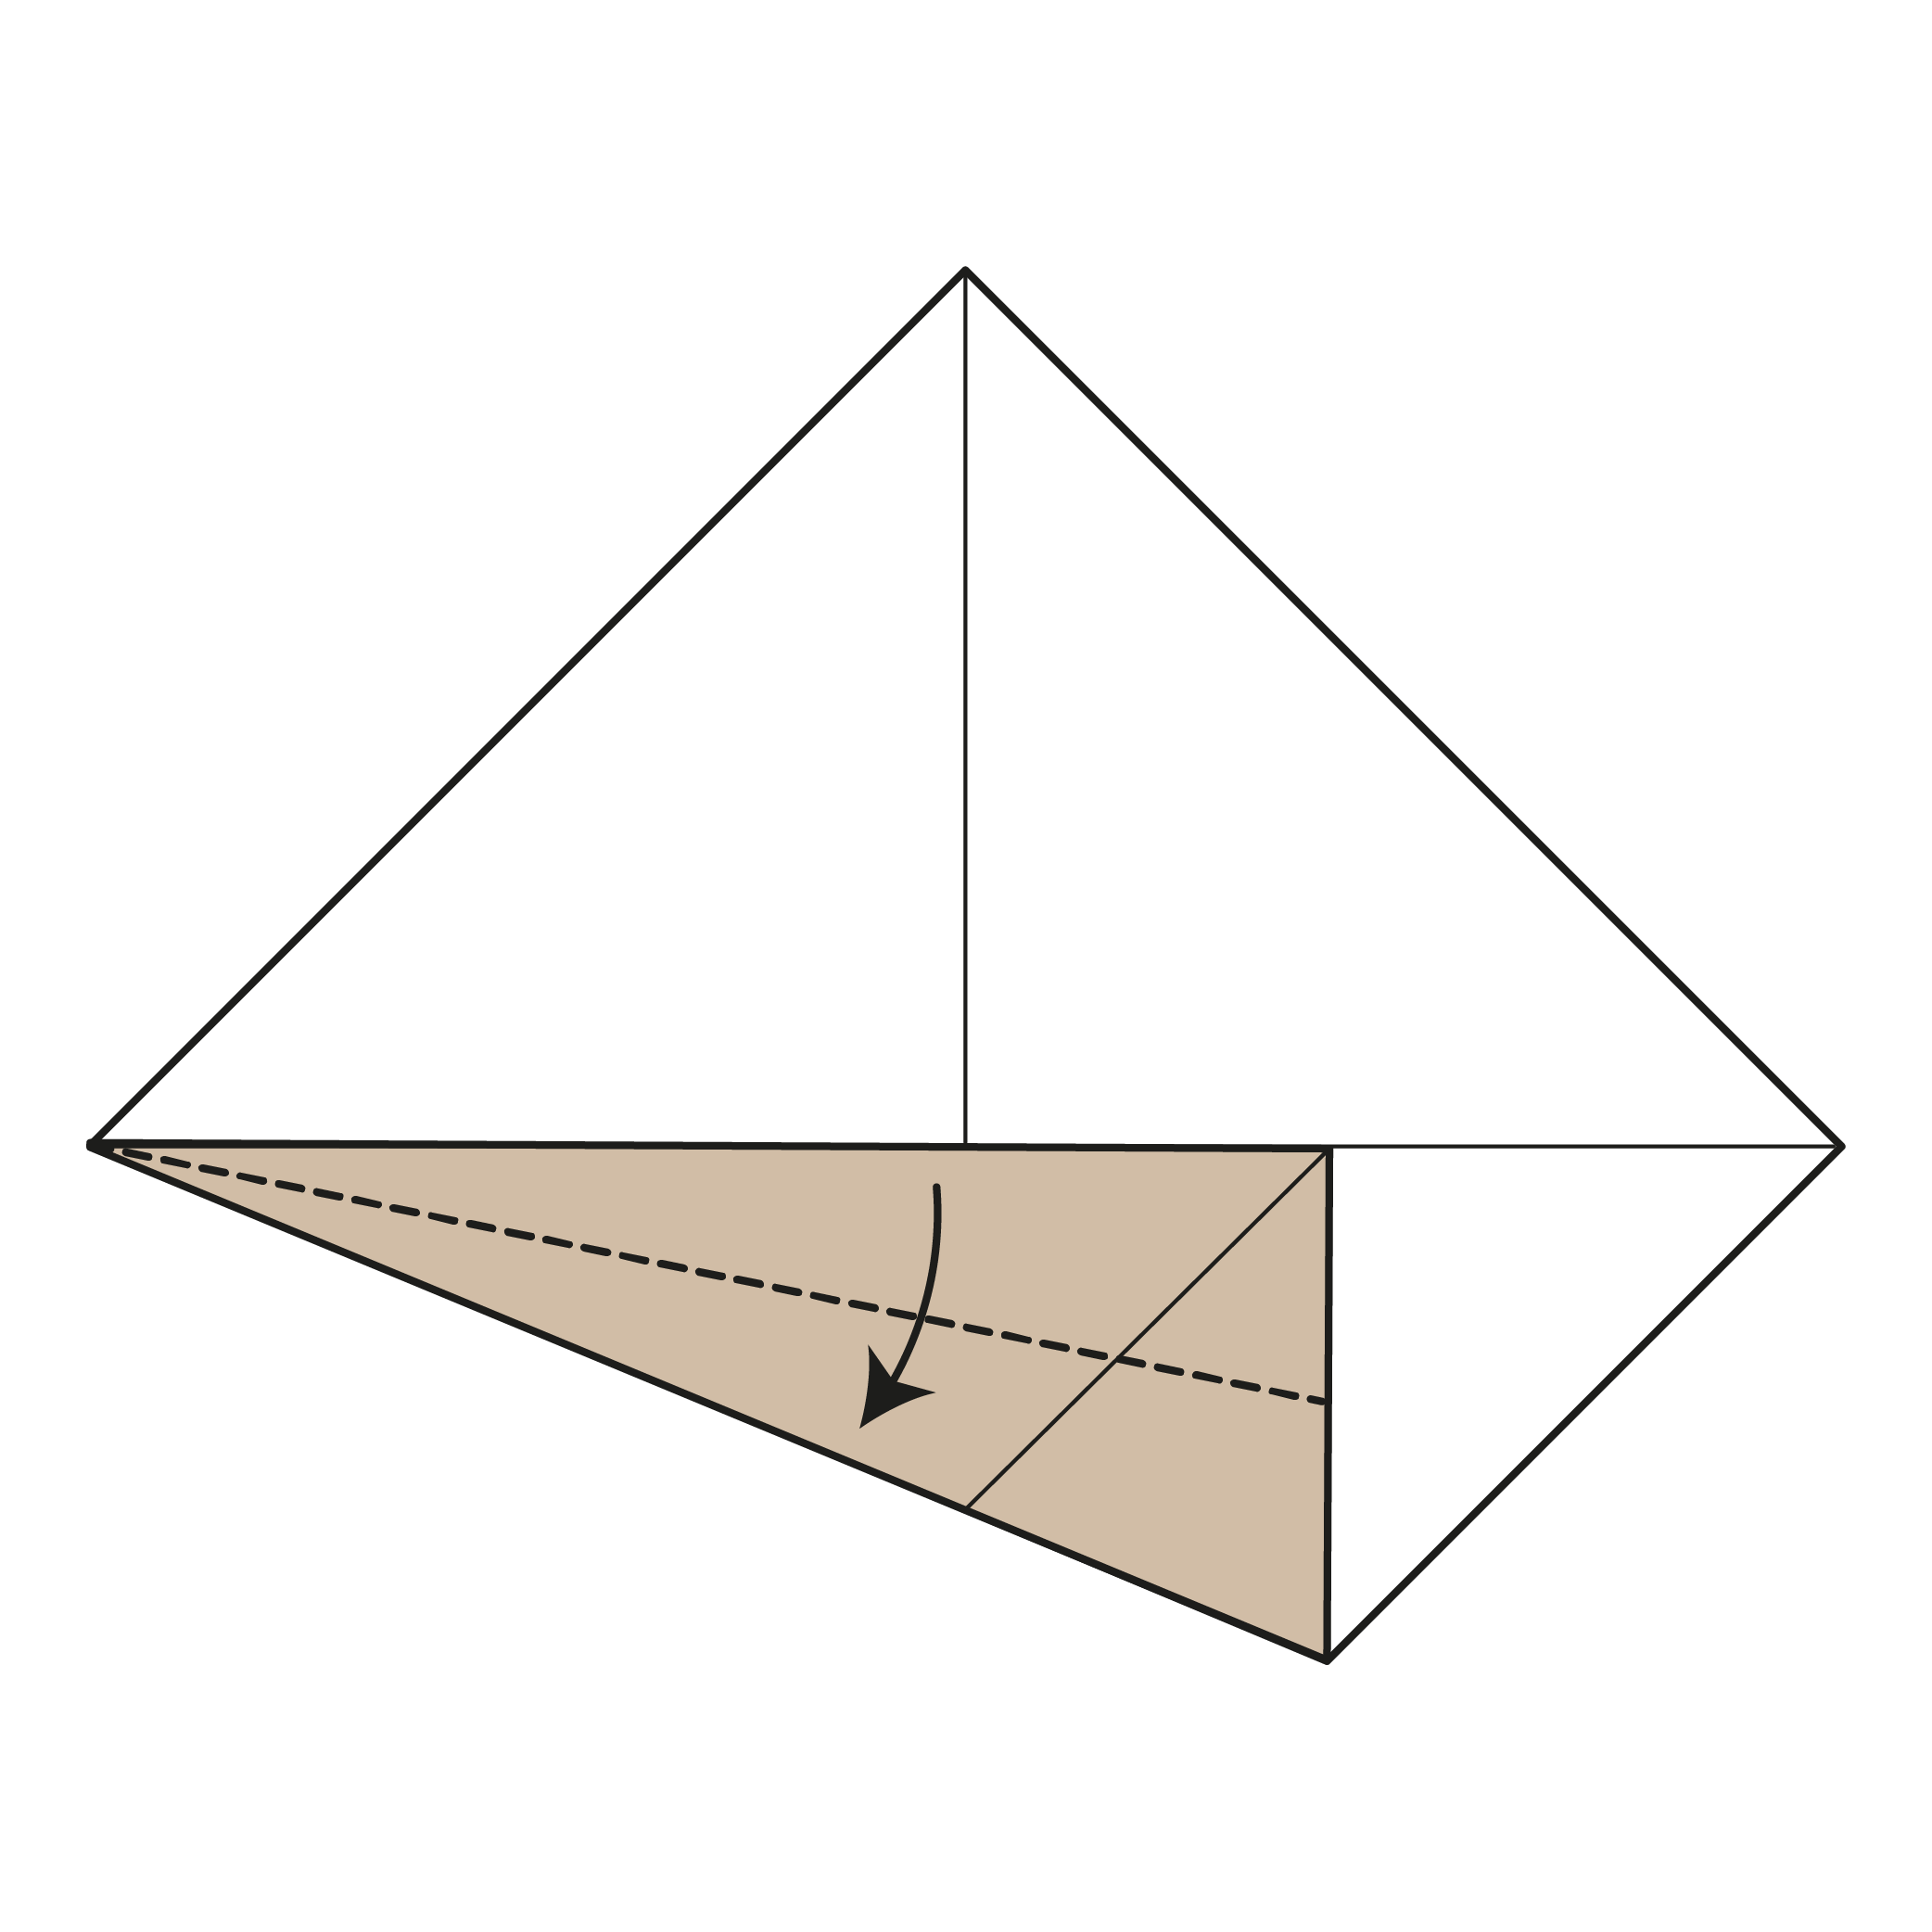
Fold the flap created in Step 2 in half.
Step 4


Unfold the flaps from Steps 2 and 3.
Step 5

Repeat Steps 2-4 on the right side.
Step 6

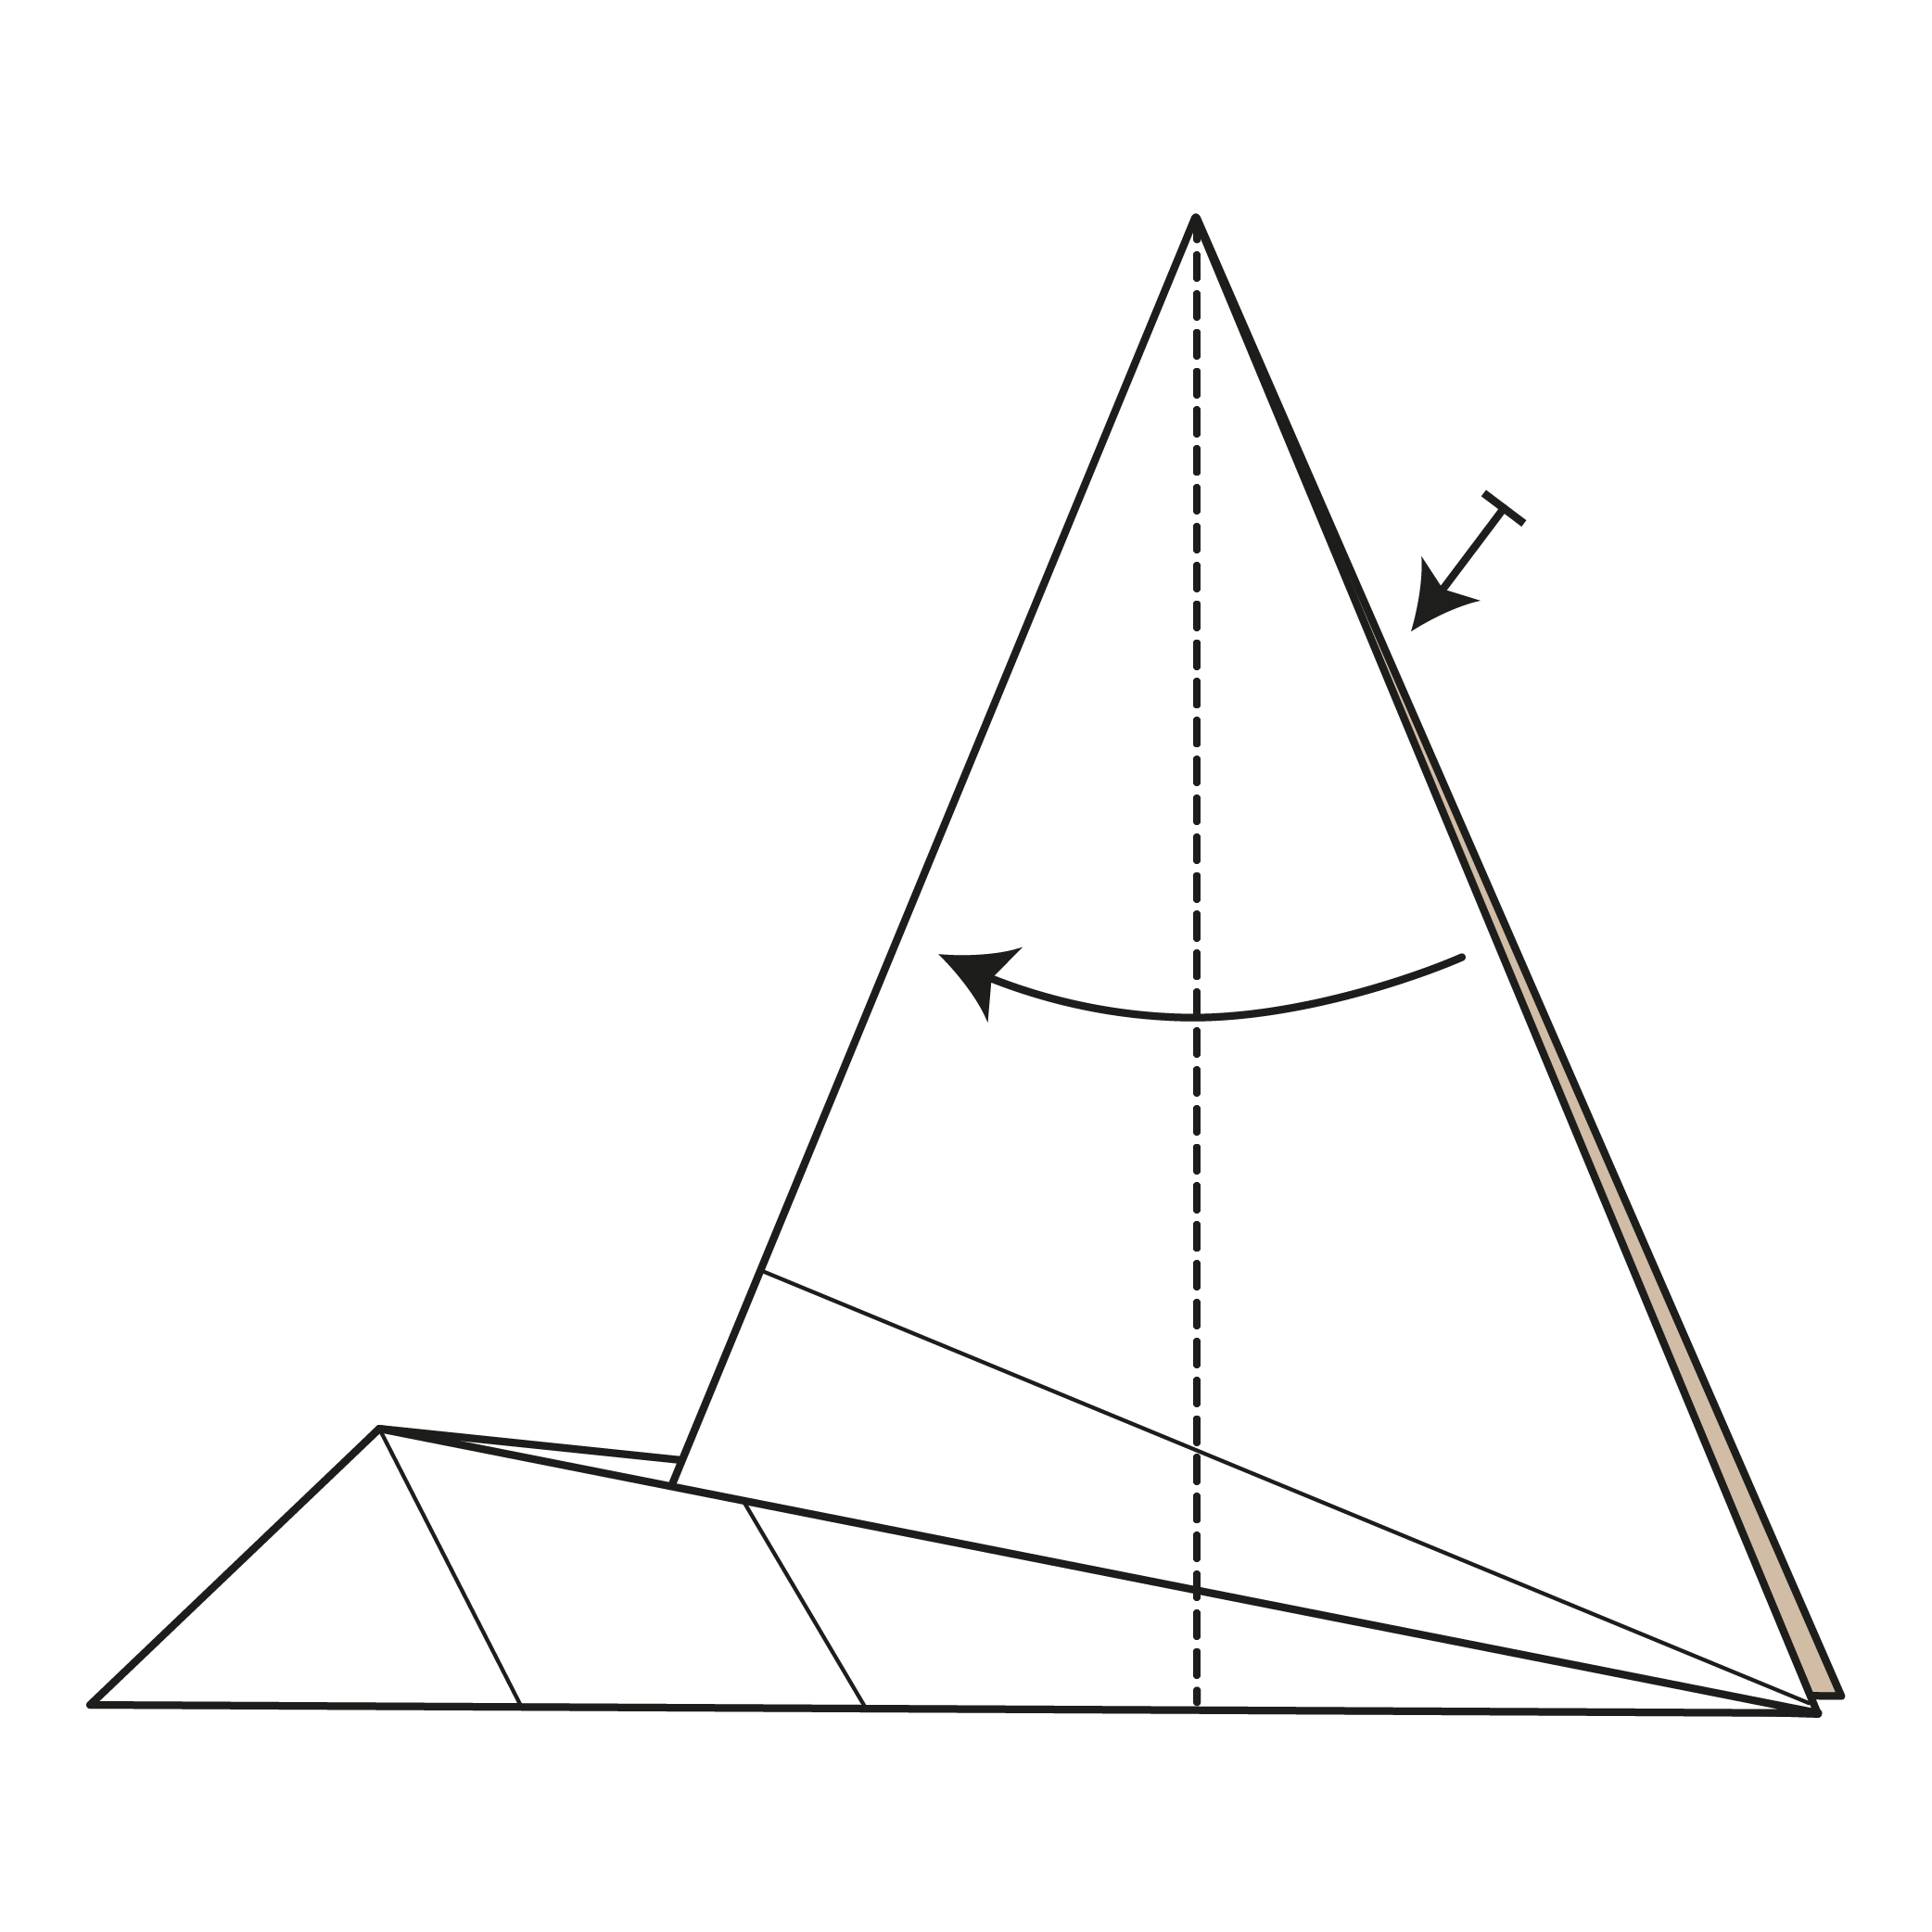
Mountain fold along the dotted lines, using the creases made in Steps 1 and 3.
Step 7

Fold along the dotted lines, using the creases from Step 2 as a guide.
Step 8

Mountain fold the model in half from left to right along the diagonal crease made in Step 1.
Step 9

Fold the triangle in half vertically on both sides.
Step 10


Fold and unfold the triangle in half by bringing the top corner to the bottom corner.
Step 11

Open the top flap of the triangle, and fold along the dotted line.
Step 12

Bring the top corner down to the bottom corner so the two triangles sit on top of each other.
Step 13

Fold the top flap up along the dotted line.
Step 14


Turn the model over.
Step 15

Open the triangle flaps and Squash.
Step 16


Turn the model over again.
Step 17


Fold along the dotted line, using the reference points as a guide.
Step 18

Make a mountain fold just below the cat’s ear.
🐱 Note: From Steps 18 to 22, the diagrams show the folds on only one ear, while both ears are folded in the photos and videos. You can choose to fold one ear at a time or both ears together. Whichever feels more comfortable!
Step 19

Fold along the dotted line, creating a crease that runs from the middle of the cat’s head to the bottom of the cat’s ear.
Step 20


Unfold the creases you made in Steps 18 and 19.
Step 21

Inside reverse fold the ear along the creases made in Step 19.
Step 22

Inside reverse fold the ear again, this time using the creases made in Step 18.
Step 23

Repeat Steps 18 to 22 on the other ear of the origami cat.
Step 24

Mountain fold the top of the cat’s head to hide the top triangle.
Step 25


Fold the bottom corner of the head up along the dotted line.
Step 26


Fold the top flap along the dotted line to form the origami cat’s snout.
Step 27

Mountain fold the first layer of the corner near the tail along the dotted line. Repeat on the other side.
Step 28

Fold the tail along the dotted line, using the reference points as a guide.
Step 29

Make mountain folds along both sides of the cat tail to give it a rounded shape.
The Completed Origami Cat


Well done! Your origami cat is complete, full of elegance and style.
Have fun trying out different paper designs! You’ll be amazed at how they can change the look of your final model.
Don’t hesitate to share your creations with us in the comments or on socials. We’d love to see them!

Download the Complete Origami Cat Printable PDF Instructions
This printable PDF is part of our Origami Friends membership on Patreon. As a member, you get access to these diagrams, our full library of 120+ printable PDFs, and member-only content.
Watch the Origami Cat Video Tutorial
Enjoyed this tutorial?
Subscribe to our YouTube channel for new inspiring origami videos every week!


This was AMAZING! It was so fun to learn! Some advice I have for u is maybe next time make the captions more detailed for the complicated parts(where you have to squash fold is the hardest part for me).