
How to Fold a Very Easy Origami Butterfly
This origami butterfly, inspired by Akira Yoshizawa’s classic design, will bring a fresh splash of color to your home.
Easy to fold yet incredibly elegant, it’s the ideal project for a calming creative break or a stylish decoration.
Choose your favorite patterned paper to make each butterfly uniquely yours. Smaller papers (around 3×3 in or 7.5×7.5 cm) also work wonderfully if you’d like to add these butterflies to your indoor plants. They’ll appear ready to flutter off the leaves!
Origami Butterfly Step-by-Step Instructions
- Difficulty: Easy – Beginner Level 2
- Folding time: 5 minutes
Recommended Paper
15×15 cm (6×6 in) Kami or Chiyogami
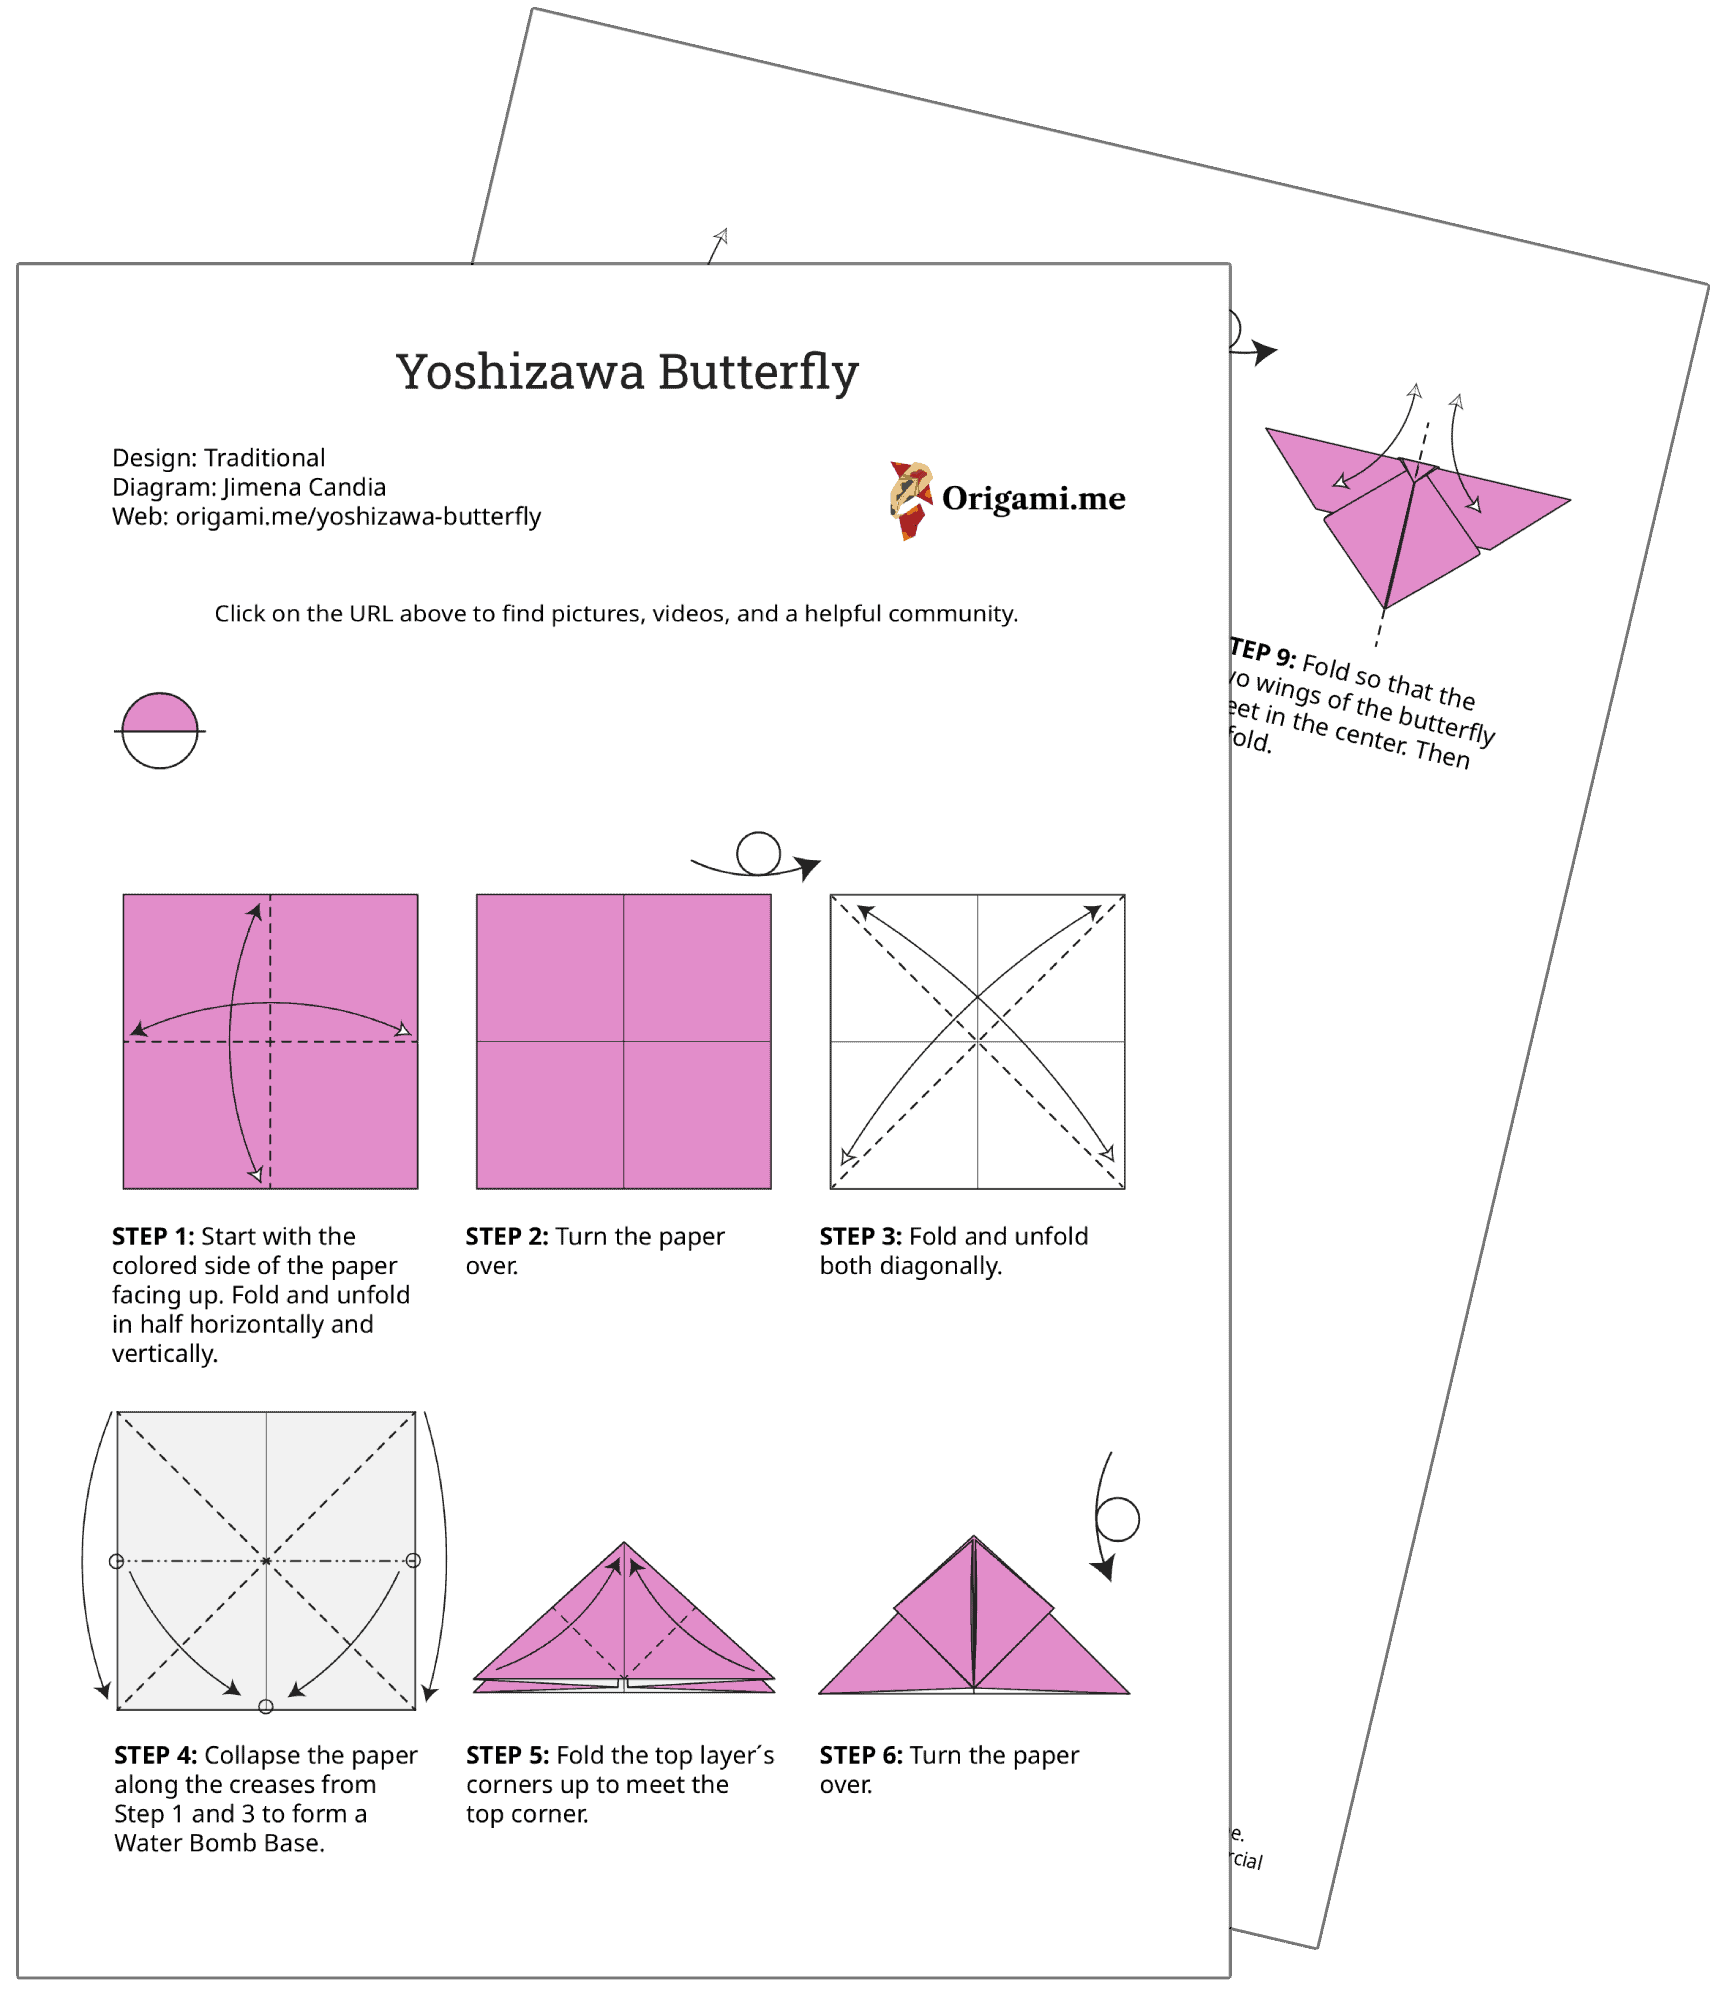
Step 1

Start with the colored side of the paper facing up. Fold and unfold in half both horizontally and vertically.
Step 2

Turn the paper over.
Step 3

Fold and unfold both diagonals.
Step 4

Collapse the paper as shown on the diagram using the existing creases, making the Waterbomb base.
Step 5

Fold the top layer ́s corners up to meet the top corner.
Step 6

Turn the model over.
Step 7

Gently lift the bottom corner of the top layer up. Then, make a soft fold at the center without flattening the sides. Make sure the corner goes over the edge of the paper.
Step 8

Fold the top corner tip down over the top edge and crease firmly. Then, turn the model over.
Step 9

Gently fold the wings toward you to help shape the butterfly and lock the model in place.
🦋 Folding tip: Depending on the type of paper you’re using, the model may not hold together properly. If that happens, you can add a little glue under the top flap to keep everything secure.
The Completed Yoshizawa Origami Butterfly

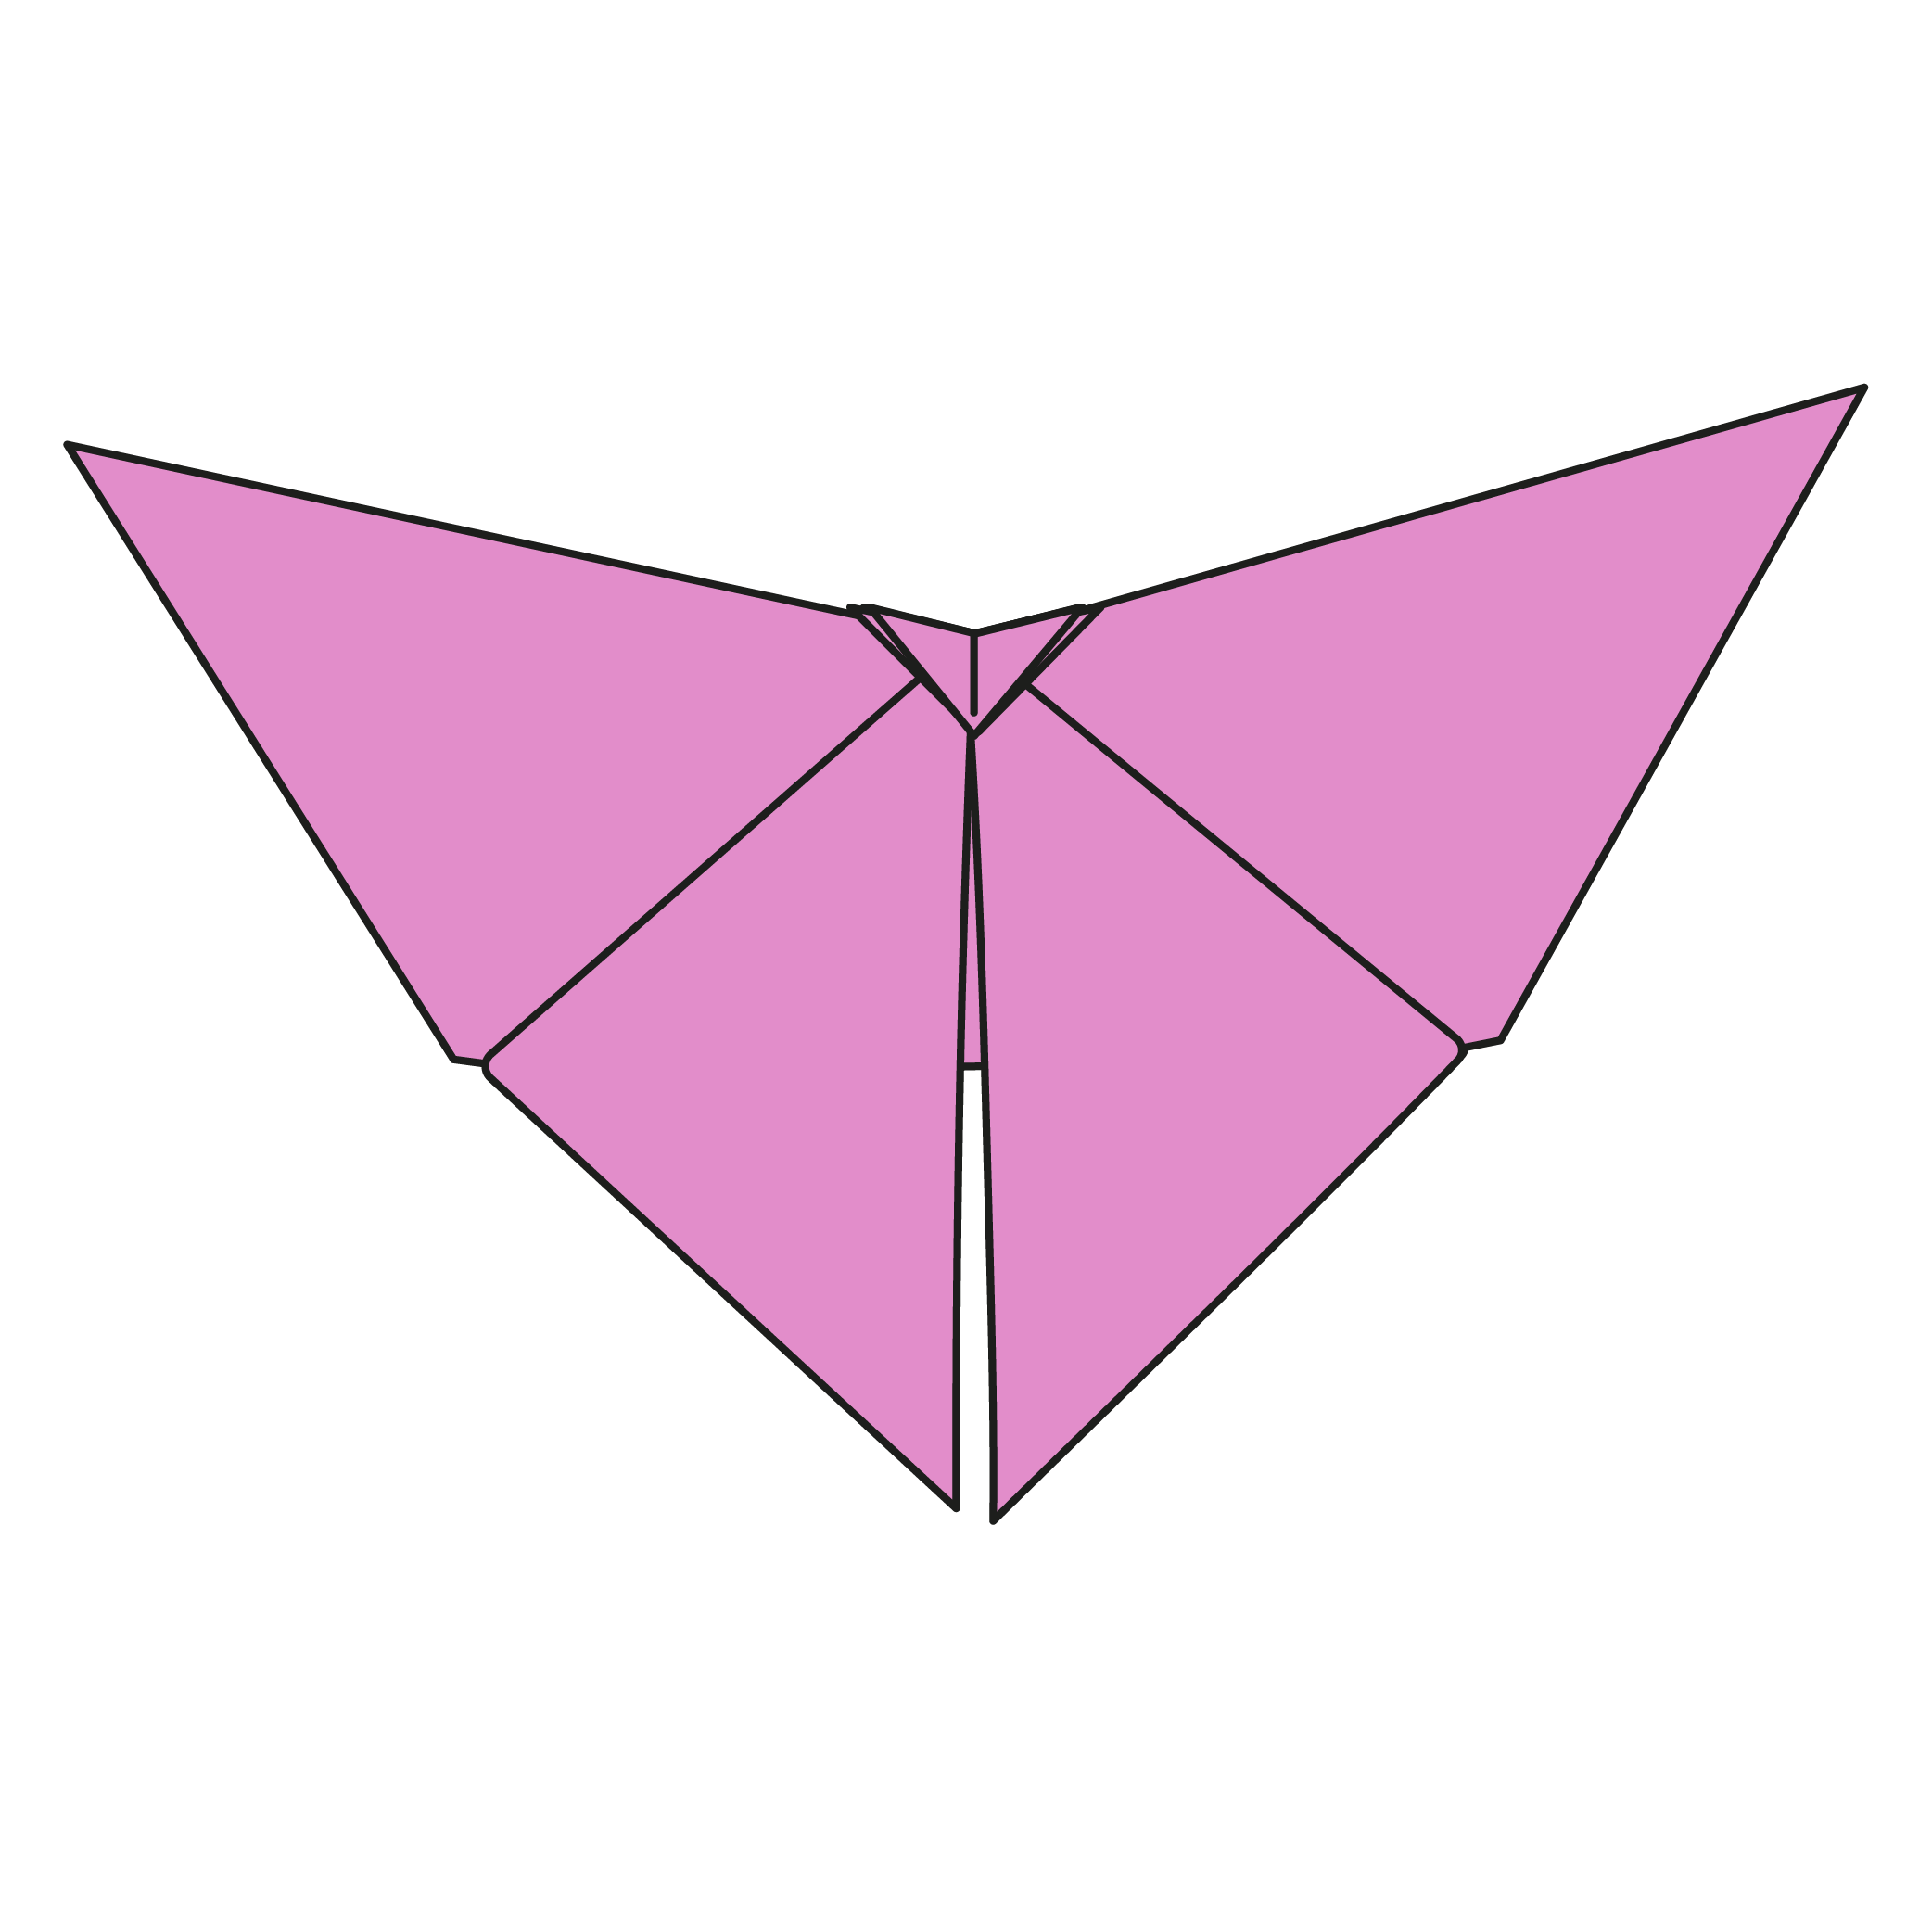
Congratulations on folding your origami butterfly!
Go ahead and have fun folding some more using different types of paper and sizes! It’s a great way to add a creative touch around your home or among your plants.
We’d love to see your butterflies, so feel free to share them in the comments or tag us on social media.
Other Origami Butterflies:

Download the Full Origami Butterfly Printable PDF
Instructions
We’d love to keep you in the loop, so by sharing your email with us, you’ll be signed up for our mailing list. Don’t worry; we won’t bombard you with spammy emails, and your information is safe with us – we won’t share it with anyone else.
Watch the Origami Butterfly Video Tutorial
Enjoyed this tutorial?
Subscribe to our YouTube channel for new inspiring origami videos every week!


I make these butterflies whenever I have some spare paper, I made some decorations for their wings as well, they do look quite lovely.
Love the creativity! Thanks for sharing!
2nd time trying this and the first one was great with white paper but when I tried it with colored paper it looked ugly 😭 😞 😞
I made mine out of post-it!
Awesome! I’m working on a sticky note origami series. Sticky notes are tricky to fold with 😉
here’s mine! 😆
Beautiful folds and paper! Thanks for sharing, Claudia.
Nice
so nice to make and would make more, the results are really nice!
It turned out so nice! I gave it to my mom and she said it was so cute!
So it is a little hard but I haven’t seen a much easier way to make a paper butter fly
Totally fair! The first time can feel a bit tricky, but once you get the hang of it, it becomes really easy. This one’s a great balance between simple steps and a pretty result.