How to Fold an Origami Camellia
This traditional origami camellia is a beautiful model with a calm, meditative folding sequence. It starts with two simple steps that unlock a whole structure of helpful creases and reference points, making the rest of the model feel smooth and guided.
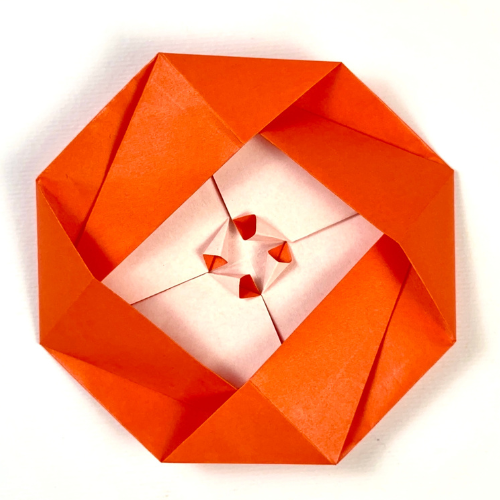
It’s easy to learn, but just challenging enough to be satisfying, making it a perfect fold for a quiet coffee break. The finished camellia has a lovely color change at the center.
With a few light squash folds, you can even open up the inner flaps and reveal a second, more subtle color change, echoing the flower’s pistils.
Origami Camellia Step-by-Step Instructions
- Difficulty: Easy – Beginner Level 3
- Folding time: 5 minutes
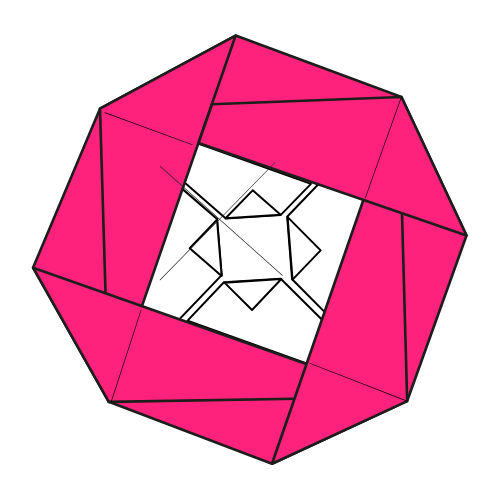
Recommended Paper
15×15 cm (6×6 in) Kami
Step 1
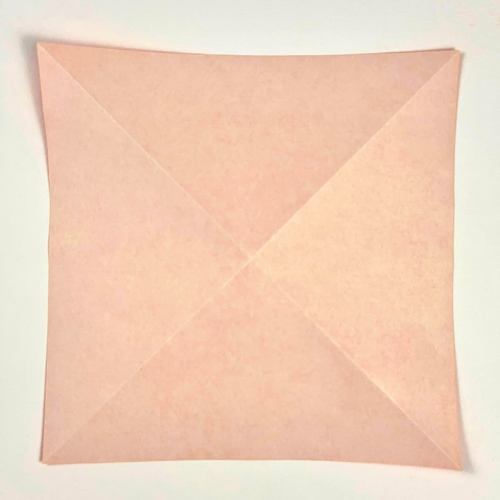

Start with the white side of the paper facing up. Fold and unfold both diagonals.
Step 2

Fold the bottom edge up to meet the diagonal crease.
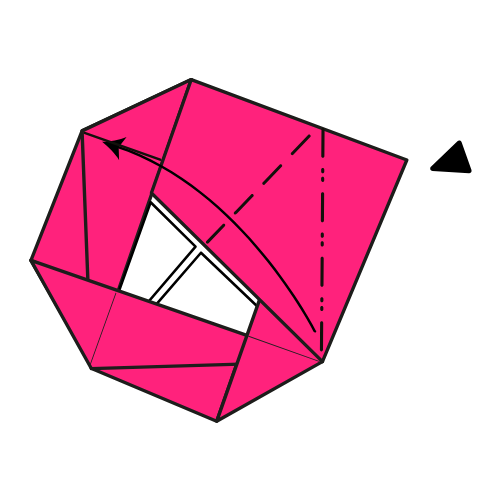
Step 3
Fold the right edge to the diagonal crease. Use the reference point as a guide.
Step 4

Fold the top edge to the diagonal crease. Again, use the reference point as a guide.
Step 5

Fold the left edge over to where the layers overlap.
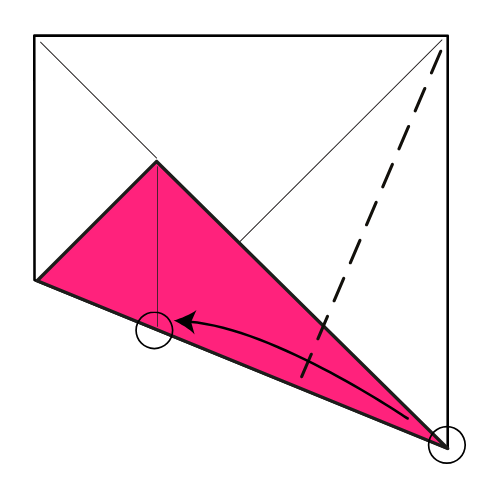
Step 6

Fold the top left corner to the right, using the reference point and existing creases as guides. You’ll need to reverse fold the bottom left part of the model.
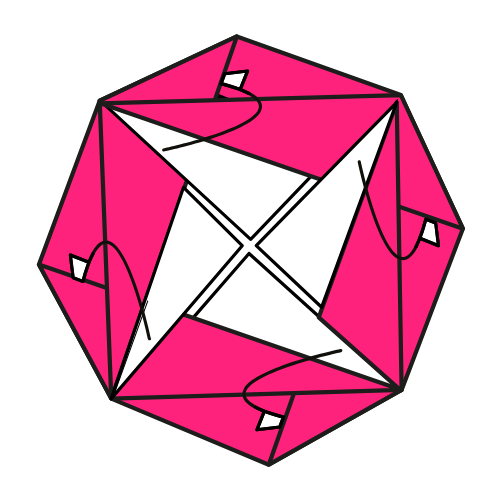
Step 7
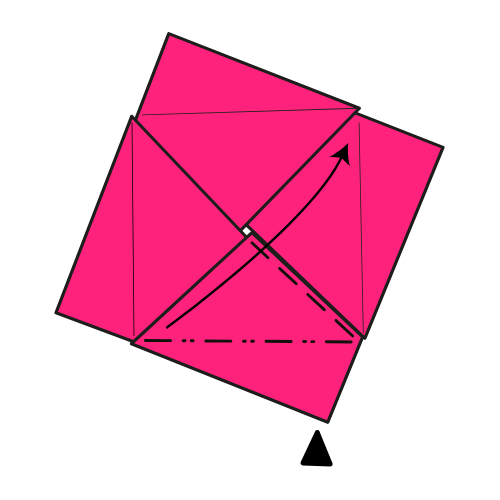
Fold the bottom flap upward along the existing creases. Align the edges, then squash fold.
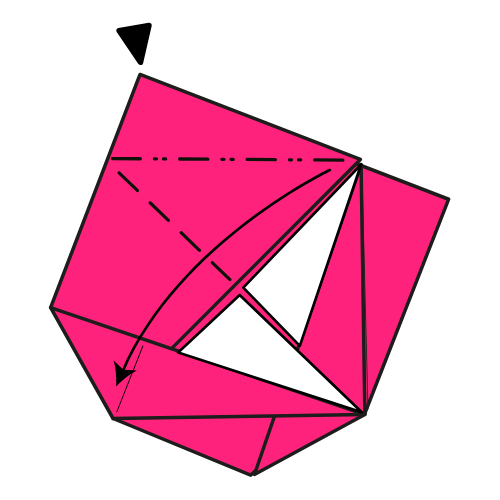
Step 8

Repeat the same squash fold for the left flap.
Step 9
Repeat the same squash fold for the top flap.
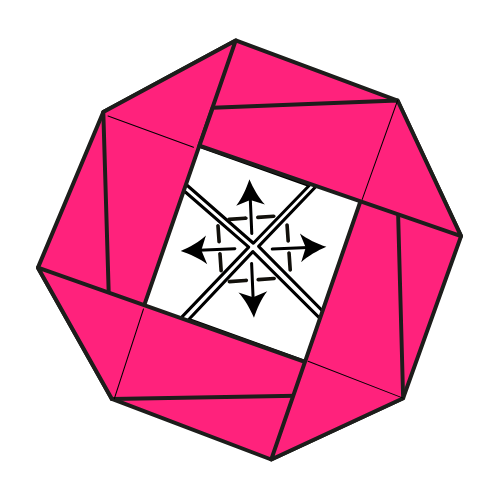
Step 10

Untuck the flap located at the top right of the model and move it to the top.
Step 11
Fold the flap from Step 10 to the left using the existing creases as guides. Align the edges, then squash fold.
Step 12
Tuck all the triangle tips into the flaps underneath them.
Step 13
At the center, gently fold all corners outward.
🏵️ Folding tip: You can lightly squash these new flaps to create a color change that looks like the center of a camellia (pistil).
The Completed Traditional Origami Camellia 🏵️
Whether you folded a bold red bloom or a softer pastel version, we hope this camellia brought a bit of calm and color to your day. It’s a simple pleasure to fold and even more enjoyable when shared.
For more relaxing tutorials like this one, subscribe to our YouTube channel and join our newsletter. We’d love to fold with you again soon.

Download the Complete Origami Camellia Printable PDF Instructions
This printable PDF is part of our Origami Friends membership on Patreon. As a member, you get access to these diagrams, our full library of printable PDFs, and member-only content.
Watch the Origami Camellia Video Tutorial
Enjoyed this tutorial?
Subscribe to our YouTube channel for new inspiring origami videos every week!