
How to Make an Easy Origami Butterfly
If you’re in the mood for a gentle, timeless fold, this is a lovely model to start with. In this post, you’ll learn to fold this origami butterfly, a traditional design that’s simple, elegant, and still very expressive.
Butterflies are often associated in Japan with change and transformation, which makes them a natural subject for origami. This model doesn’t rely on complexity. A few clean folds are enough to give it a soft, balanced shape that works just as well as a small decoration as it does as a gift.
It also happens to be a great match for patterned paper. Smaller chiyogami sheets, around 2×2 in or 3×3 in, really shine here and give each butterfly its own personality.
All you need is a square sheet of paper and a few quiet minutes to end up with a delicate butterfly that’s easy to display, gift, or keep nearby.
Traditional Origami Butterfly Step-by-Step Instructions
- Difficulty: Easy – Beginner level 3
- Folding time: 5-10 minutes
Recommended Paper
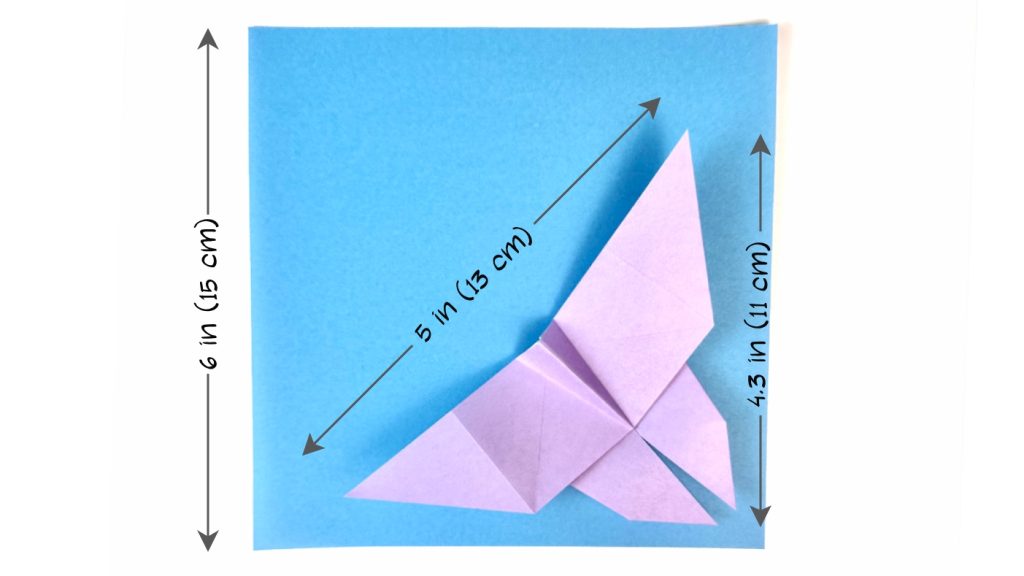
15×15 cm (6×6 in) Kami. This model also does well with smaller paper and chiyogami.
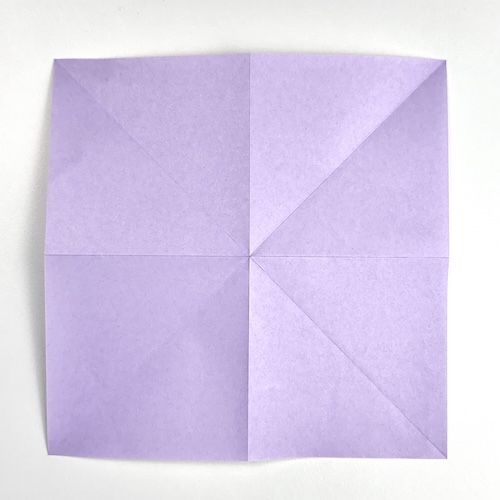
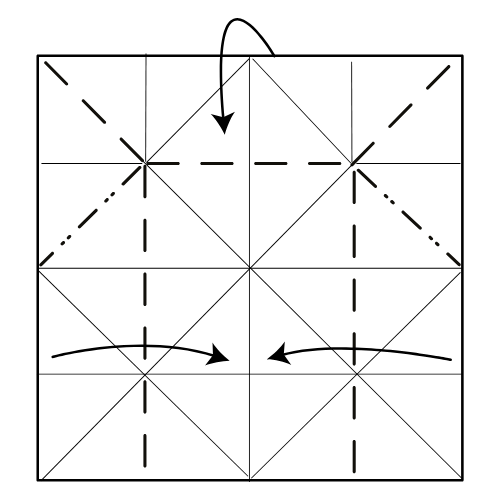
Step 1
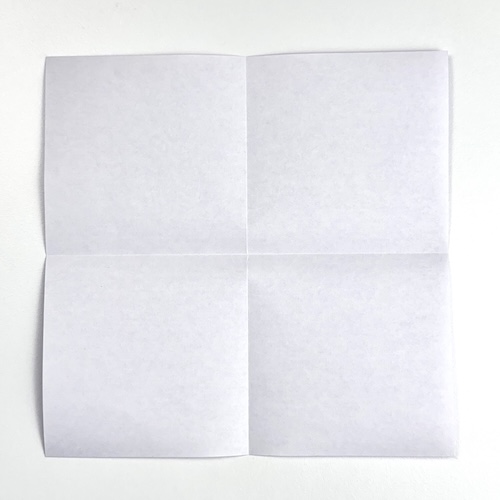
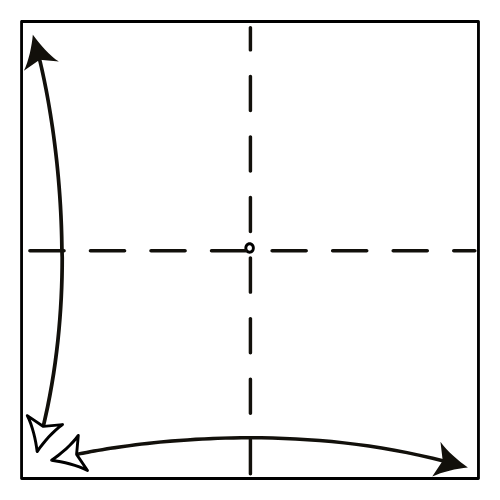
Start with the white side of the paper facing up. Fold the paper in half horizontally and unfold. Then fold it in half vertically and unfold.
Step 2

Turn the paper over.
Step 3
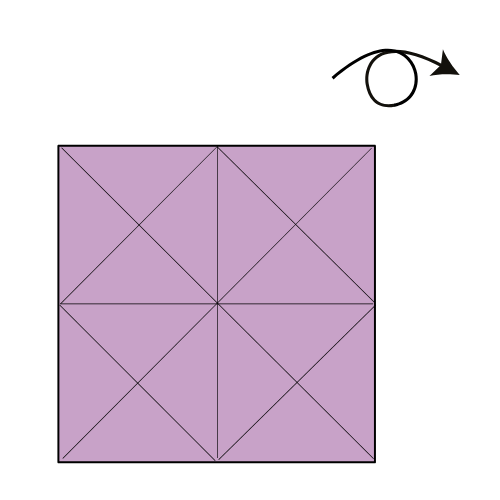
Fold and unfold both diagonals.
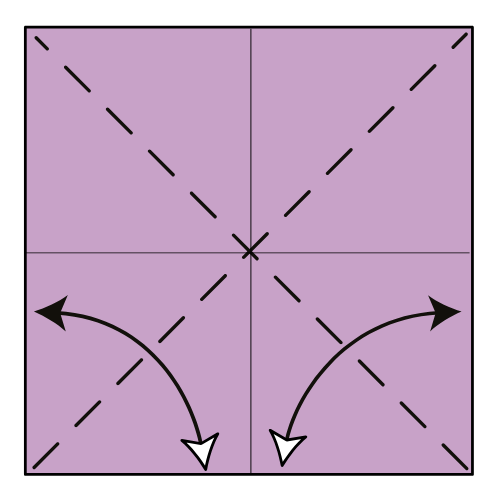
Step 4
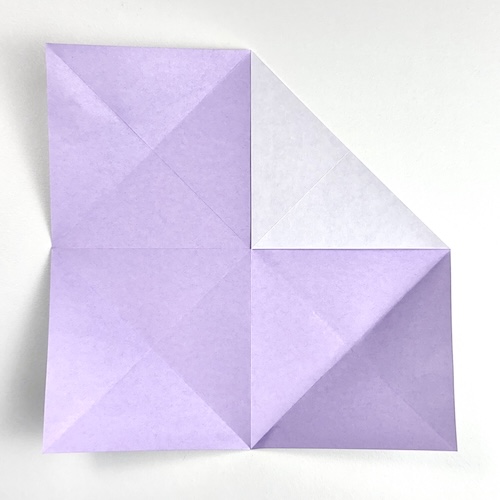
Fold and unfold all four corners to the center point.
🦋 Folding tip: Instead of aiming directly for the center point, focus on where your folds intersect the horizontal and vertical crease lines. You’re creating diagonal folds within each of the four square areas.
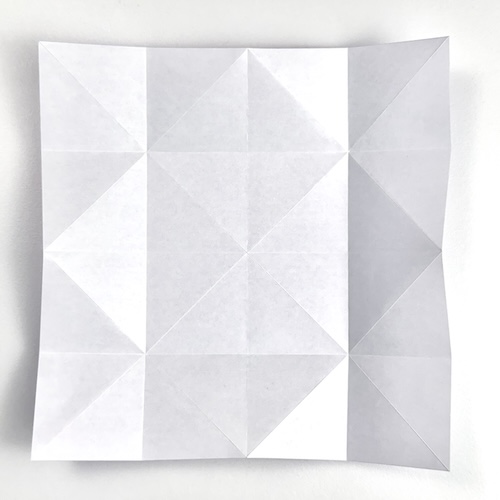
Step 5
Turn the paper over again.
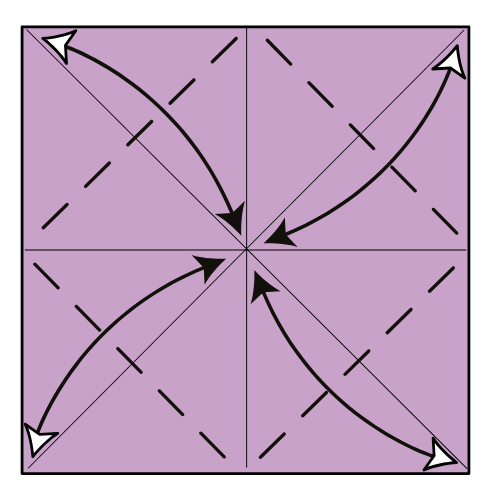
Step 6
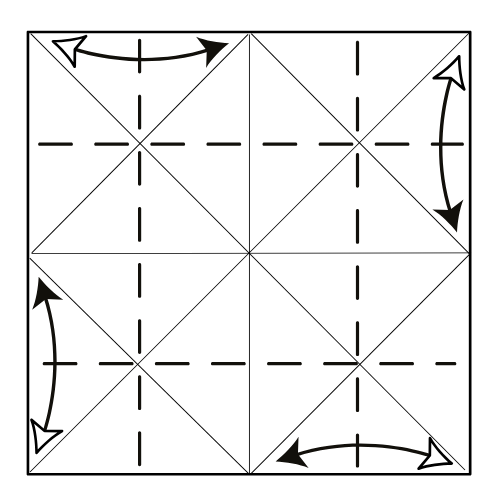
Fold and unfold each side to the centerline.
🦋 Folding tip: Use the creases you’ve already made as guides. Everything should line up cleanly.
Step 7
Collapse the model along the existing creases. Start by folding the left and right edges to the vertical centerline. Then, fold the top edge downward.
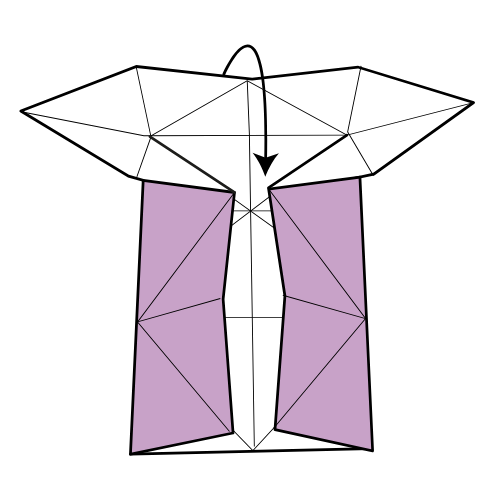
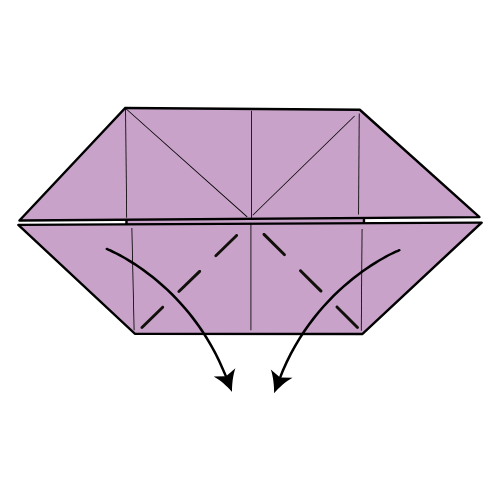
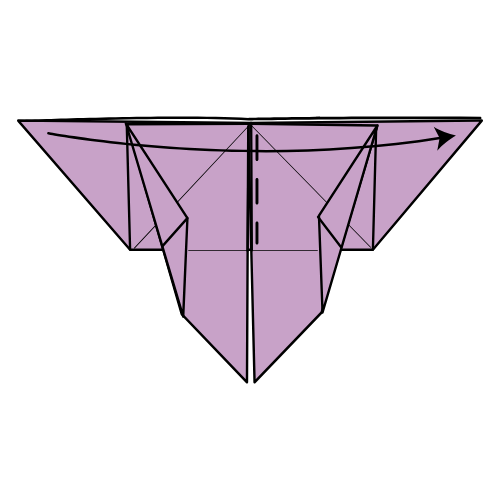
Step 8
Push the bottom edge of the bottom layer upward, folding along the existing crease. The bottom corners will shift outward as you do this.
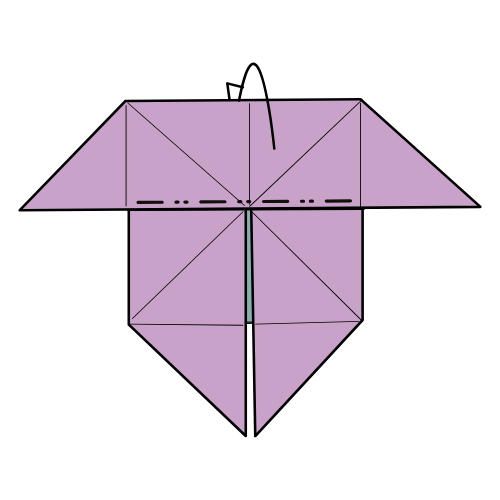
Step 9
Fold the bottom left and right flaps downward along the existing creases.
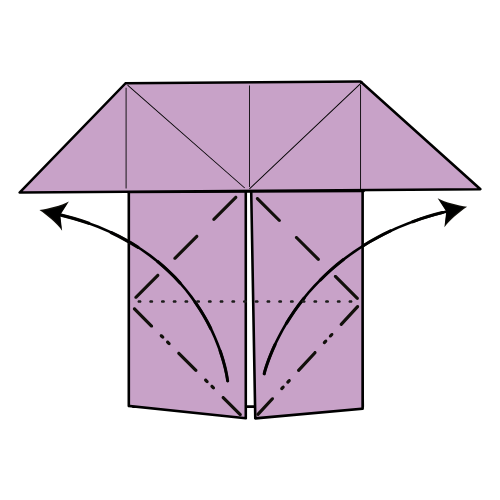
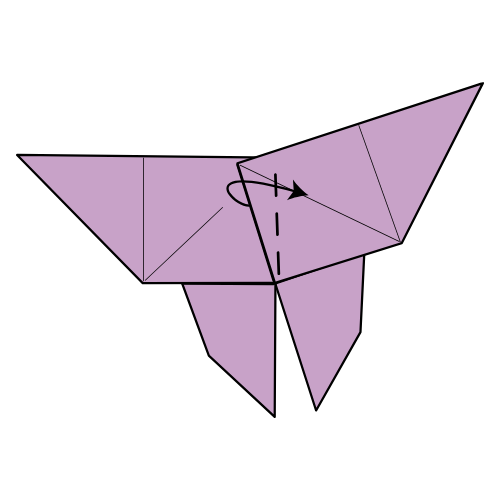
Step 10
Mountain fold the top section backward, behind the model.
Step 11
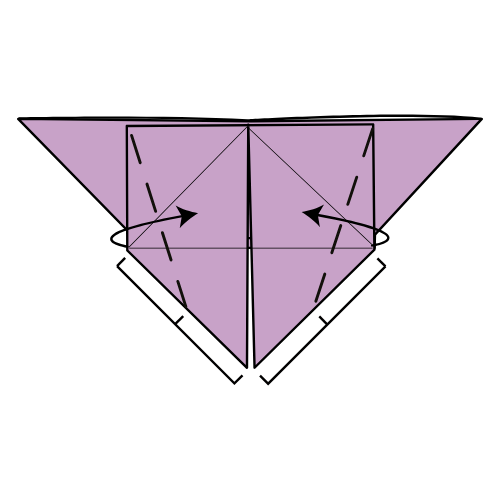
Fold the top left flap inward along the dashed line. The crease should go from the top corner to the middle of the bottom edge. Repeat on the right side. This will to narrow the body of your butterfly.
🦋 Folding tip: To help with symmetry, pinch the bottom edges in half to mark small reference points. This makes it easier to line up both sides evenly.
Step 12
Fold the entire model in half from left to right.
Step 13

Fold the top flap to the left along the dashed line. There’s no exact reference here, so adjust based on the look you want.
Step 14

Turn the model over.
Step 15
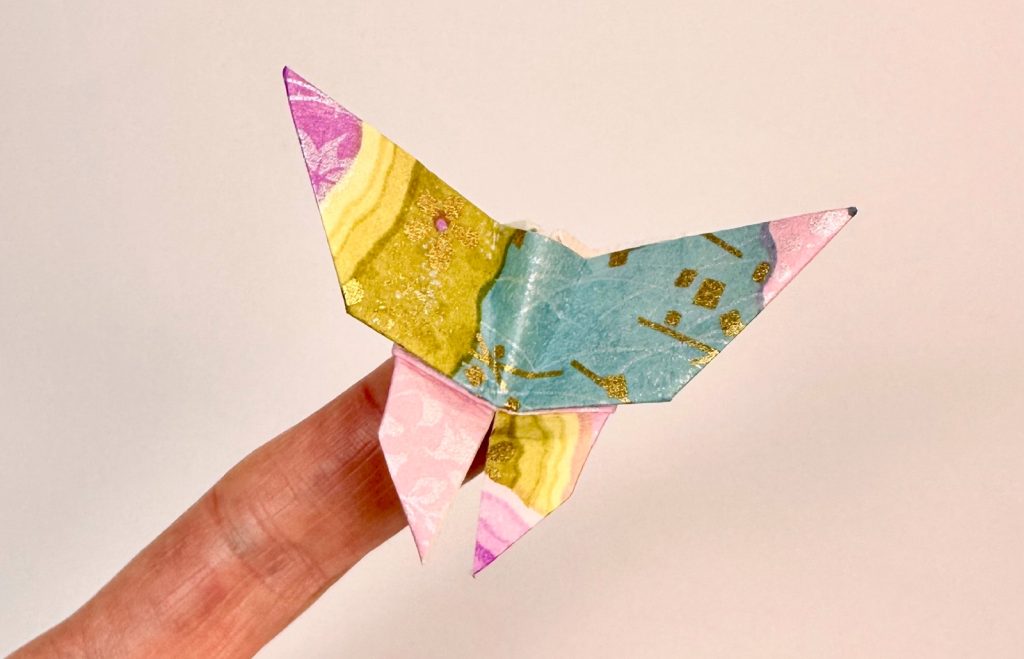
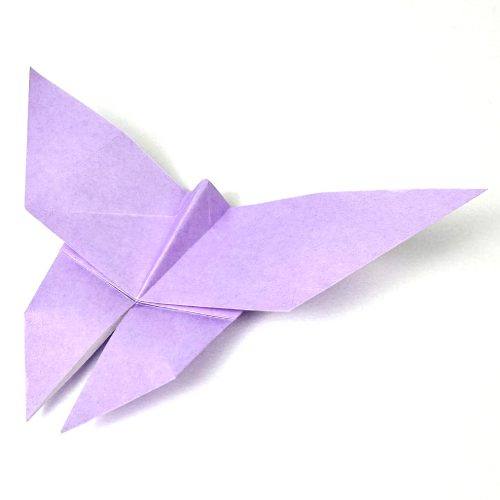
Fold the top flap to the right. Then gently spread the wings and slightly fold the butterfly in half to give it a more natural, lifted shape.
Your Paper Butterfly Is Ready to Fly! 🦋
I hope you enjoyed folding this origami butterfly and taking a small pause with paper. It’s one of those models that looks simple but always feels rewarding to finish.
If you give it a try, feel free to share a photo in the comments. We always enjoy seeing different papers and small variations, especially when patterned paper is involved.
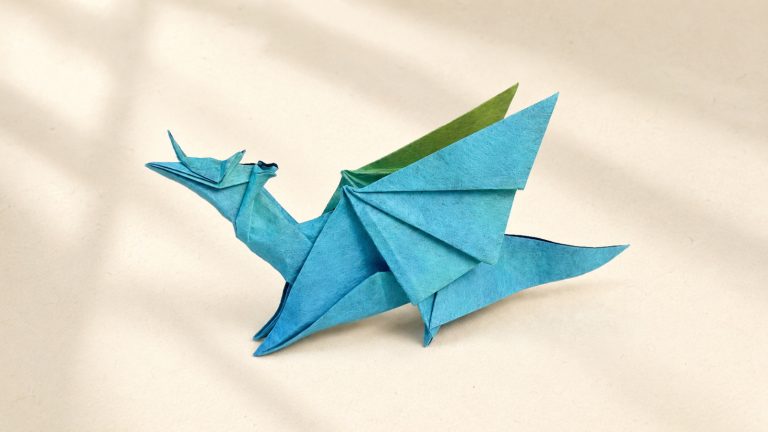
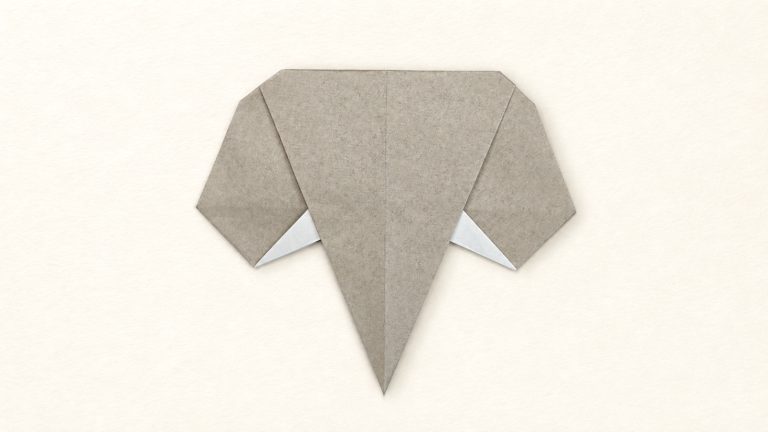
If you’d like to keep folding, you might enjoy browsing our easy origami models or exploring our origami animals collection. They’re both great places to find your next project.
Ready to try something new? Visit our origami hub to explore more models and techniques.
And if you want to stay in the loop, don’t forget to subscribe to our YouTube channel for step-by-step video tutorials, and join our newsletter to get new models, tips, and ideas straight to your inbox.
Other Origami Butterflies:


Download the Complete Origami Butterfly Printable PDF Instructions
This printable PDF is part of our Origami Friends membership on Patreon. As a member, you get access to these diagrams, our full library of printable PDFs, and member-only content.
Watch the Origami Butterfly Video Tutorial
Enjoyed this tutorial?
Subscribe to our YouTube channel for new inspiring origami videos every week!


Easy to make and clear instructions, thank you!
My Butterfly
Hii how are you
My foral butterfly 🦋 💜