How to Fold an Origami Basket
Origami baskets have been around for centuries and were mentioned for the first time in a 1663 diary entry by Samuel Pepys.
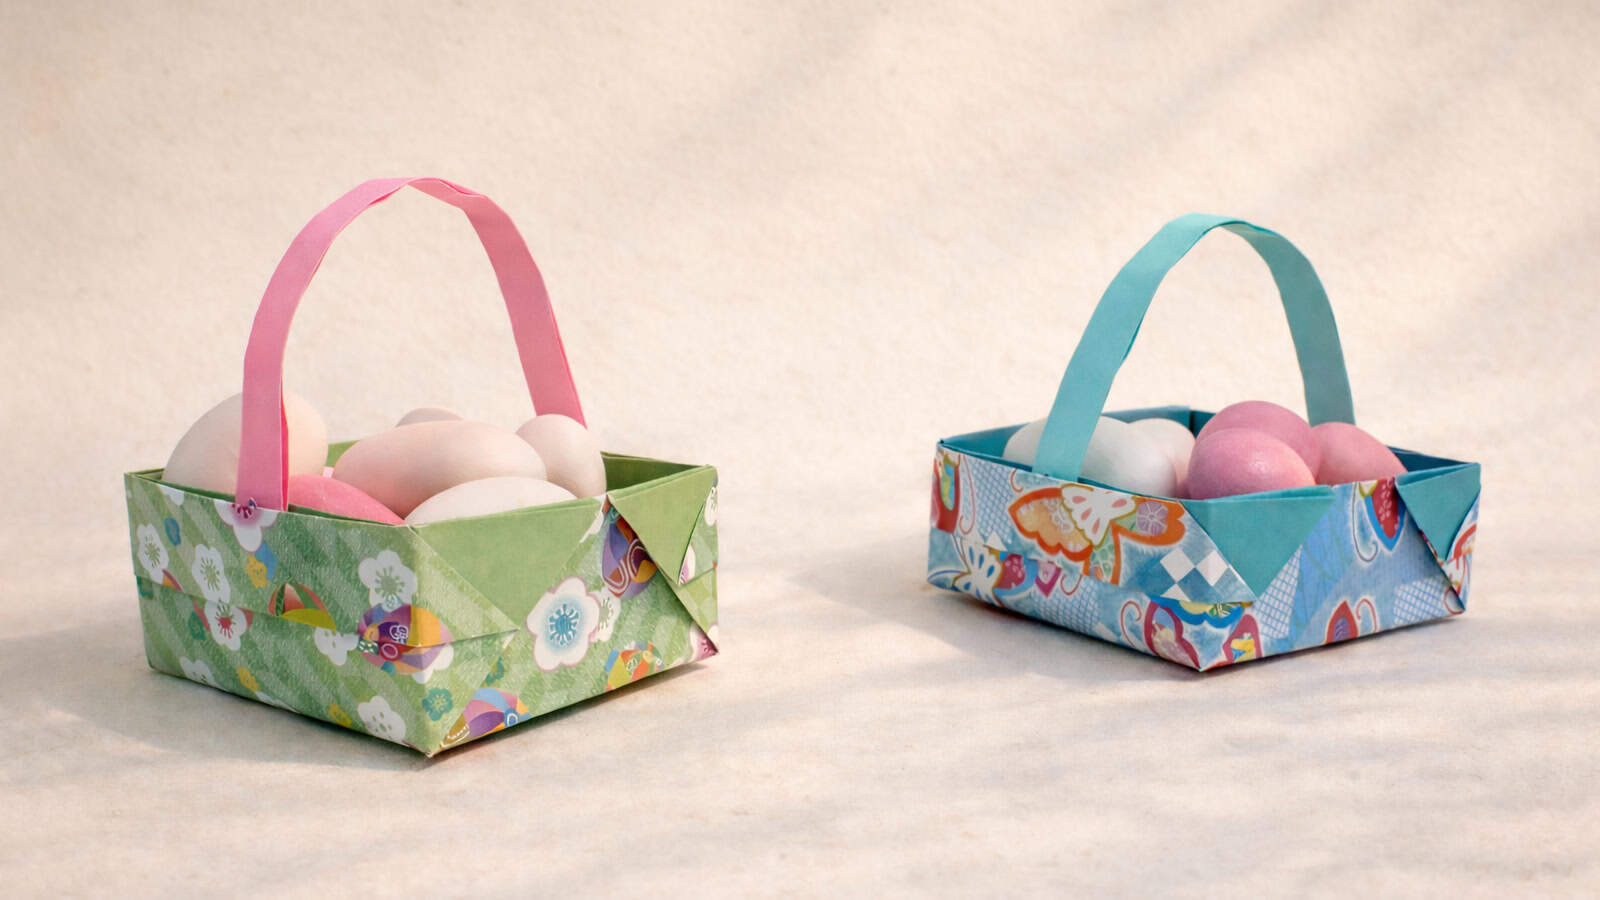
Often used to hold small gifts or treats, this traditional origami basket is easy to fold and works beautifully as a handmade Easter basket.
Whether you fill it with mini chocolate eggs, flowers or just enjoy the folding process, it’s a lovely seasonal project perfect for adding a personal touch to your spring decorations.
Traditional Origami Basket Step-by-Step Instructions
- Difficulty: Easy – Beginner Level 3
- Folding time: 10 minutes
Recommended Paper
15×15 cm (6×6 in) Kami or Chiyogami (patterned paper) x 2
Paper Preparation
Step 1


Fold the paper in half horizontally, then unfold.
Step 2


Fold the right edge to the centerline, then unfold.
Step 3


Cut along the crease made in Step 2 to create a strip for the handle.
How to Fold the Handle
Step 1


Start with the white side of the paper strip facing up. Fold it in half horizontally, then unfold.
Step 2


Fold the left and right edges inward to the centerline.
Step 3

Fold the strip in half horizontally along the crease made in Step 1.
How to Fold the Basket Case
Step 1


Start with the colored side facing up, positioned like a diamond. Fold and unfold both diagonals.
Step 2


Turn the paper over.
Step 3


Fold the paper in half from side to side in both directions, then unfold.
Step 4

Collapse the paper along the creases from Steps 1 and 3 to form a Square Base.
Step 5


Fold the top layer’s top corner down to meet the bottom corner.
Step 6


Fold the top layer’s bottom corner up to the centerline.
Step 7

Lift the flap created in Step 6 and tuck the handle behind it. The handle width should align with the crease made in Step 6.
Step 8

Hold the handle in place, then fold the top two layers of the colored flap (from Step 6) in half to secure the handle.
Step 9

Repeat Steps 5 to 8 on the other side.
🧺 Folding Tip: If your handle does not extend over the flaps pointing up, place it between them so it reaches the folding area.
Step 10


Fold and unfold the top layer’s left and right corners to the centerline.
Step 11

Reverse the creases made in Step 10 inward.
Step 12

Repeat Steps 10 and 11 on the other side.
Step 13

Place your index fingers behind the handles on both sides and gently open the basket, flattening the bottom.
Step 14

Fold the two flaps sticking out of the basket inward along the dotted lines.
🧺 Folding Tip: To make this step easier, first fold them outward, then reverse the fold inward.
Your origami basket is complete! 🎉


Well done. You’ve folded a classic origami basket with a design that’s stood the test of time.
Try making a few in different colors or paper styles for your Easter table or to give as thoughtful, handmade gifts.
And if you’d like to share your paper basket, we’d love to see it. Drop a photo in the comments or tag us on social media.

Download the Complete Origami Basket Printable PDF Instructions
This printable PDF is part of our Origami Friends membership on Patreon. As a member, you get access to these diagrams, our full library of printable PDFs, and member-only content.
Watch the Origami Basket Video Tutorial
Enjoyed this tutorial?
Subscribe to our YouTube channel for new inspiring origami videos every week!


super easy