How to Fold a Traditional Origami Sitting Crane
Are you on the lookout for a new origami crane project? This one might just be what you’re searching for!
While it may not be as well-known as the traditional origami crane, it’s a truly elegant model that will bring beauty to any space.
It’s perfect for both beginners and experienced folders, and you can complete it in under 10 minutes.
Traditional Origami Sitting Crane Step-by-Step Instructions
- Difficulty: Easy – Beginner Level 3
- Folding time: 10 minutes
Recommended Paper
15×15 cm (6×6 in) Kami or Chiyogami
Step 1


Start with the white side of the paper facing up. Fold the paper in half vertically, then unfold.
Step 2


Fold and unfold the paper in half horizontally. Then, turn the paper over.
Step 3


Fold and unfold along the diagonals.
Step 4


Rotate 45° clockwise, then turn the paper over.
Step 5


Collapse along the existing creases to form a Square Base.
Step 6


Fold and unfold the bottom left and right edges to the centerline. Next, fold the top corner down, using the creases you just made as guides, and unfold again.
Step 7


Lift the bottom corner of the top flap and fold it upward along the creases from Step 6 to form a Petal Fold.
Step 8


Turn the model over and repeat Steps 6 to 7.
Step 9

Fold the top right flap over to the left. Then, repeat the same fold on the other side.
Step 10

Fold the top flap upwards. Then, repeat on the other side.
Step 11


Fold the top flap’s left edge down to meet the bottom edge.
Step 12


Fold the top flap’s bottom edge to the triangle’s left edge.
Step 13


Fold the flap you just made in half by bringing its top edge to meet the bottom edge.
Step 14


Unfold the entire wing flap downward.
Step 15


Fold up along the back edge.
Step 16


Fold the wing flap back up.
Step 17


Fold the wing flap in half so its top edge meets the bottom edge.
Step 18

Repeat Steps 11 to 17 on the other side.
Step 19

Mountain fold the top left flap in half. Then, repeat on the other side.
Step 20

Make an inside reverse fold on the top left corner, folding it downward to form the head.
Step 21

Gently pull out the pleated wings to give them shape, then pull the tail back slightly to finish the posture.
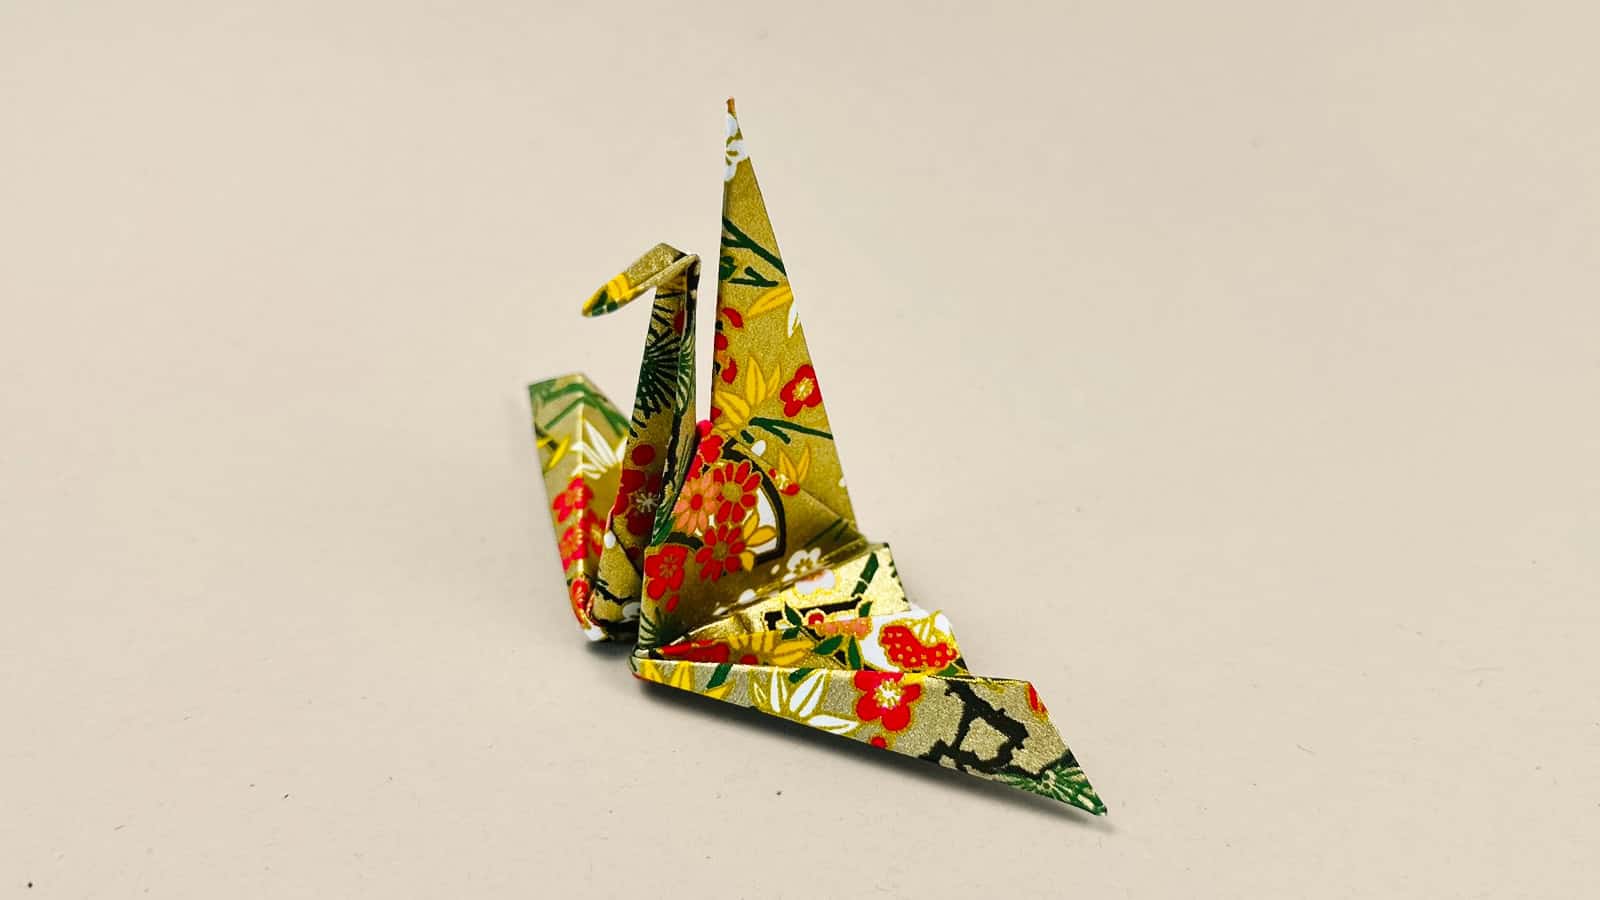
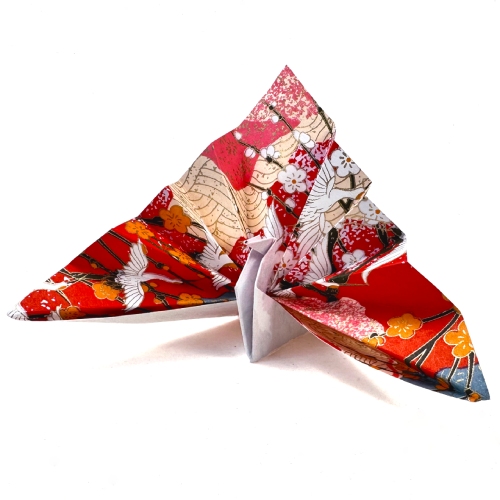
The Completed Origami Sitting Crane


Well done on folding your very own Orihazuru, the traditional sitting crane.
The fan-like wings will give your crane an elegant touch, particularly if you choose patterned Chiyogami.
Thanks for folding along, and don’t forget to share your creation with us. We can’t wait to see your beautiful models!
Other Origami Cranes:


Download the Complete Origami Sitting Crane Printable PDF Instructions
This printable PDF is part of our Origami Friends membership on Patreon. As a member, you get access to these diagrams, our full library of printable PDFs, and member-only content.
Watch the Origami Sitting Crane Video Tutorial
Enjoyed this tutorial?
Subscribe to our YouTube channel for new inspiring origami videos every week!


This was the toughest one I’ve made so far, but also the most fun! Really appreciate the tutorials, I’ve been getting back into origami lately thanks to this site!
You’re on fire, Mustafa! 🔥 You folded it perfectly, and this paper looks amazing!