
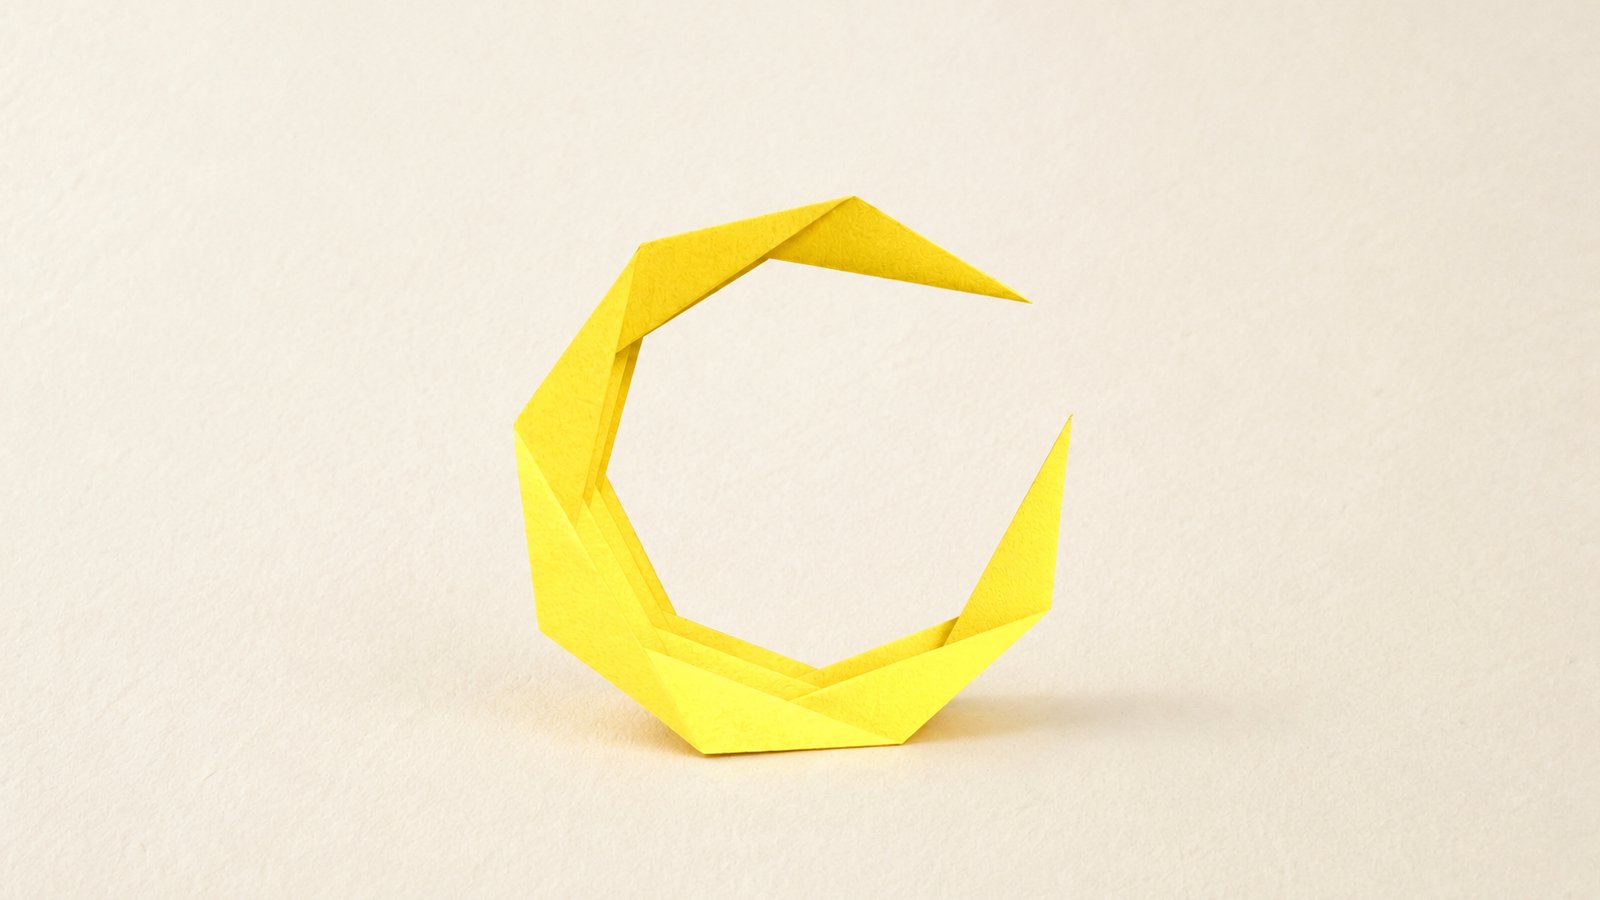
How to Make an Origami Moon

 Luisa Canovi
 Let’s fold an origami crescent moon designed by Luisa Canovi. What makes it interesting is that none of the folds are curved. You crease a grid of straight lines into a diamond, then collapse all of them at once, and the flat sheet pulls itself into a curve.
A model built this way is called a corrugation. Instead of folding one flap at a time and watching a shape build up, you spend most of the tutorial simply making creases, and the moon only arrives in the last step. It is a good introduction to how origami gets a curve out of nothing but straight lines.
The folds themselves are easy. The precision is what matters. Every crease in the pre-creasing stage is the reference for the next one, so if the early ones drift, the collapse at the end will fight you.
For the tutorial, I used a thin, soft origami paper so the creases are easier to see on camera, but the model holds its shape much better in something thicker, like Tant.
Origami Moon Step-by-Step Instructions
- Difficulty: Easy – Beginner level 4
- Folding time: 15 minutes
Recommended Paper
6 x 6 in (15 x 15 cm) Tant origami paper.
You will also need scissors. The square is cut down to a tall, narrow diamond in Step 4, so keep them within reach before you begin.
Step 1
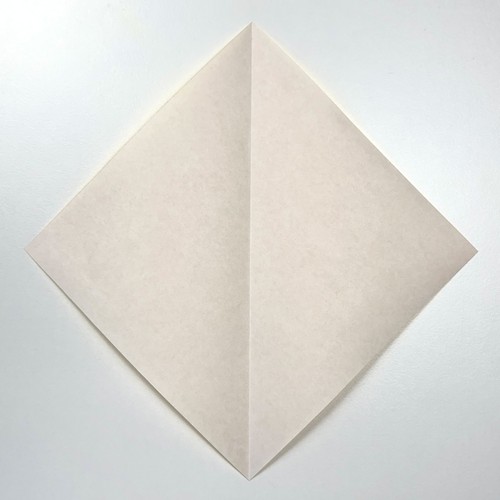
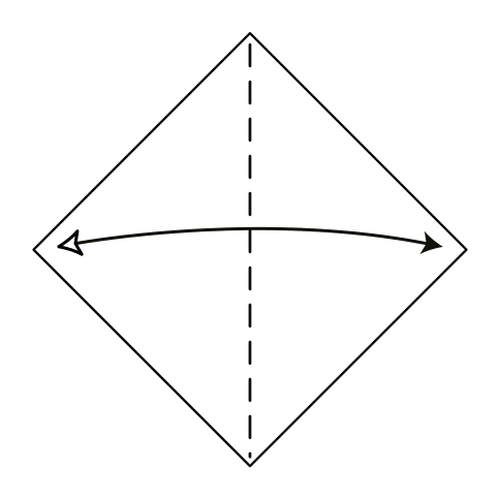
Start with the white side of the paper facing up in a diamond position. Fold along the vertical diagonal, then unfold.
Step 2
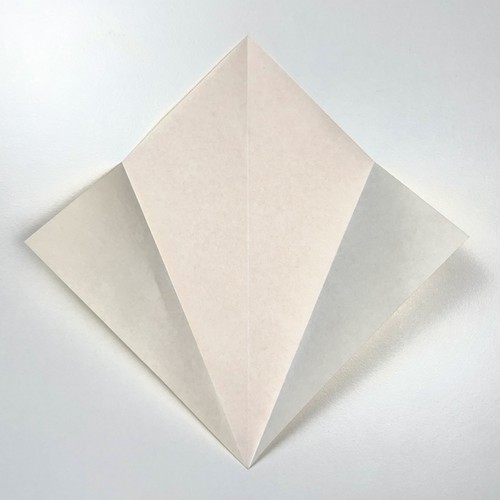
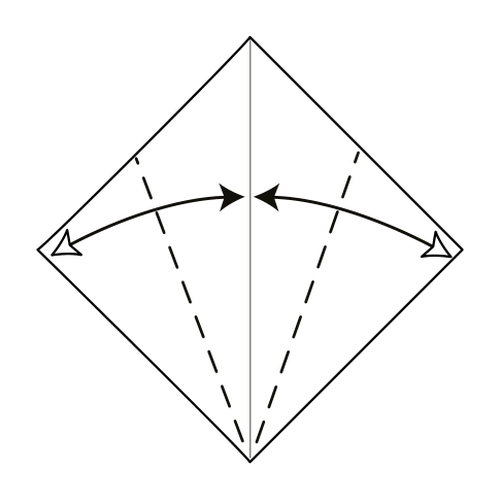
Fold the bottom-left and bottom-right edges to the vertical center crease, then unfold.
Step 3
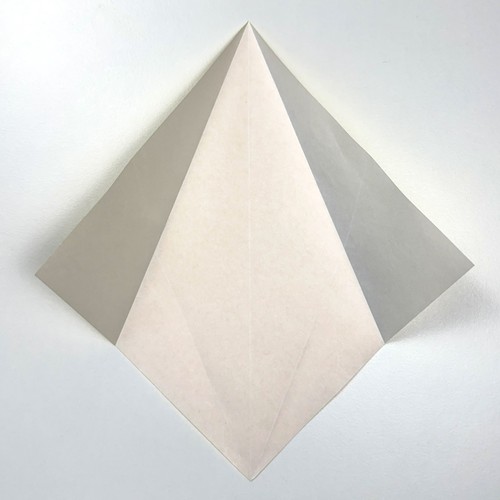
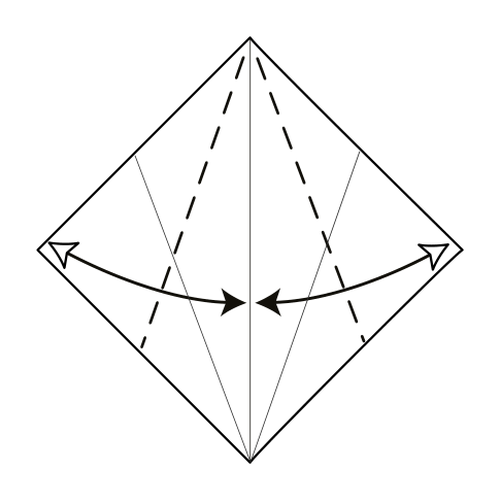
Fold the top-left and top-right edges to the vertical center crease, then unfold.
Step 4
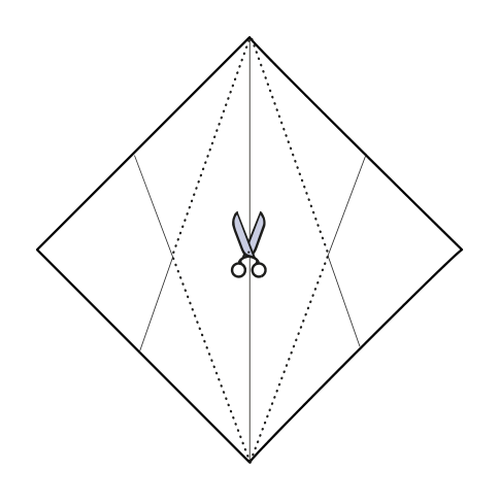
Cut along the four crease lines you made in Steps 2 and 3, leaving a tall, narrow diamond.
🌙 Folding tip: You can also skip the cutting part and fold the model from a fish base. However, it makes the fold and the collapse much more challenging.
Step 5
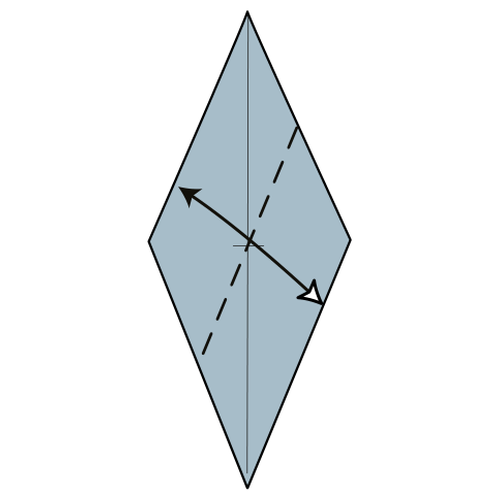
Start with the colored side of the diamond facing up. Fold and unfold diagonally from the bottom-right edge to the top-left edge.
Step 6
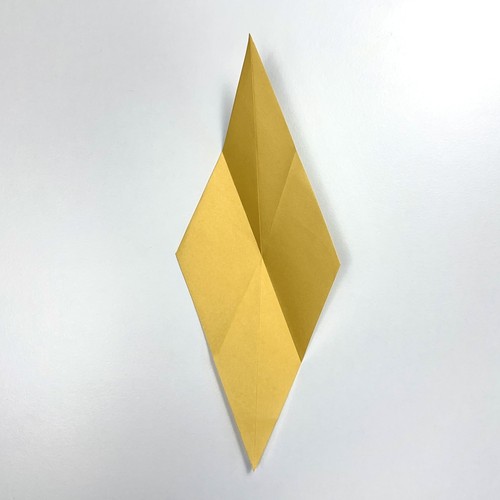
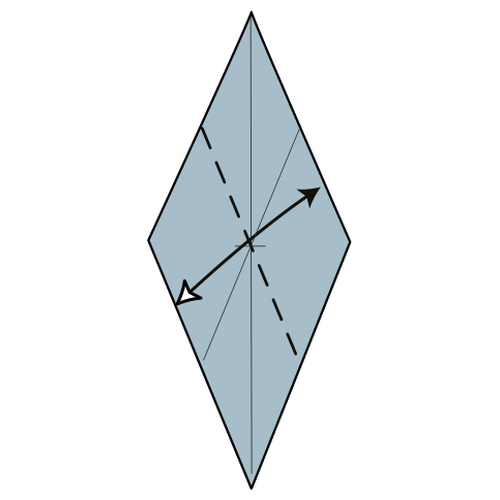
Fold and unfold along the opposite diagonal, from the bottom-left edge to the top-right edge.
Step 7
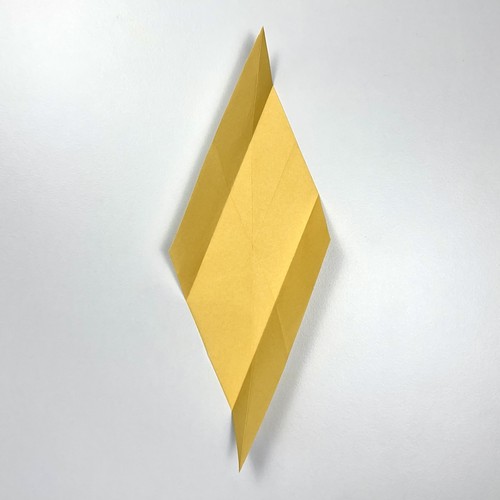
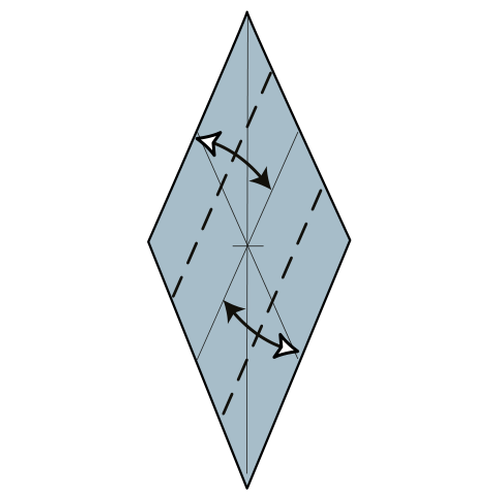
Fold and unfold the top-left edge to the center diagonal. Repeat with the bottom-right edge.
Step 8
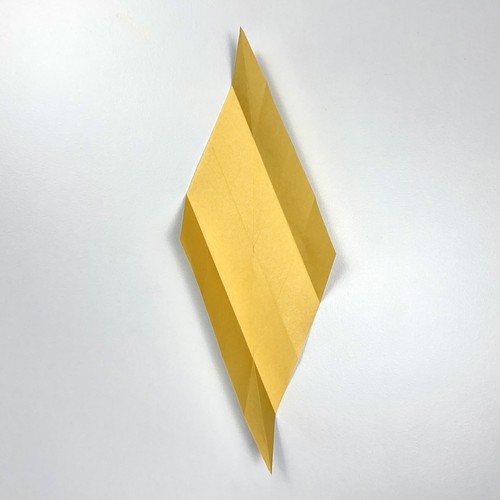
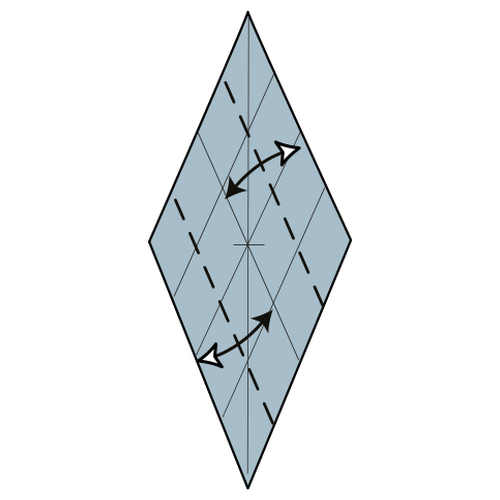
Repeat Step 7 with the bottom-left and top-right edges.
Step 9
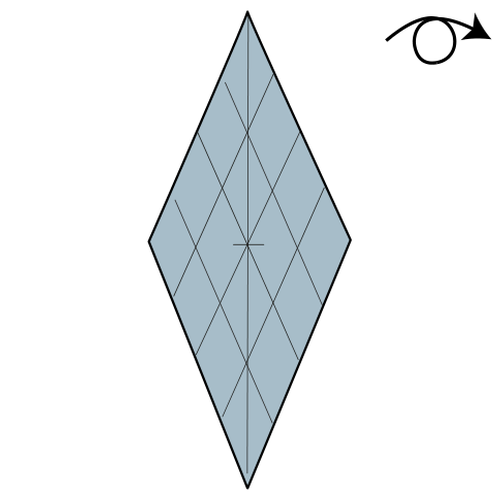
Turn the paper over.
Step 10
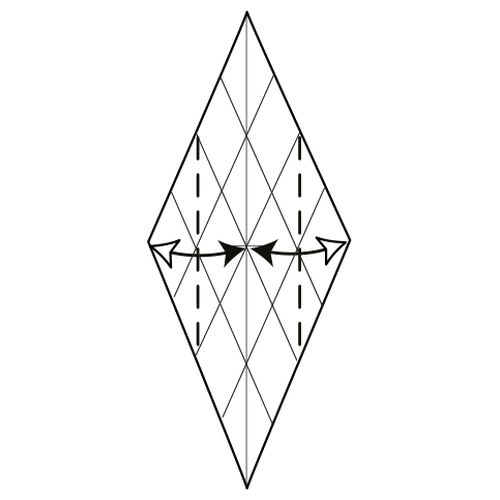
Fold and unfold the left and right corners inward to the center point.
🌙 Folding tip: Make sure each crease passes through all diagonal intersections.
Step 11
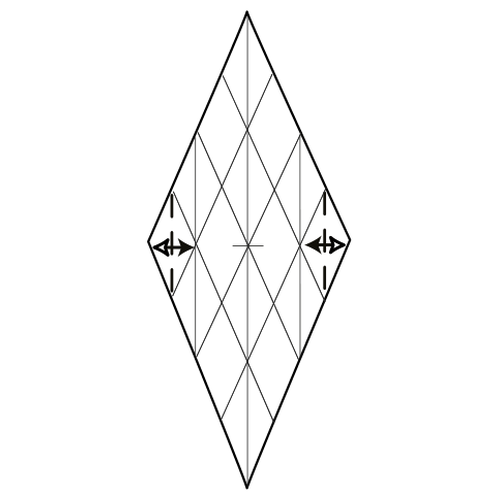
Continue adding vertical creases across the model. Fold and unfold the left and right corners inward to the nearest diagonal intersection.
Step 12
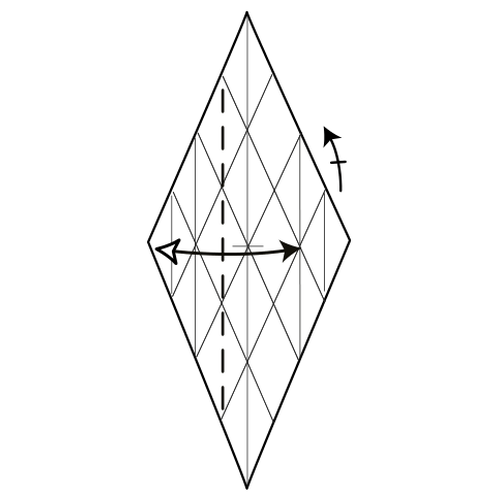
Fold the left corner to the nearest diagonal intersection starting from the right corner. Repeat the fold on the right side.
Step 13
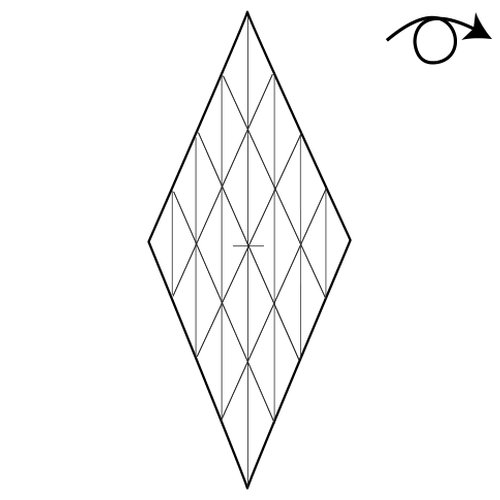
Turn the paper over.
Step 14
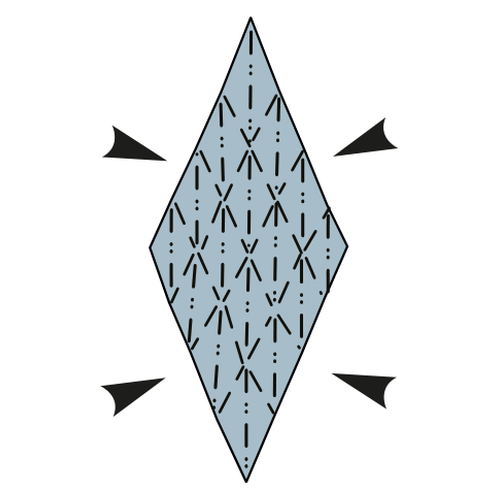
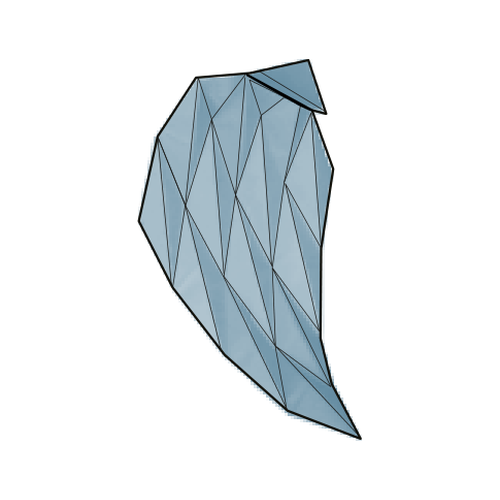
🌙 Folding tip: Reinforce all the valley and mountain folds.
Then collapse the model along the existing creases. Gently push the edges inward and adjust as needed.
🌙 Your Origami Moon Is Complete
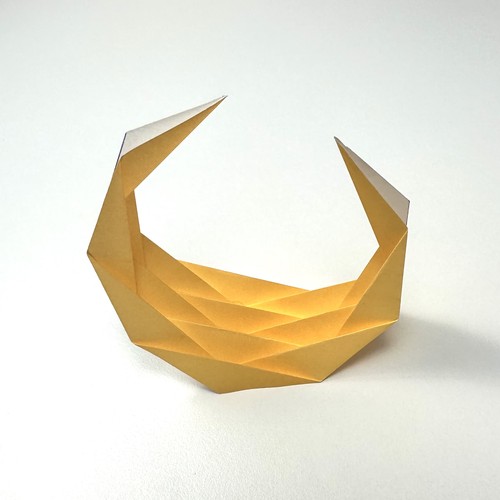
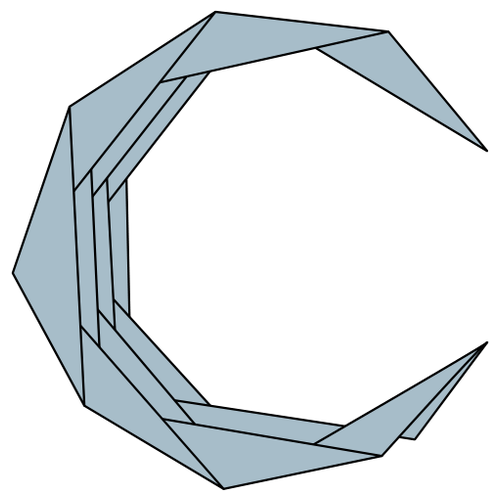
I hope you enjoyed folding the crescent moon. The collapse is the whole reward here. You spend fifteen minutes making creases that do not look like much, and then the paper gathers itself into a curve in your hands.
If your first one comes out uneven, fold another. The second is usually much better, because by then you know which creases the collapse actually depends on.
It looks lovely on a shelf, and it works just as well hanging in a window, in a nursery, or strung up with a few paper stars for a celestial-themed party. Thicker paper will keep the ridges crisp if you plan to display it for a while.
If you fold one, share a photo in the comments. I would love to see which paper you used.
Want to keep folding? Browse more easy origami tutorials, or our origami stars if you want to keep the celestial theme going.
You can also get new tutorials and folding ideas in our newsletter, and if you like folding along with video, subscribe to our origami YouTube channel.
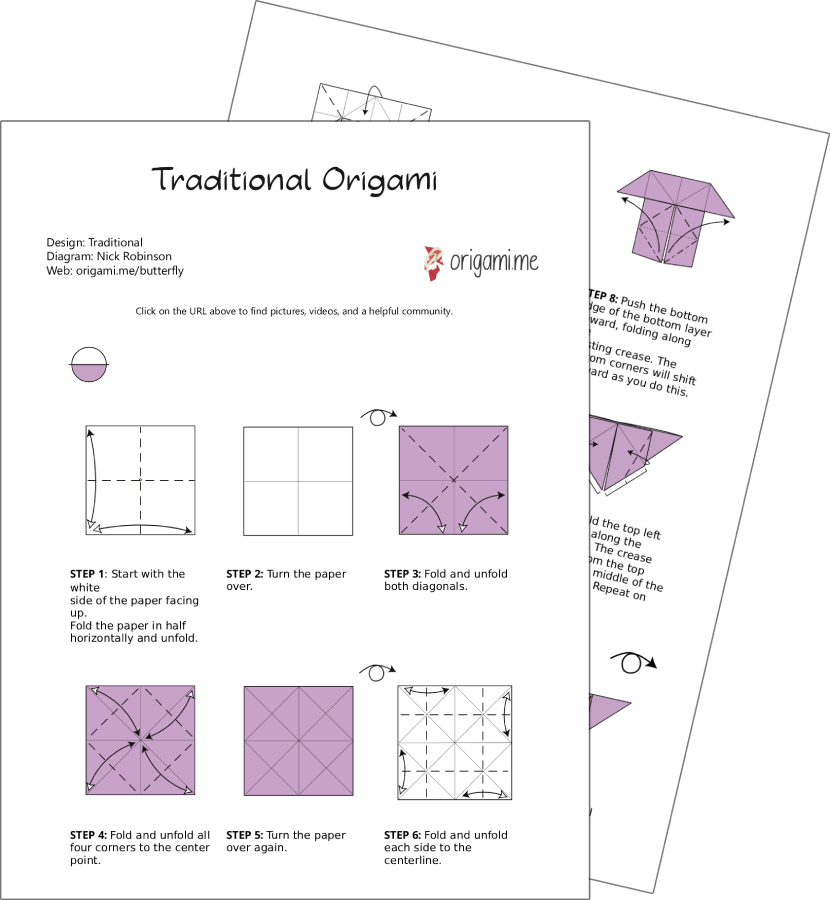
Download the Complete Origami Moon Printable PDF Instructions
This printable PDF is part of our Origami Friends membership on Patreon. As a member, you get access to these diagrams, our full library of 120+ printable PDFs, and member-only content.
🎓 Need printables licensed for classroom or group use? See the Origami Library for Educators →



ít very fun