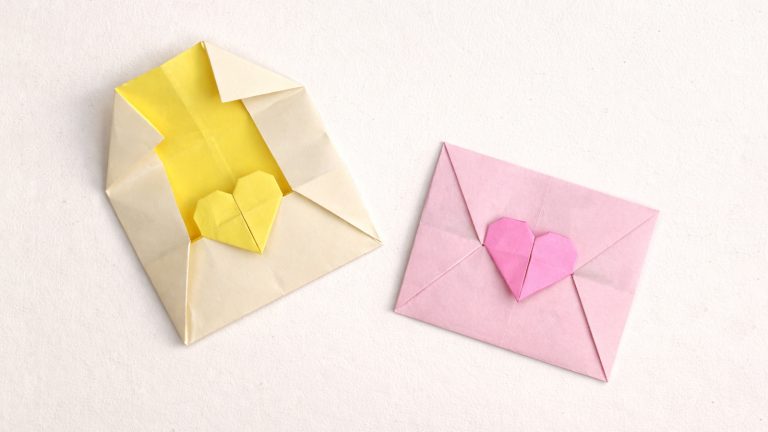
How to Make a Paper Envelope
Need an envelope but don’t have one at home? In this tutorial, you’ll learn how to make an envelope from a single sheet of A4 or letter paper in less than five minutes.
This envelope is easy to fold and doesn’t require any cuts, glue, or special tools. Once you’ve folded it a couple of times, you can make one in just a minute or two.
Regular printer paper works perfectly for everyday use. If you’d like something more decorative, you can also use wrapping paper cut to the same proportions as A4 or letter paper.
This paper envelope is great for letters, greeting cards, gift cards, or giving money. It’s a simple project that you’ll likely use again and again.
DIY Envelope Step-by-Step Instructions
- Difficulty: Easy – Beginner level 2
- Folding time: Less than 5 minutes
Recommended Paper
A4 or Letter paper. Regular printer paper works well for this model. You can also use wrapping paper for a fancier envelope, as long as it’s cut to the same proportions as A4 or Letter paper.
The finished envelope measures about 5.9 × 3.5 inches (15 × 9 cm).
Step 1
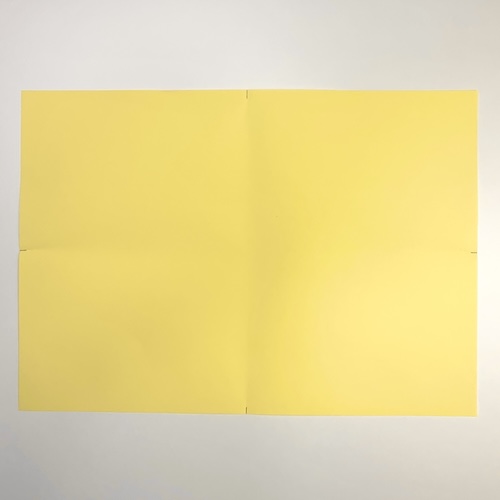
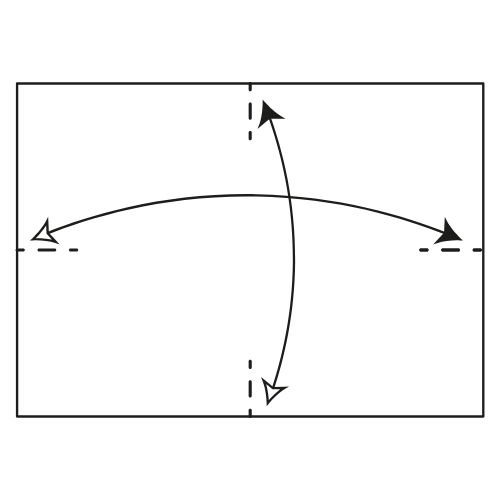
Fold the paper in half in both directions. Make a small pinch mark on each edge, 4 total, then unfold.
✉️ Folding tip: If you are using duo colored paper, this side will show on the inside.
Step 2
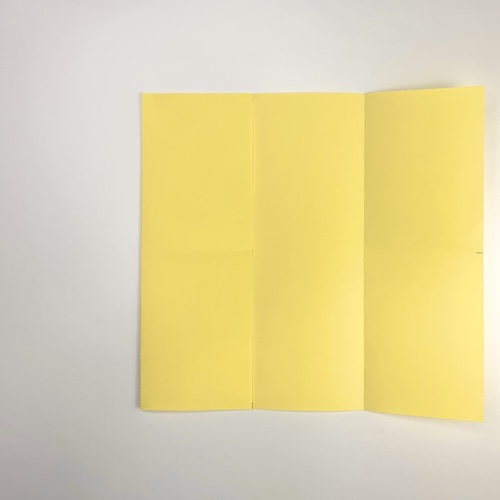
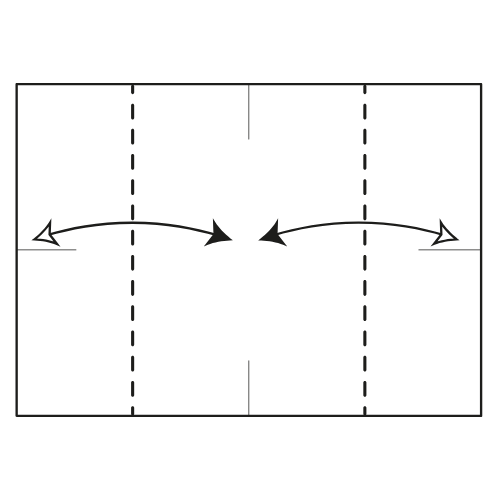
Fold the left and right edges to the center pinch marks from Step 1. Then unfold.
Step 3
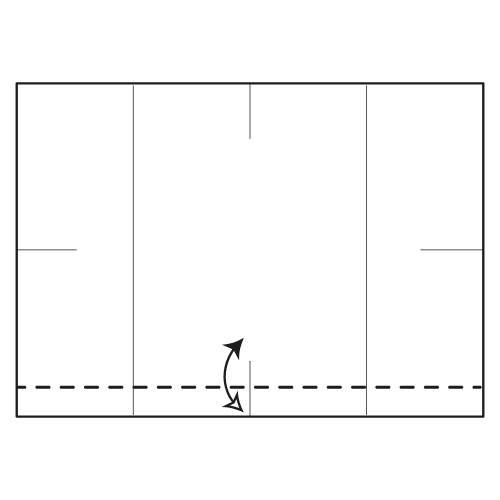
Fold the bottom edge up slightly to make a narrow strip. Then unfold. There is no exact reference point here.
Step 4

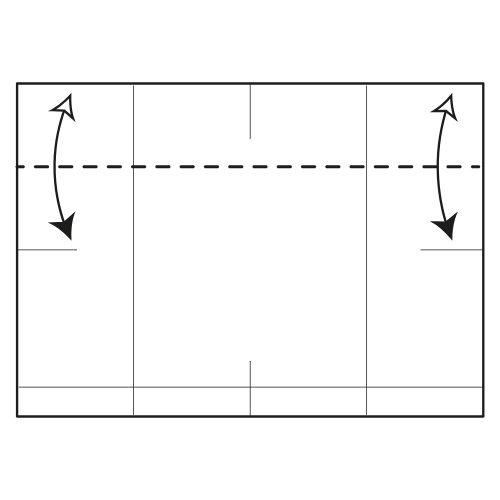
Fold the top edge to the center pinch marks from Step 1. Then unfold.
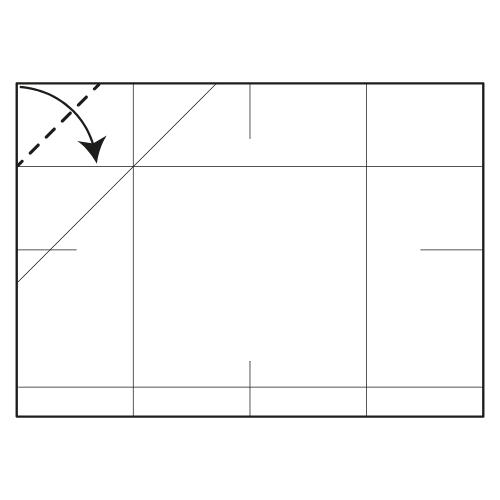
Step 5

Fold and unfold the top left corner downward, using the reference points as guides. The fold line should pass through the intersection of the vertical and horizontal creases.
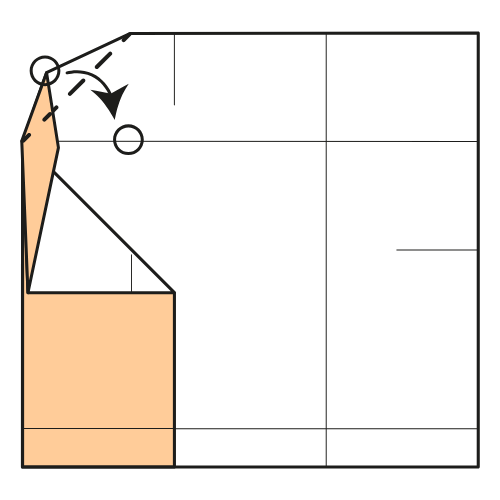
Step 6
Fold the top left corner to the nearest horizontal crease.
Step 7
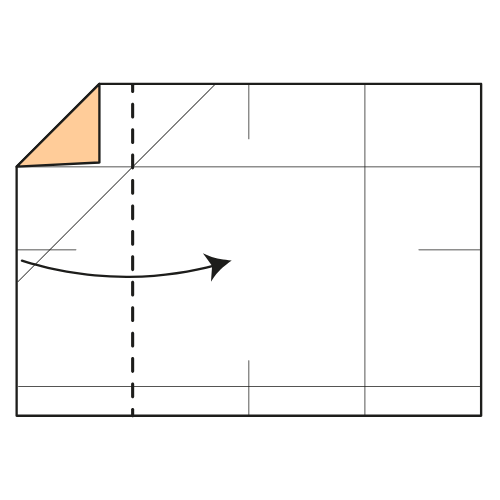
Fold the left edge to the right along the existing crease.
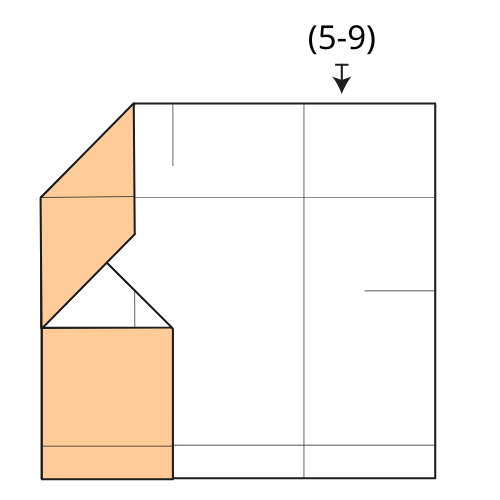
Step 8
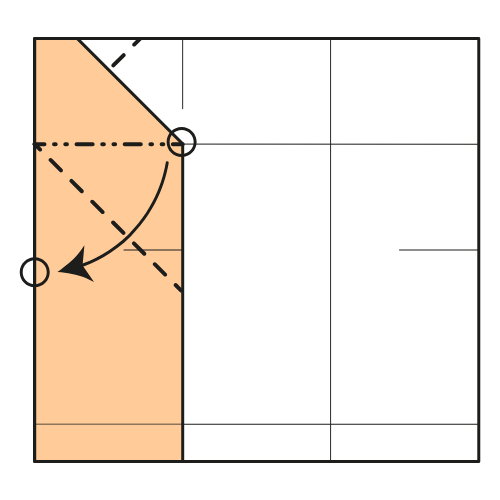
Swivel fold the inner corner to the left, using the existing creases as guides. The paper will not lie flat yet.
Step 9
Flatten the paper along the existing crease.
Step 10
Repeat Steps 5 to 9 on the right side.
Step 11
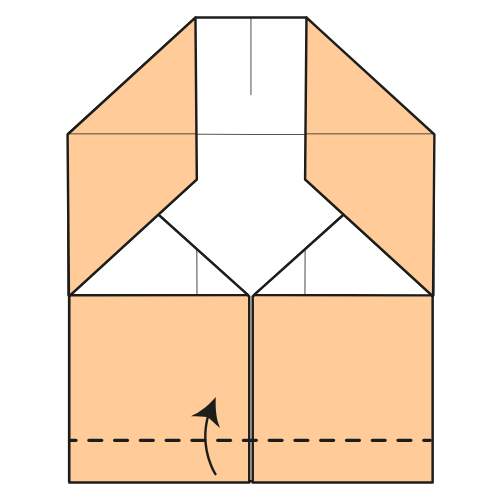
Fold the bottom edge up along the crease from Step 3.
Step 12
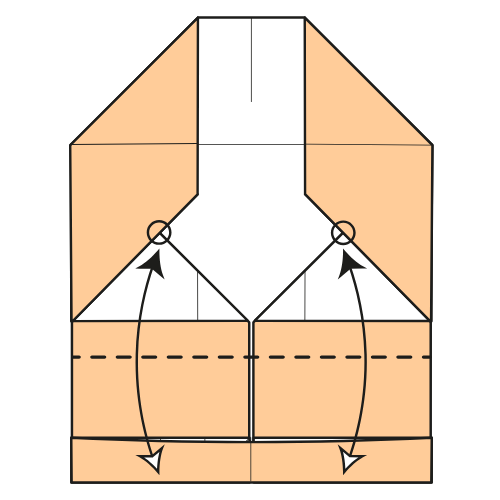
Fold the bottom edge up to meet the circled points. Then unfold.
Step 13
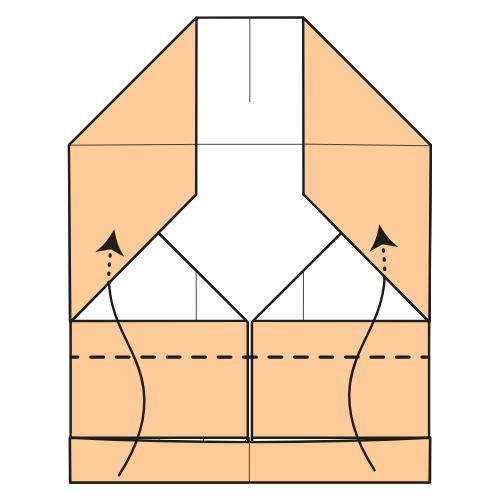
Fold along the crease from Step 12 again, but tuck the bottom section under the top flaps.
Step 14

Fold the top edge down along the existing crease, then tuck it into the pocket.
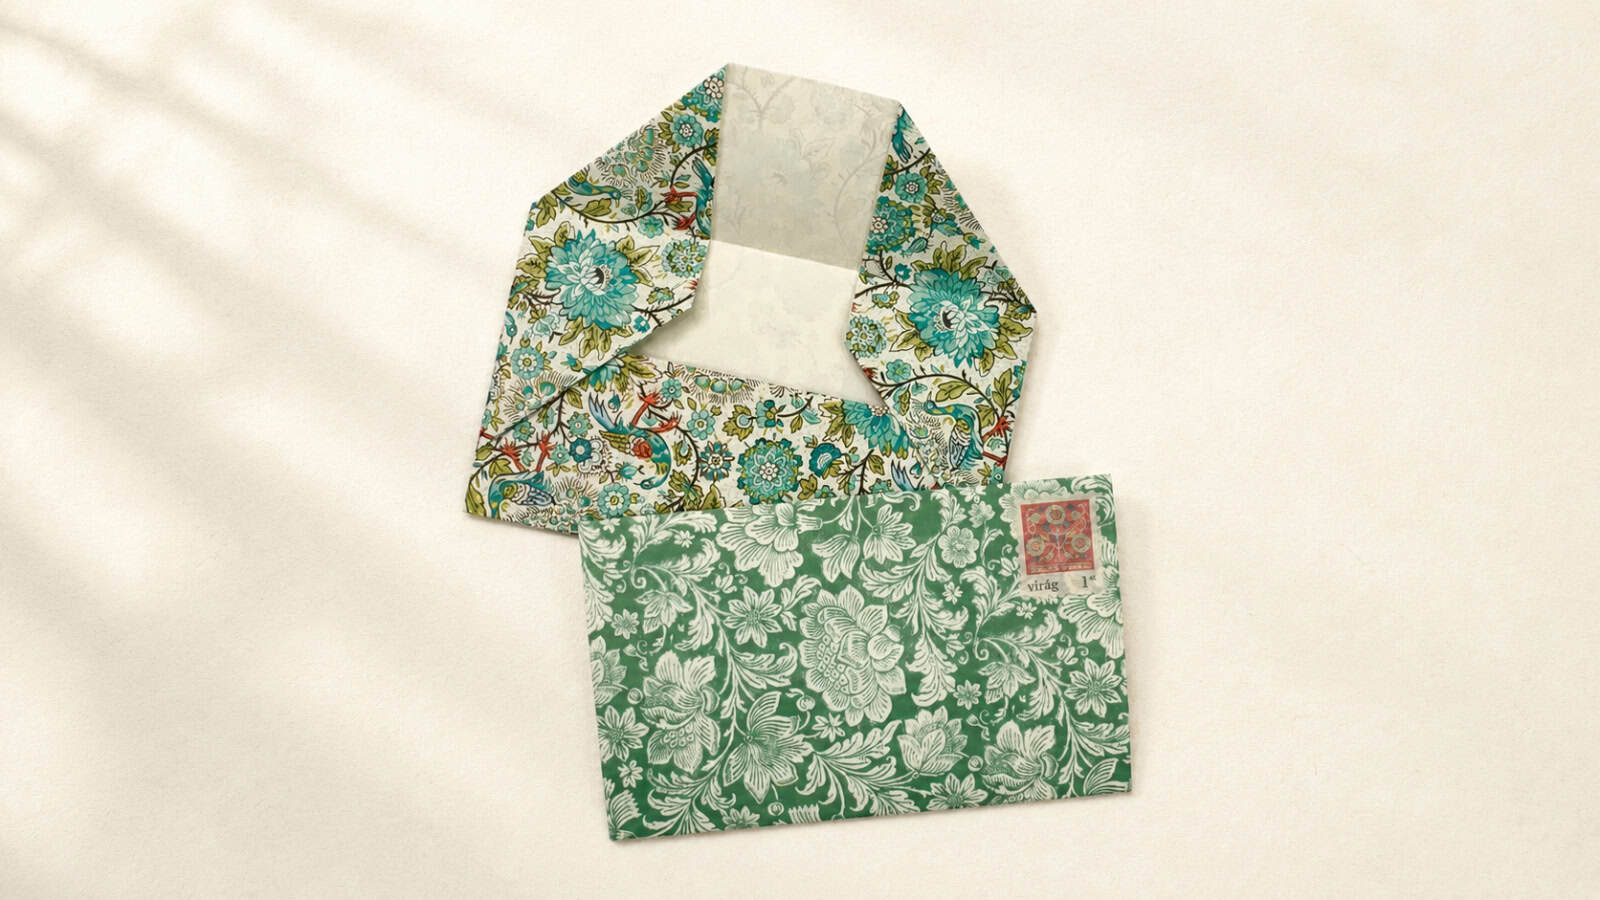
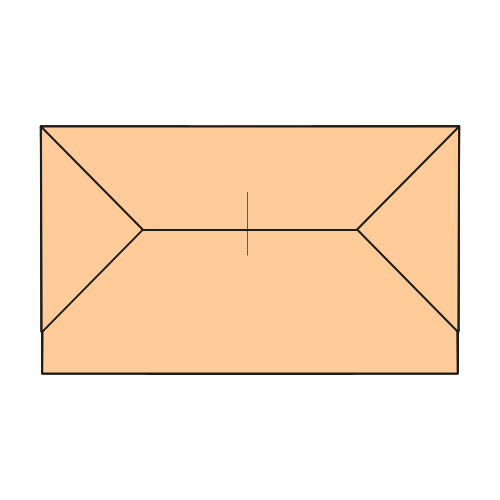
Your Paper Envelope Is Finished!
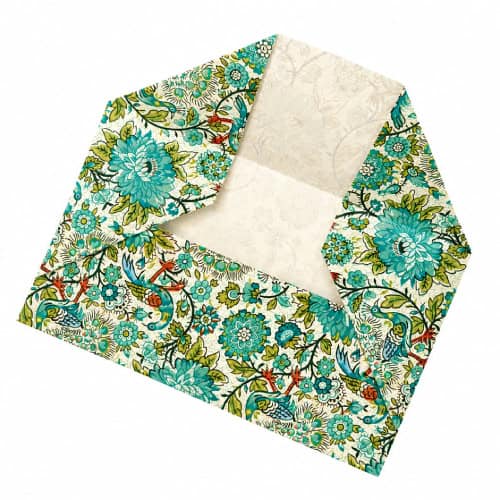
I hope you enjoyed making this paper envelope. It’s a quick project that’s useful to know, whether you need an envelope at the last minute or simply enjoy making things by hand.
Once you’ve learned the folds, you can make envelopes from printer paper, wrapping paper, or any rectangular paper with the same proportions. Try different colors and patterns to match the occasion.
If you make one, feel free to share a photo in the comments. I’d love to see the papers and designs you choose.
If you’d like to keep folding, you can explore more easy origami tutorials and practical origami projects on the site.
You can also get new tutorials and folding ideas in our origami newsletter here. And if you’d like to fold along with videos, you can subscribe to our YouTube channel.

Download the Complete Paper Envelope Printable PDF Instructions
This printable PDF is part of our Origami Friends membership on Patreon. As a member, you get access to these diagrams, our full library of 120+ printable PDFs, and member-only content.