
How to Make an Easy Origami Heart
If you’re looking for a simple and thoughtful fold, an origami heart is always a good place to start.
It’s an easy model, but one that carries a lot of intention. Whether you’re folding for Valentine’s Day, an anniversary, or just leaving a small handmade note for someone, this heart fits the moment nicely.
What I like about this model is how versatile it is. You can slip it into a card, use it as a small decoration, or fold a few just for the pleasure of it. With only a handful of folds, a square sheet of paper quickly turns into a recognizable little heart.
Origami Heart Step-by-Step Instructions
- Difficulty: Easy – Beginner Level 2
- Folding time: 5 minutes
Recommended Paper
15×15 cm (6×6 in) Kami
This tutorial was updated in March 2026 with clearer instructions and improved visuals.
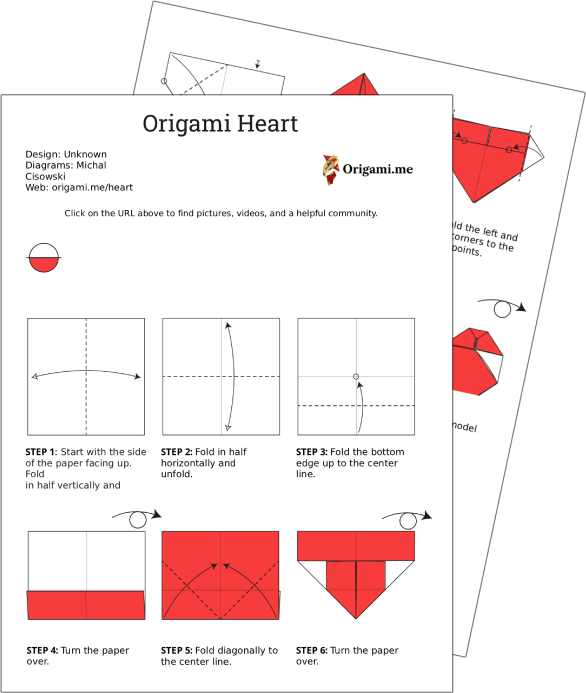
Step 1
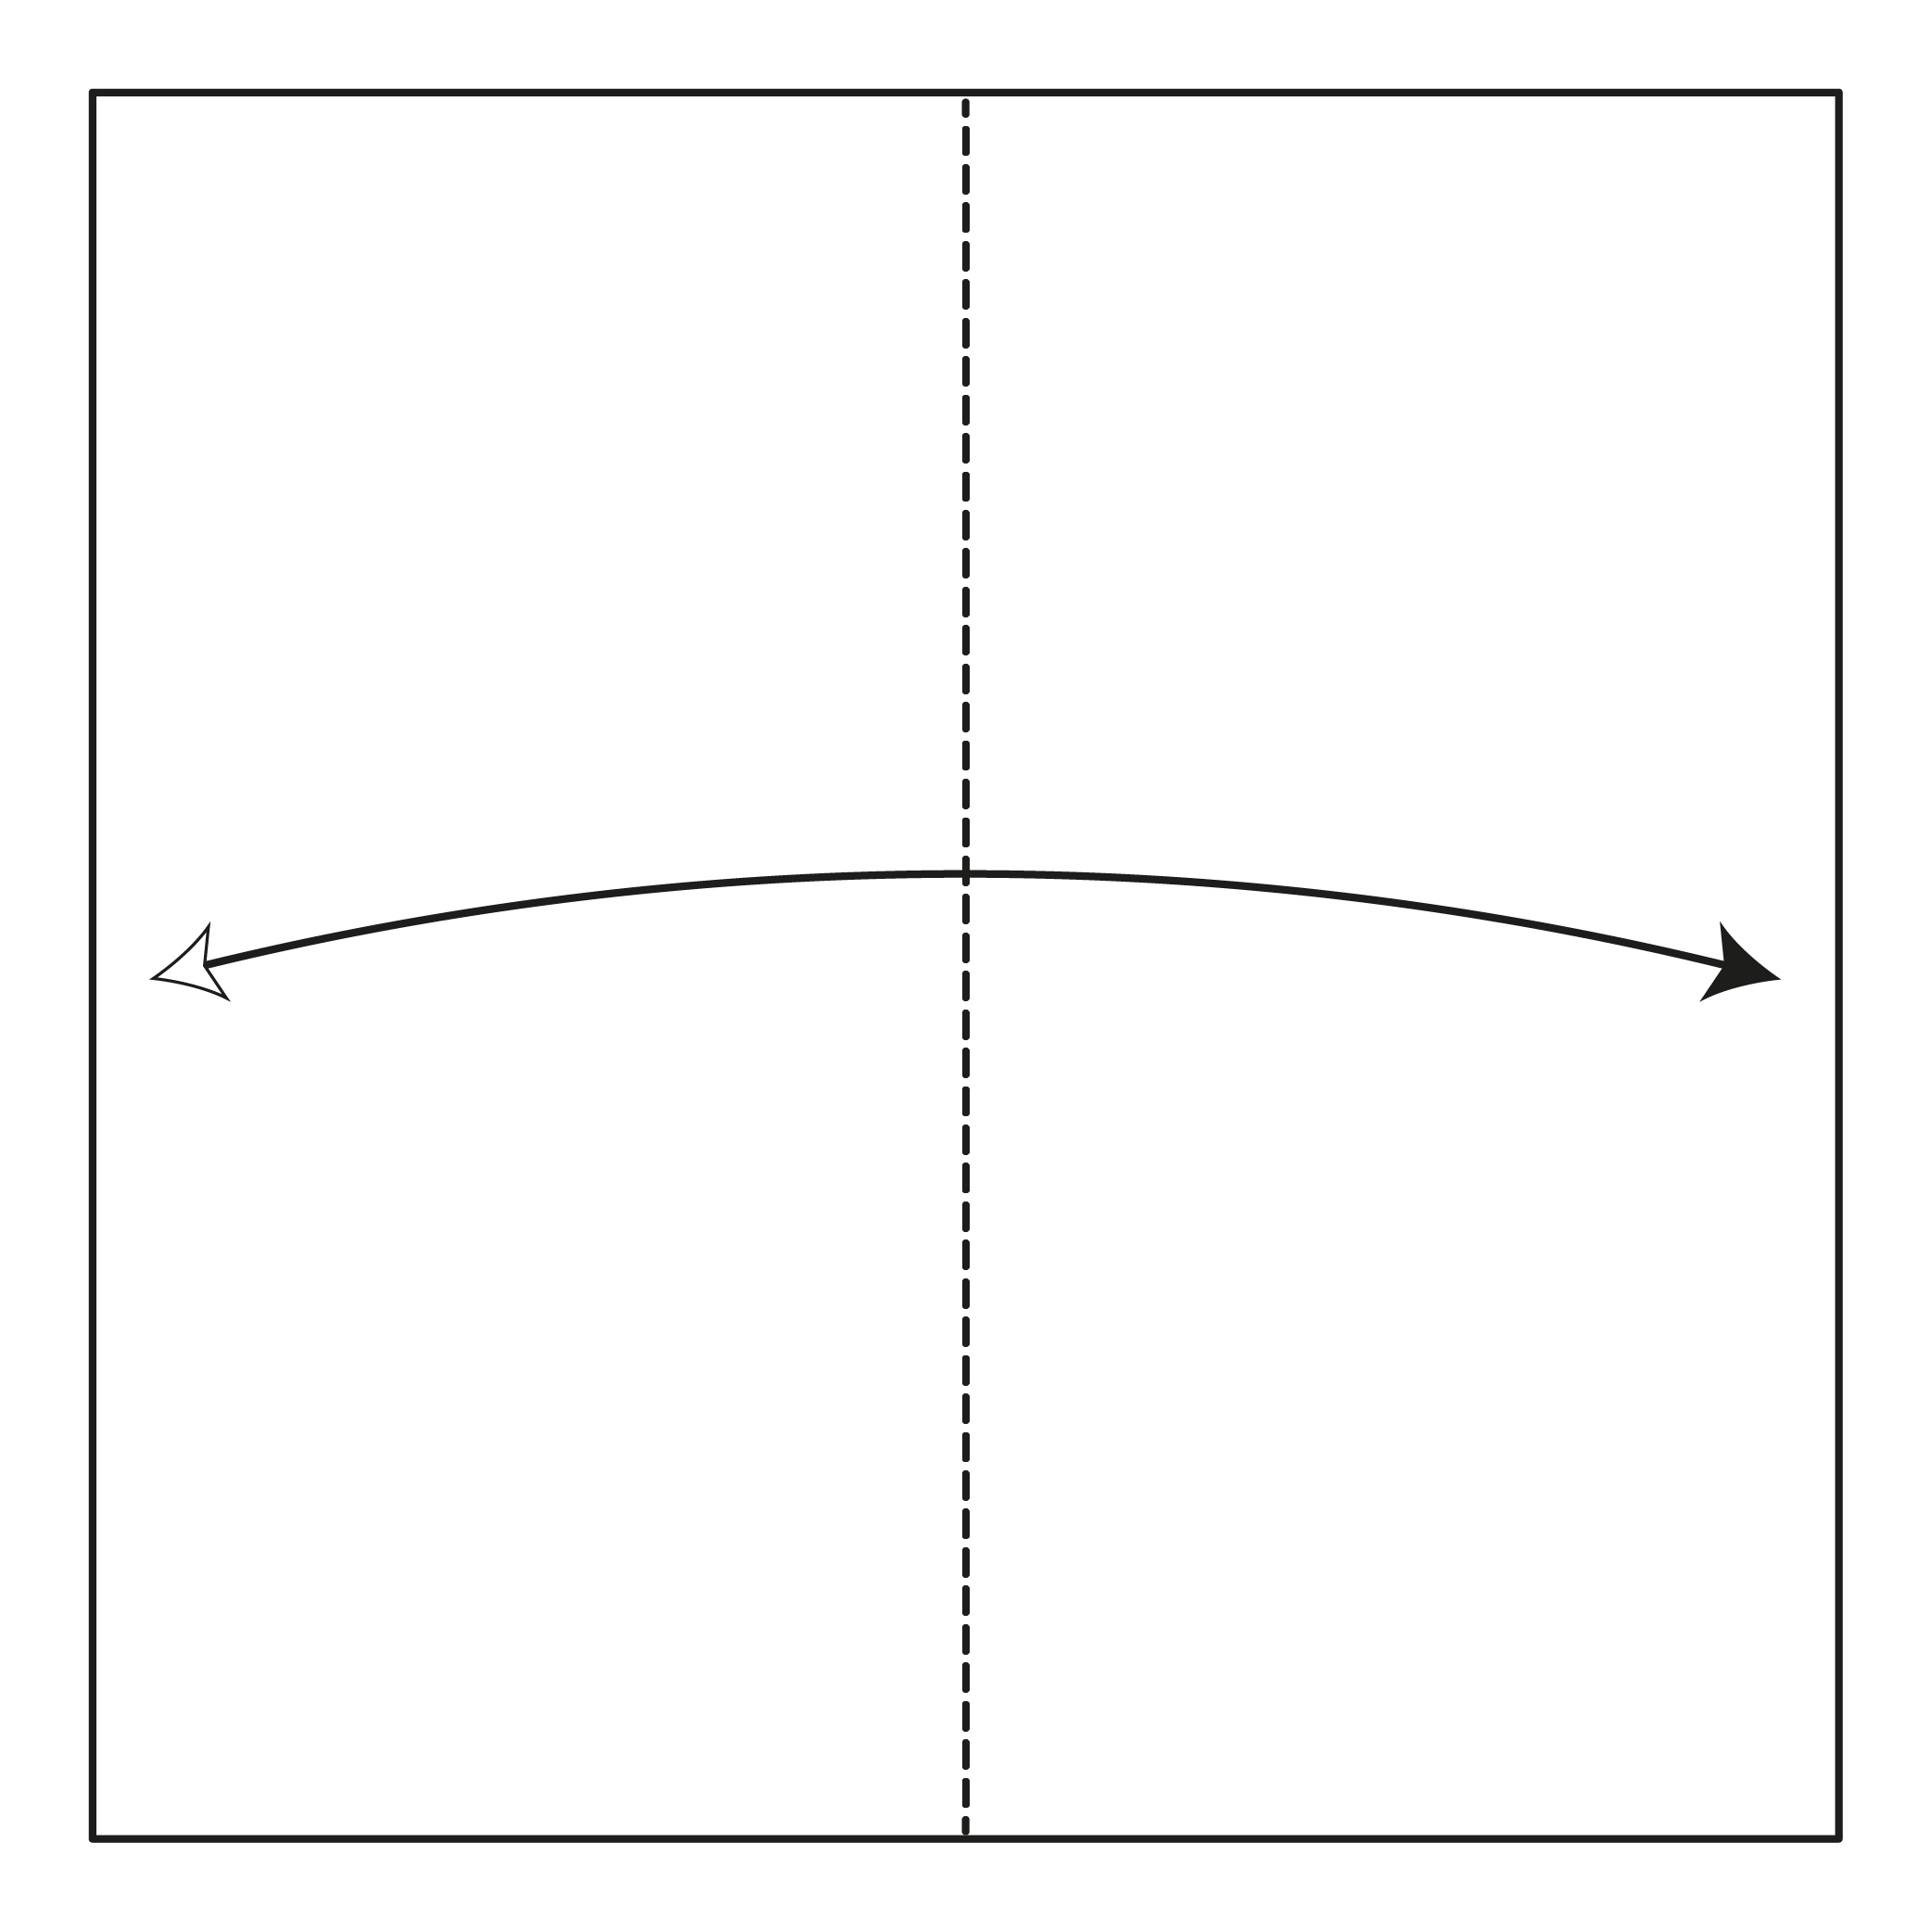
Start with the white side of the paper facing up. Fold the paper in half vertically, then unfold it to create a center crease.
Step 2
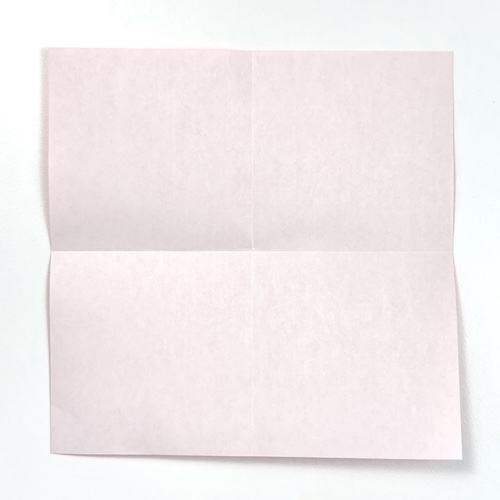

Fold the paper in half horizontally, then unfold again.
Step 3

Fold the bottom edge up to meet the center crease.
Step 4
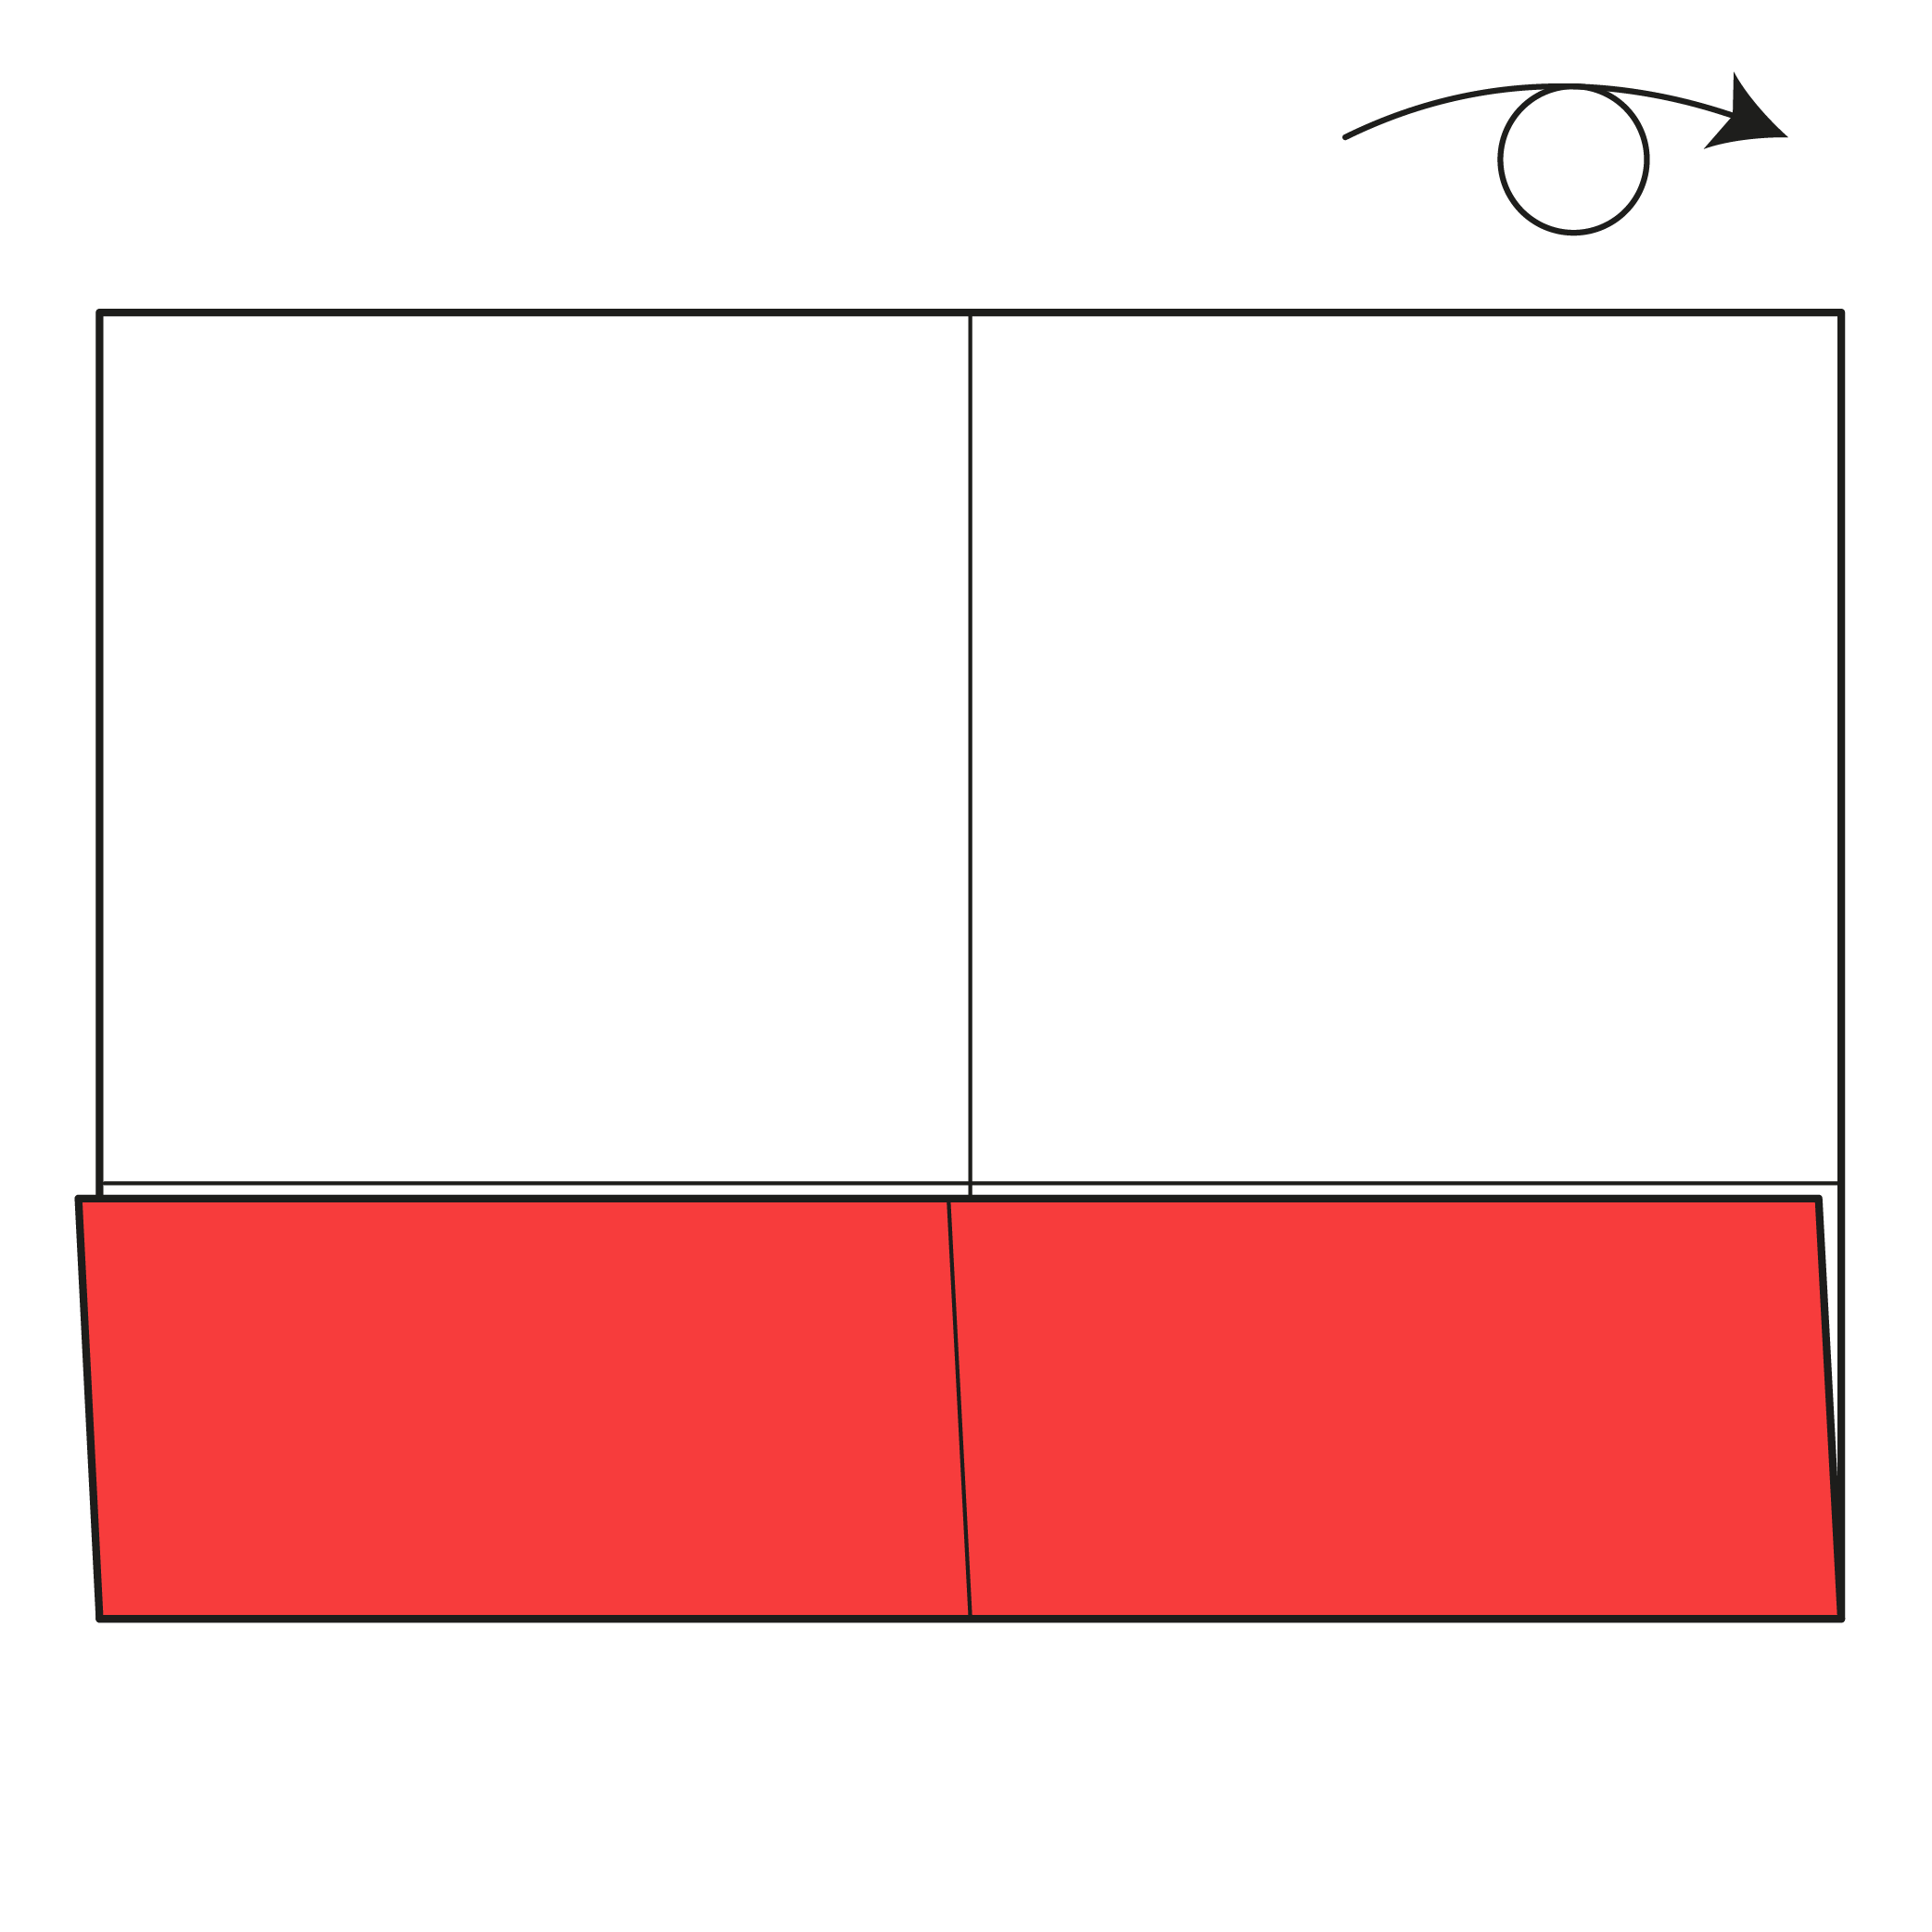
Turn the paper over.
Step 5
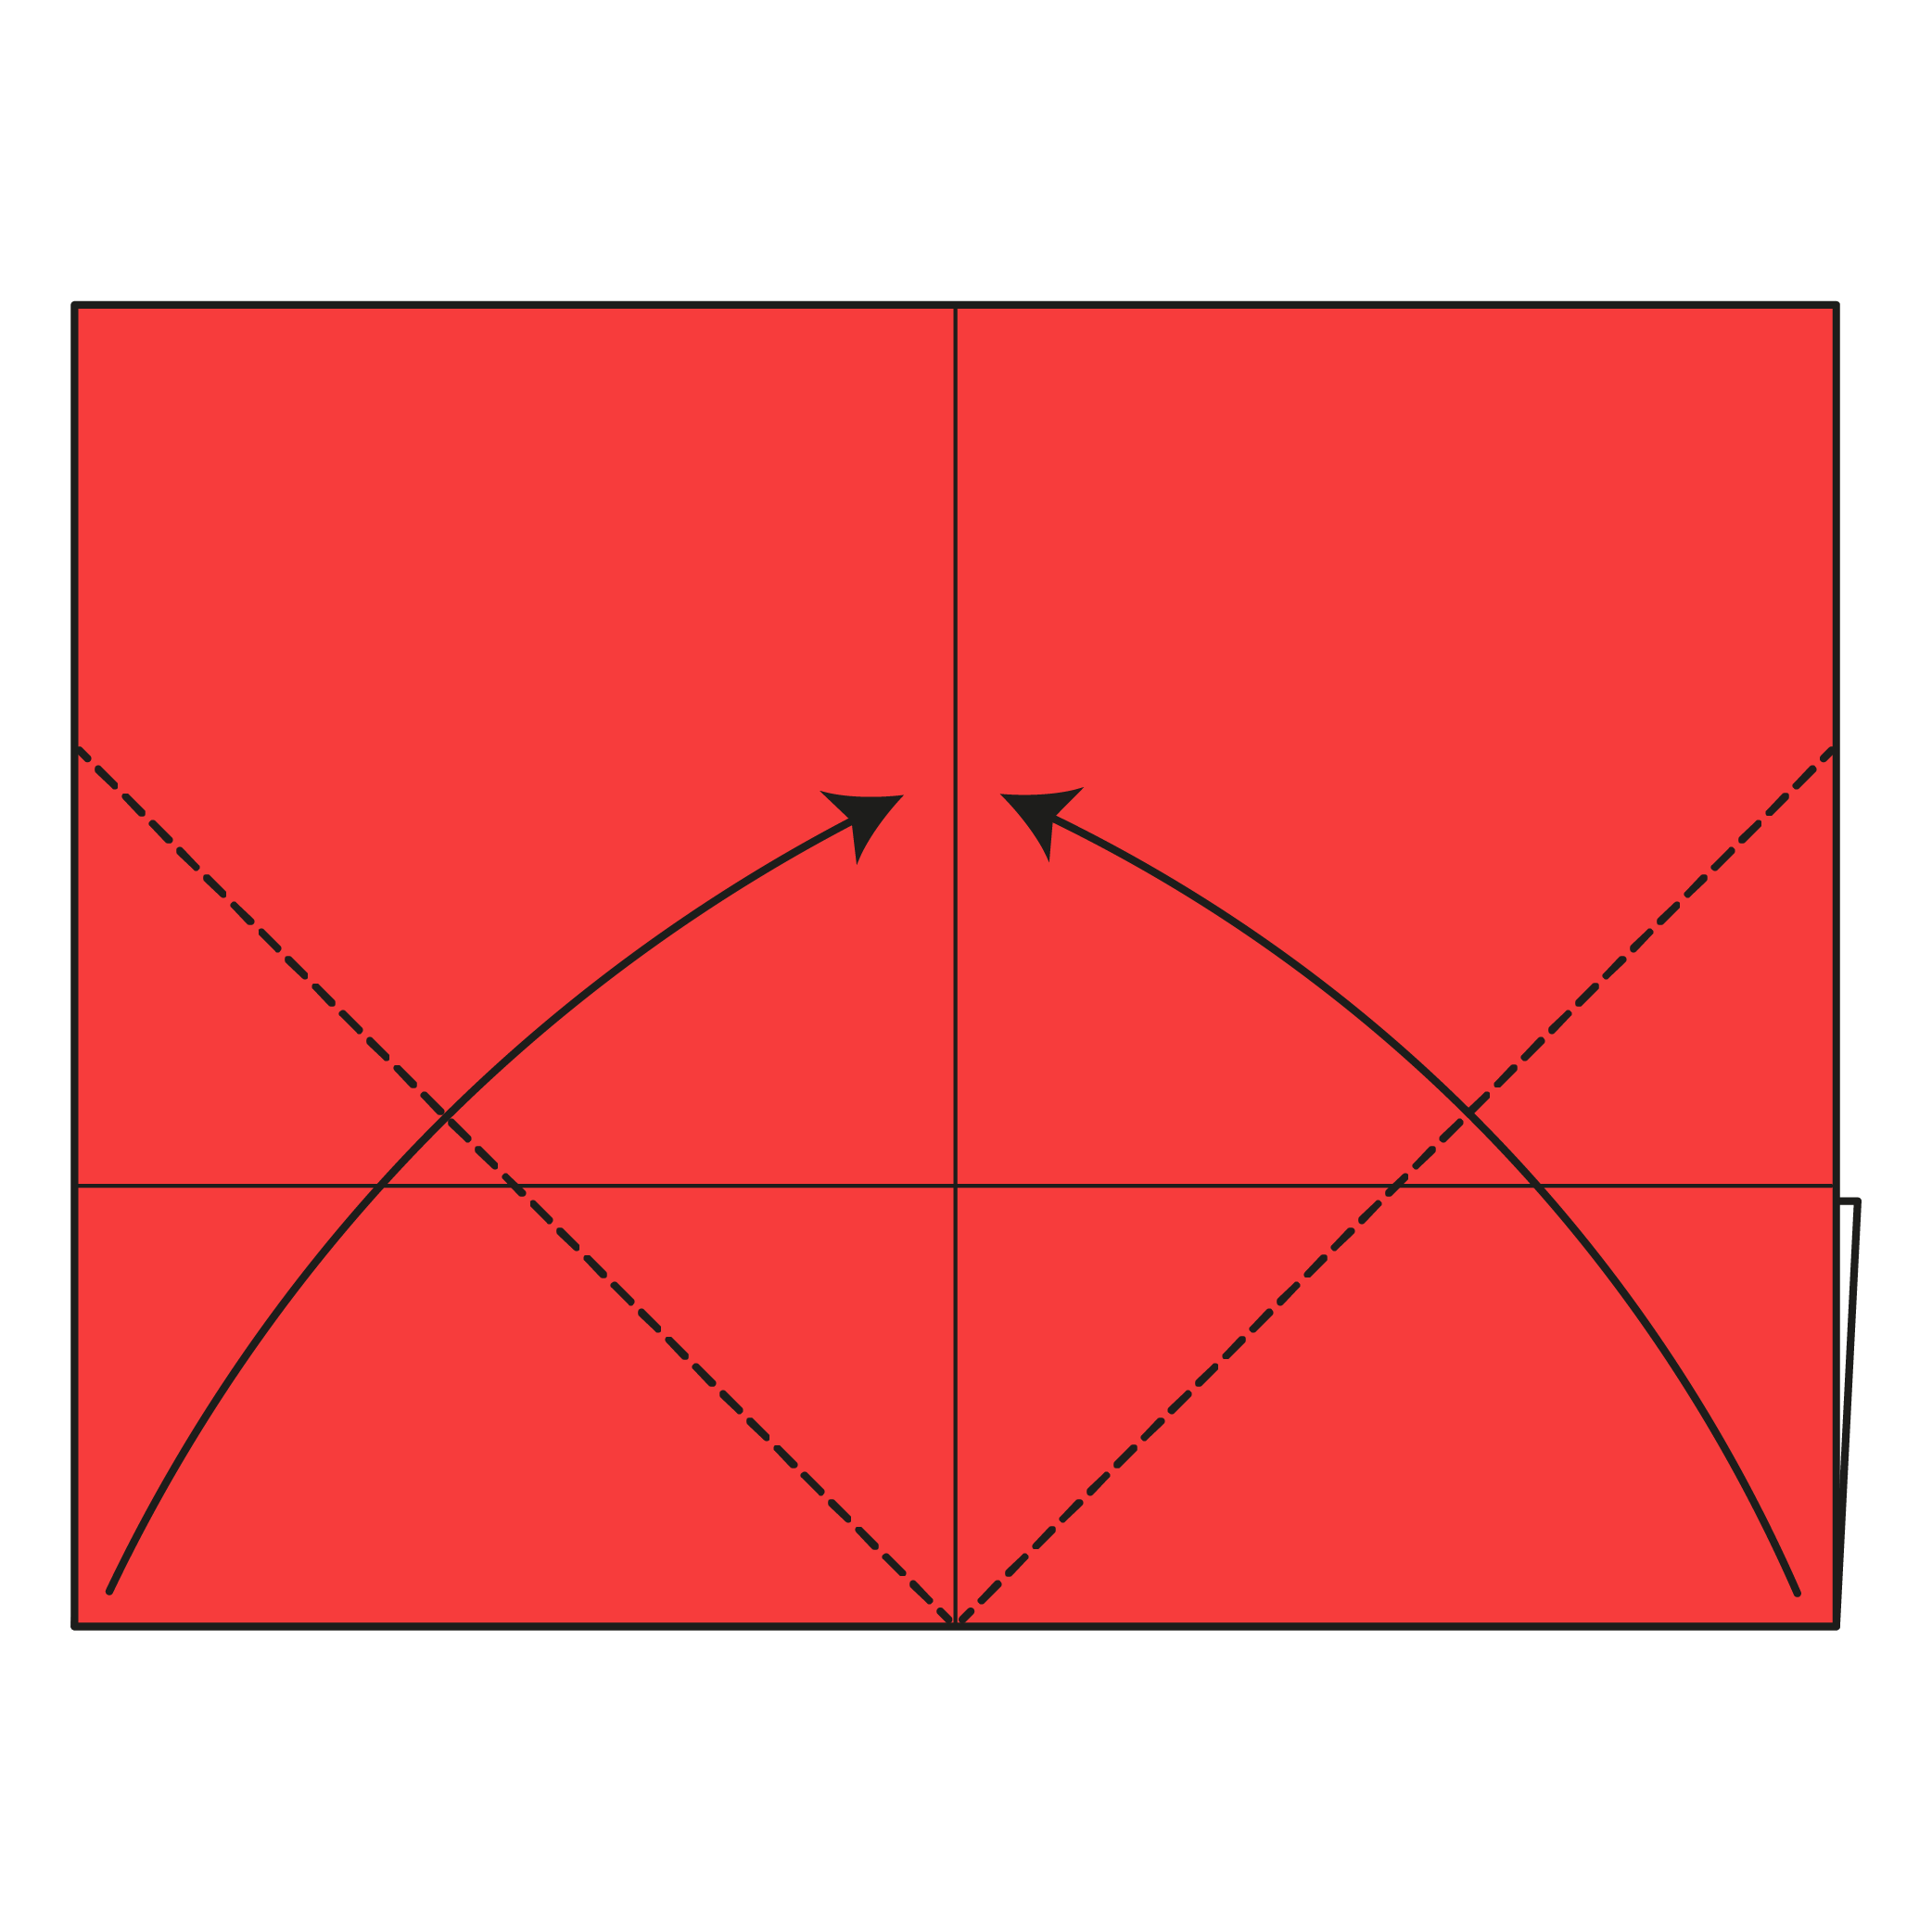
Fold the bottom edges diagonally upward so they meet the vertical center crease.
Step 6
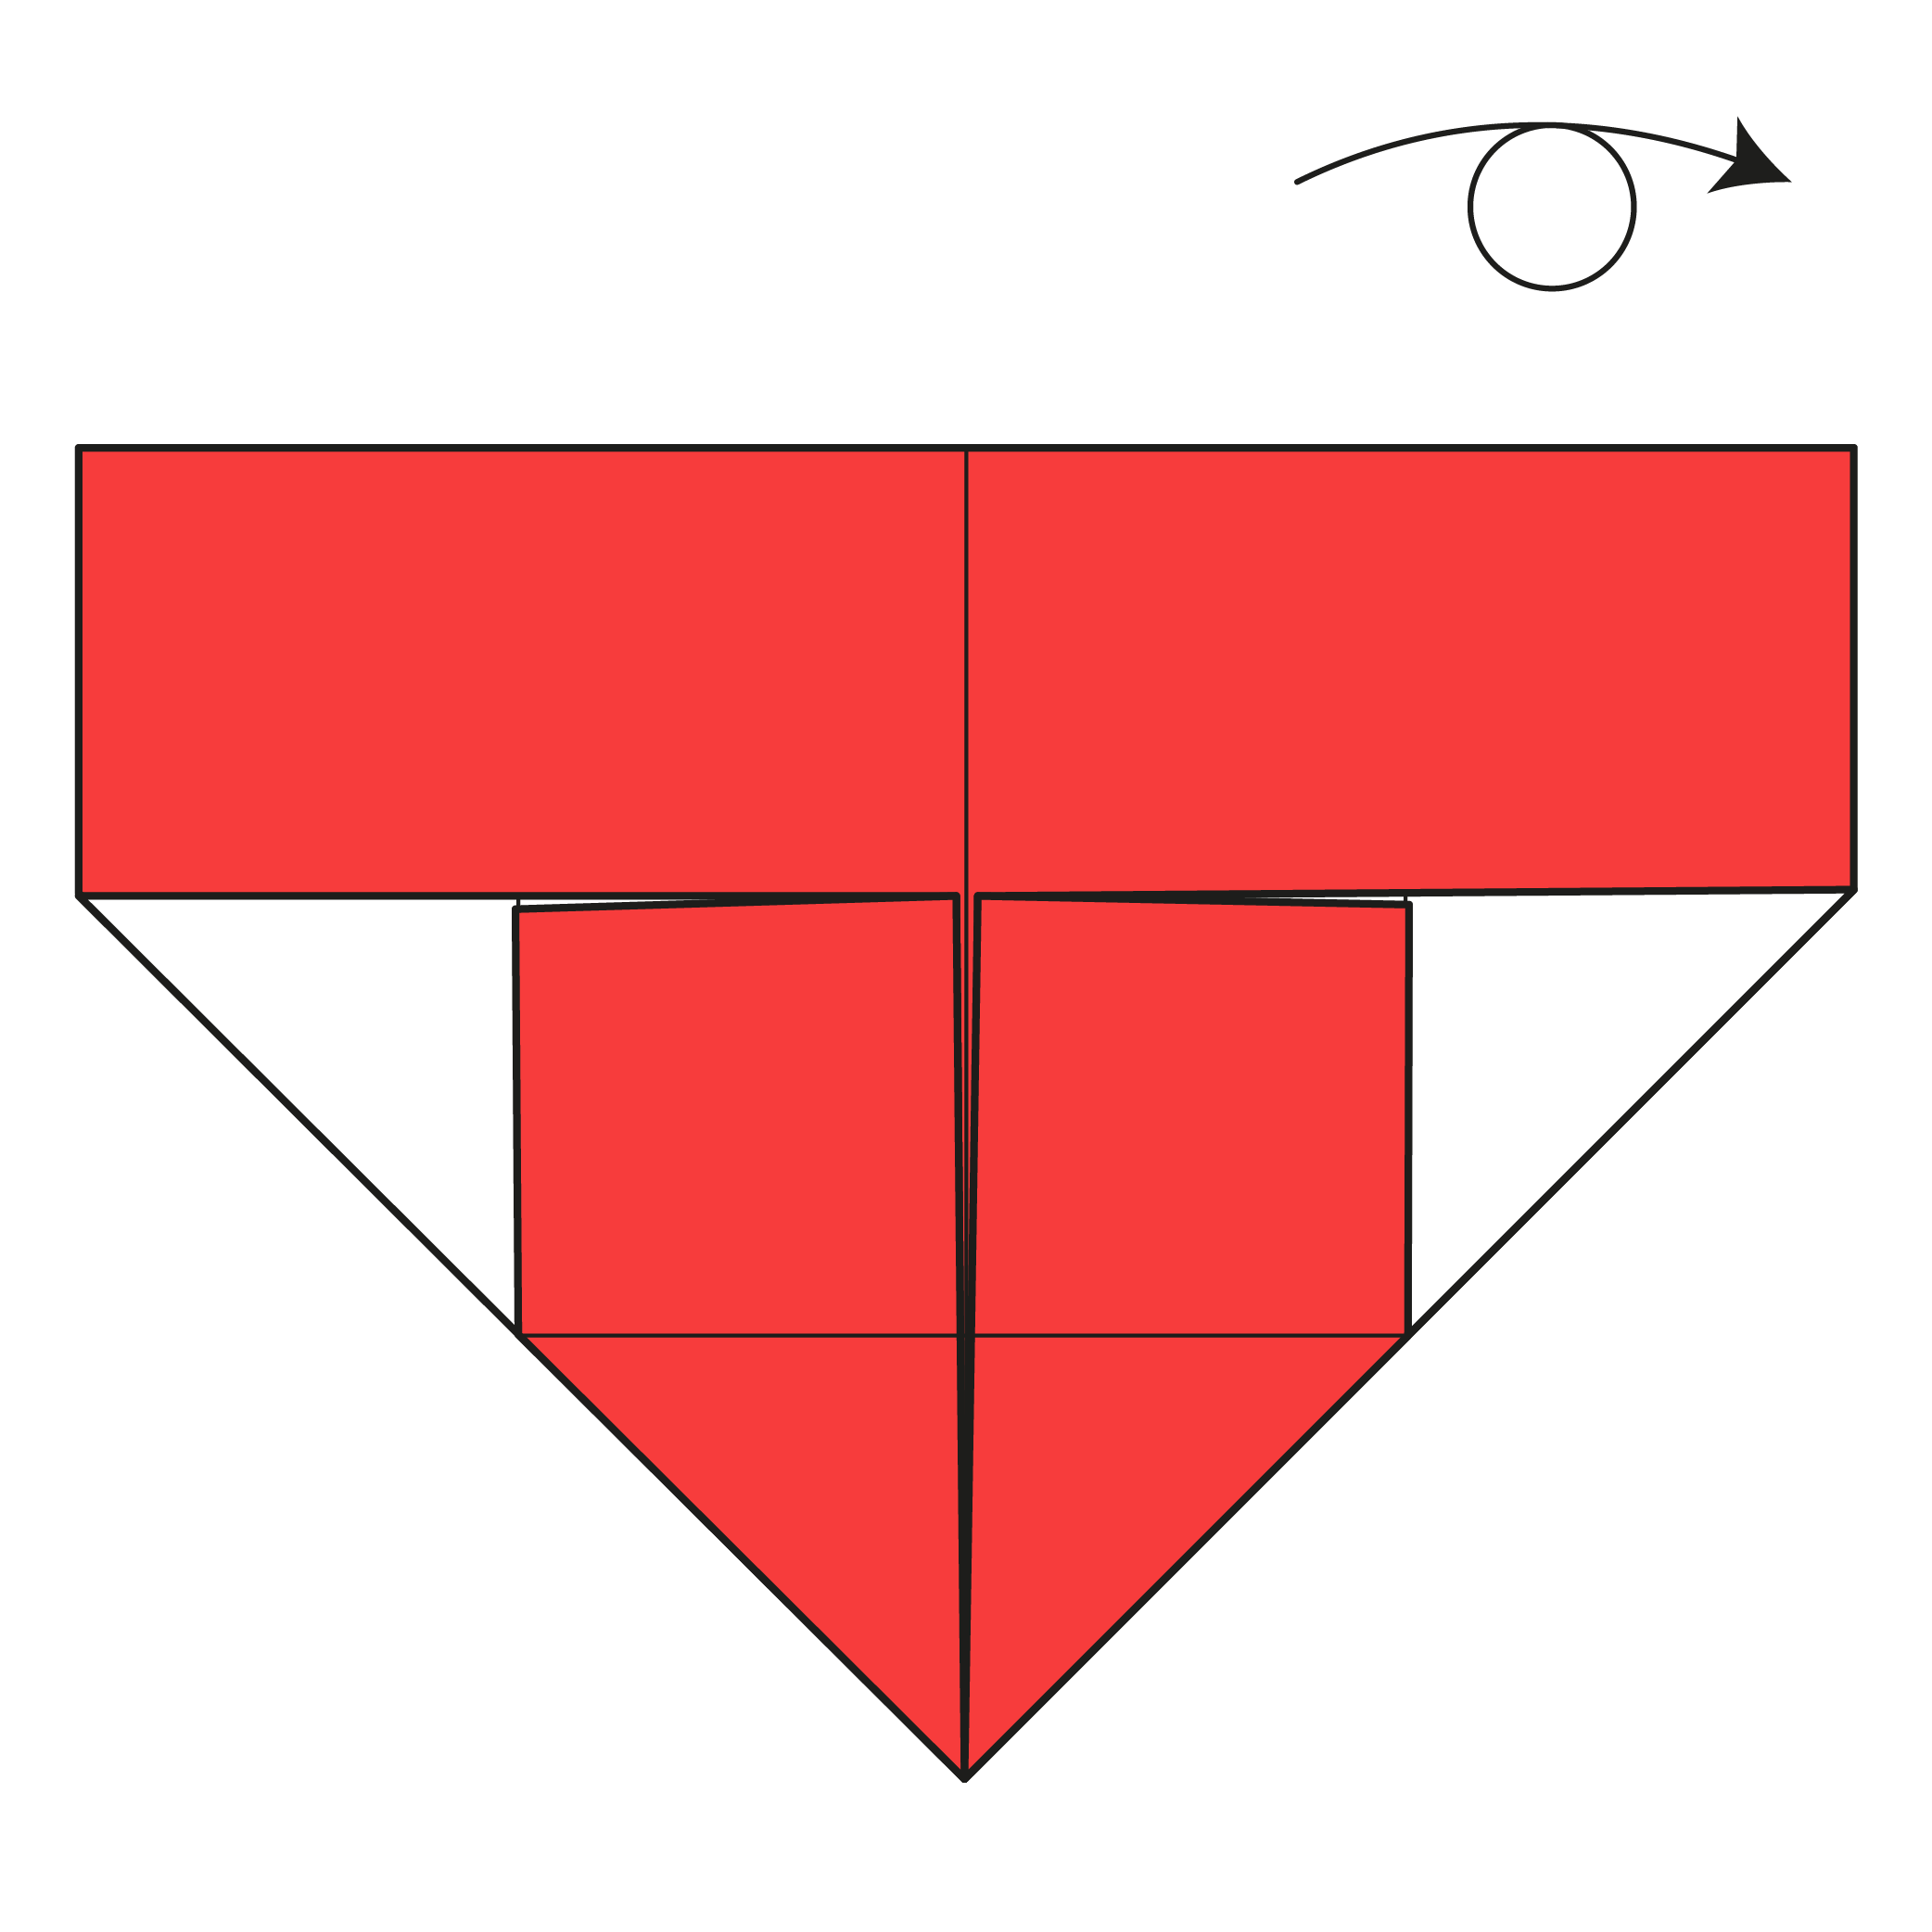
Turn the paper over.
Step 7

Fold the top left edge diagonally downward to meet the vertical center crease. Repeat on the right side.
Step 8
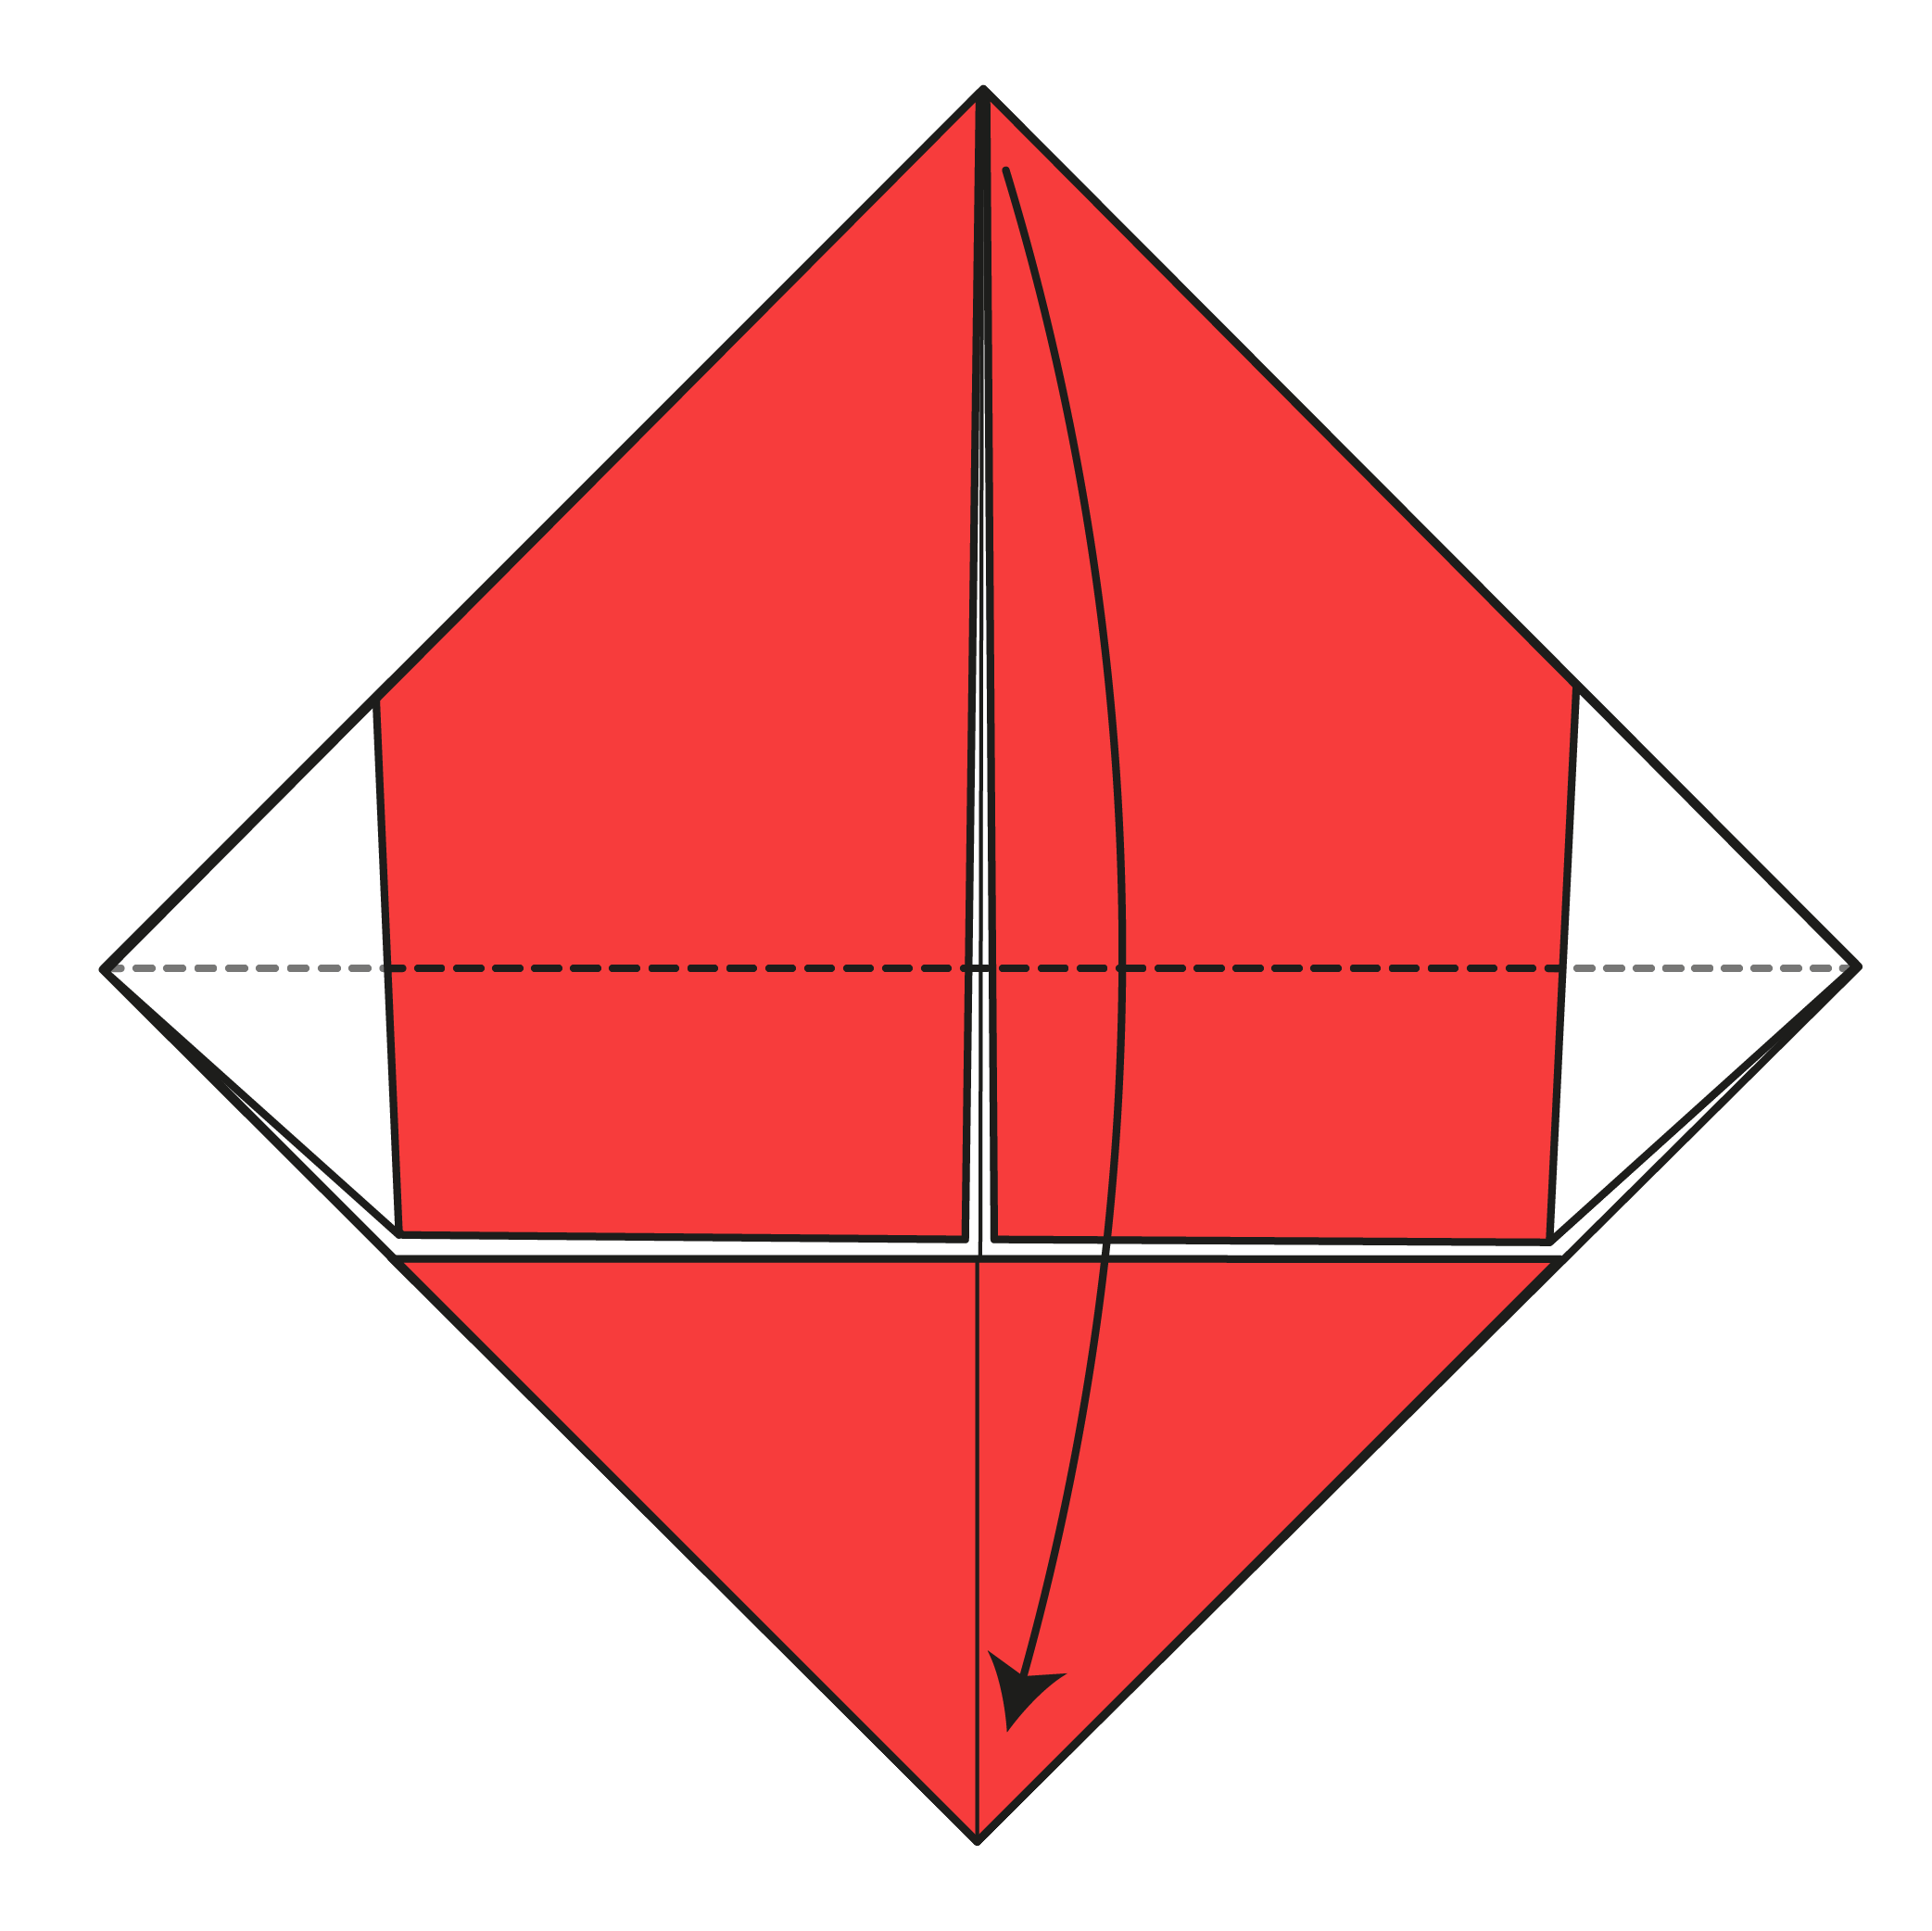
Fold the top flap down, leaving the white triangles on the sides unfolded.
Continue folding the flap down while gently lifting the white triangles to avoid creasing them.
❤️ Folding tip: To keep everything neat, hold the bottom layers in place with your fingers when folding the flap down.
Step 9

Fold the white triangles inward along the dotted lines where the white side and colored side of the paper meet.
Step 10
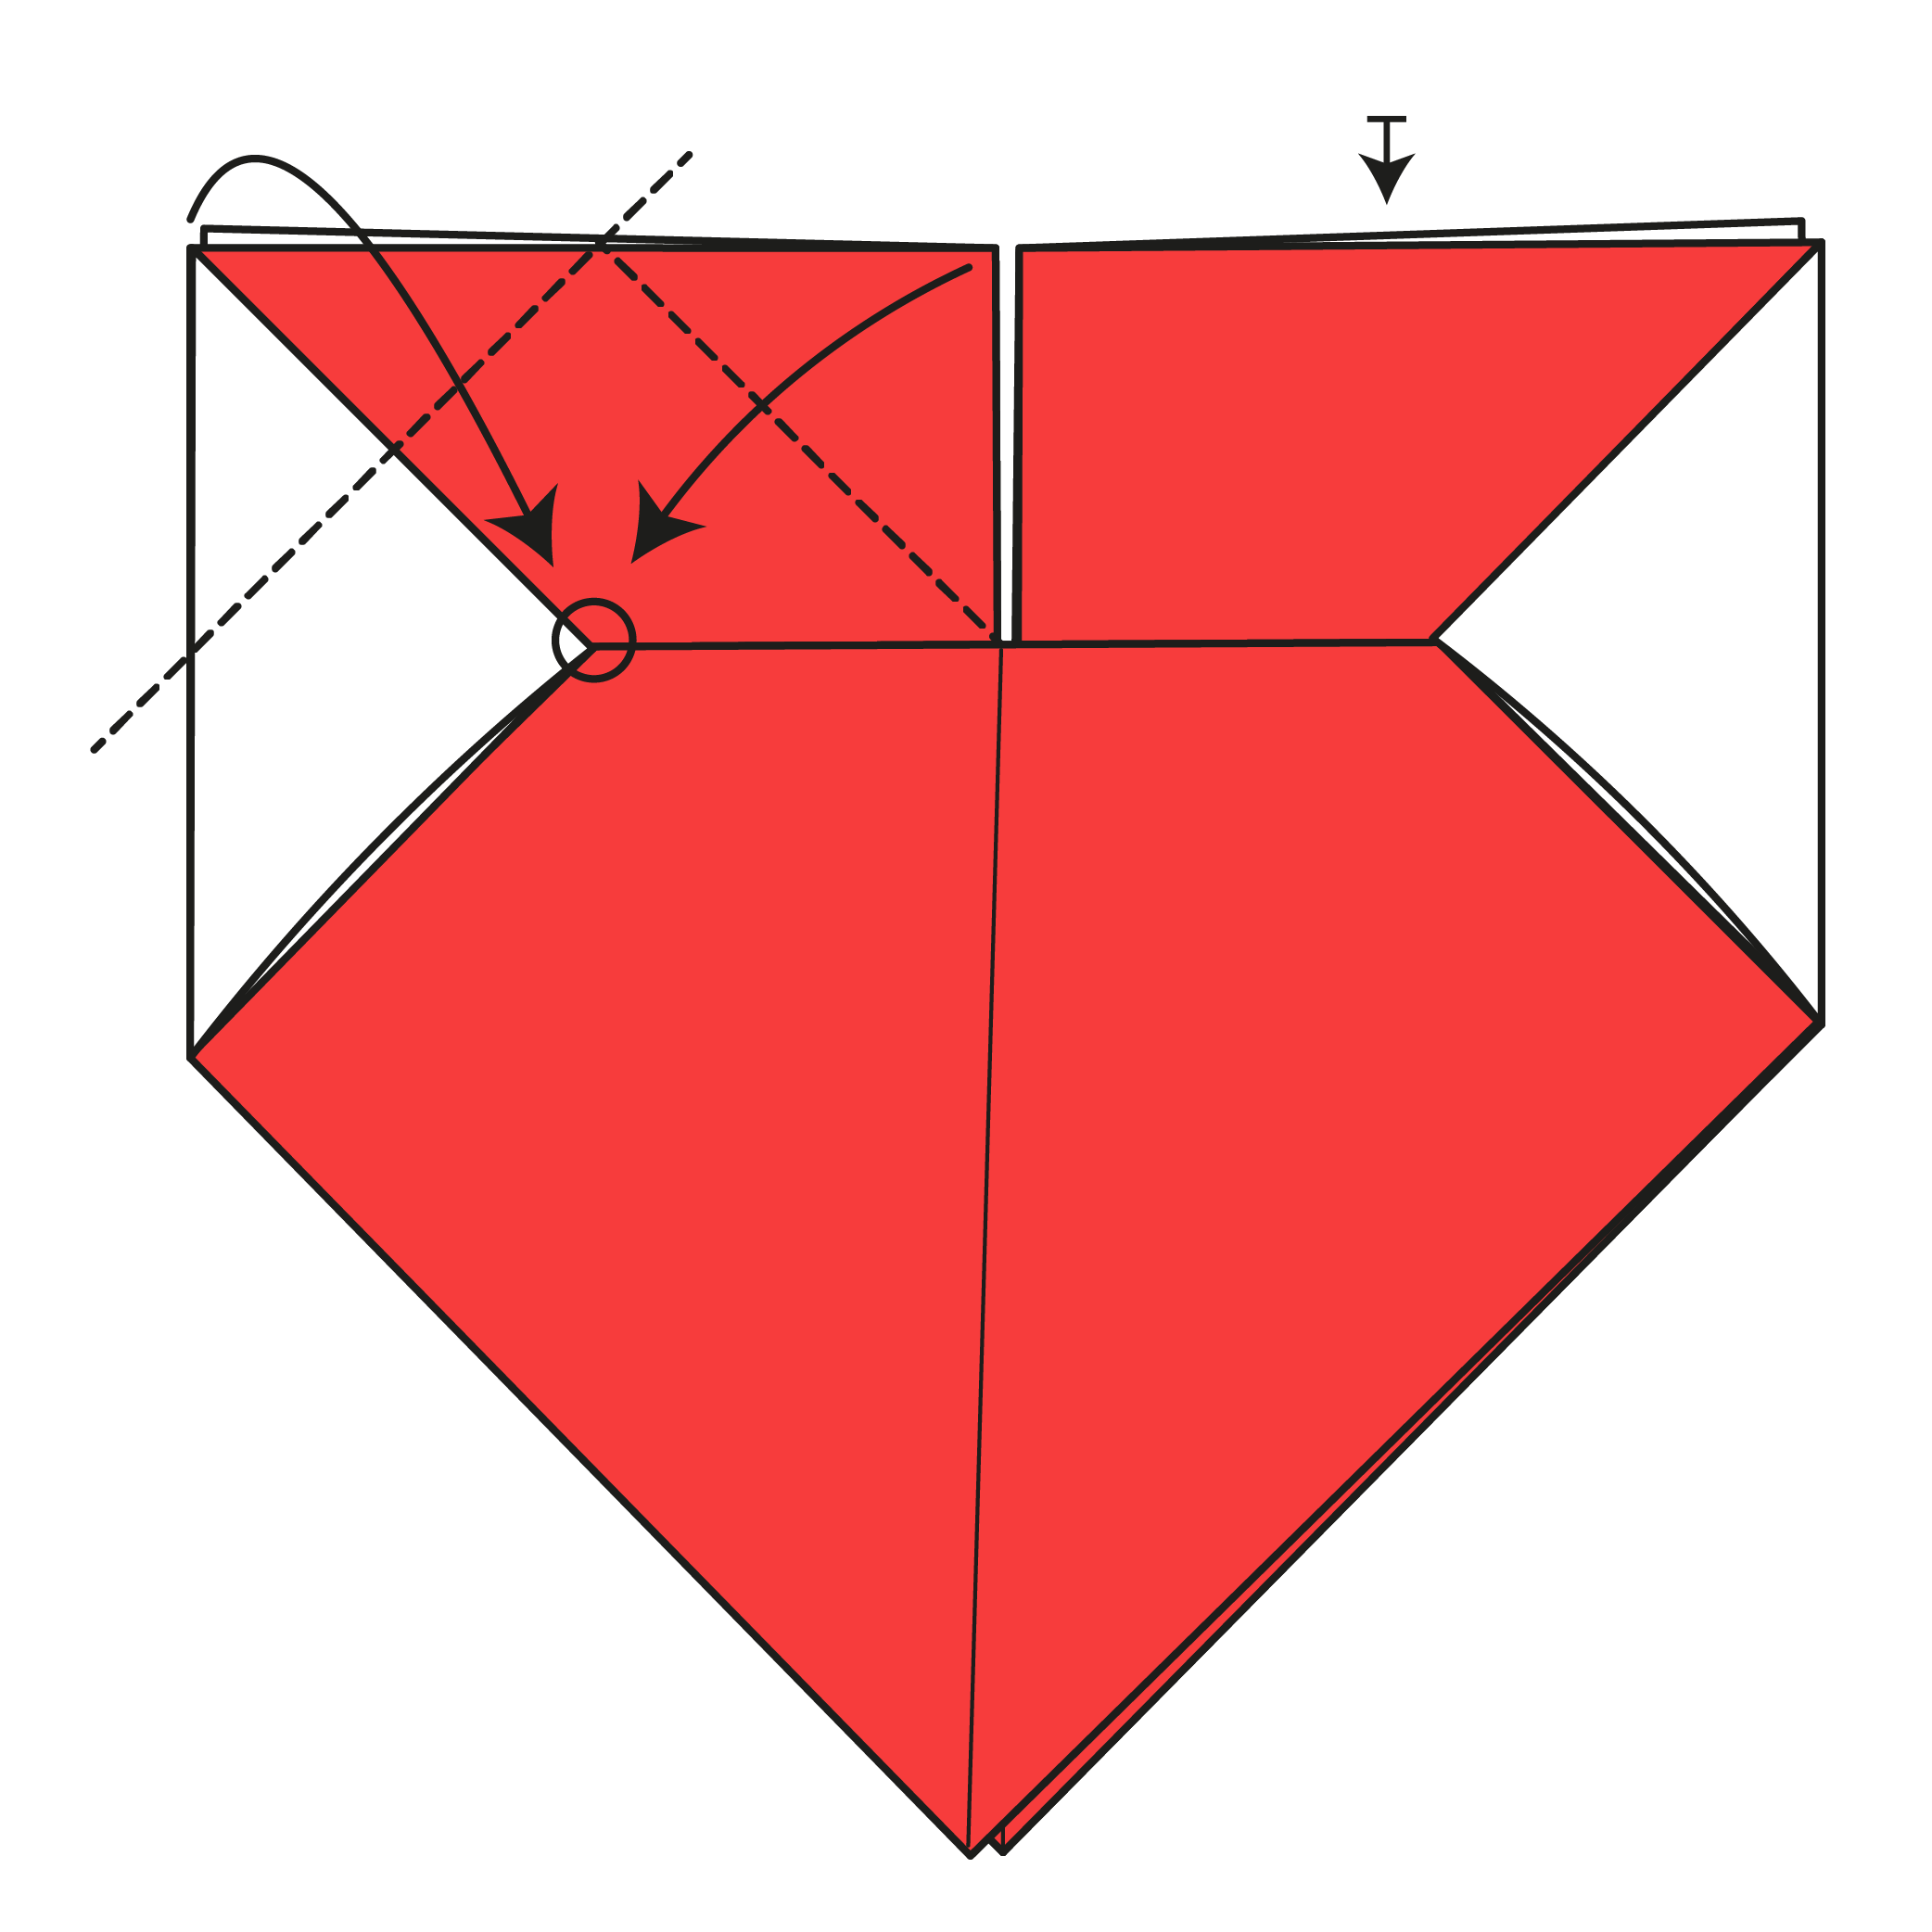
Fold all four top corners downward to meet the crease created in Step 8.
Step 11

Fold the top two corners down along the dotted lines. There are no exact reference points, so fold them the way you like.
❤️ Note: Here, I’m folding slightly lower than shown in the diagram (down to the crease from Step 8). It’s just my preference, so don’t hesitate to fold where it feels right to you.
Step 12

Turn the model over.
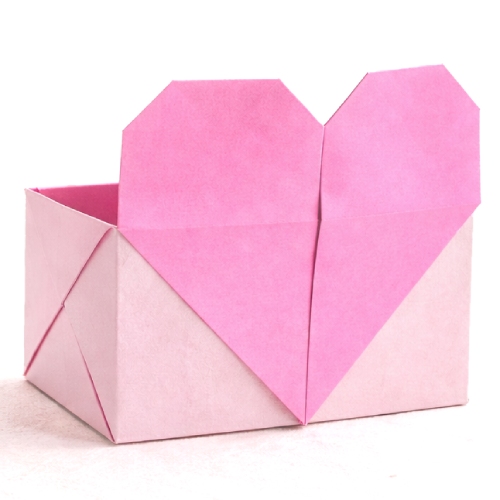
🎉 Your Paper Heart Is Complete!


I hope you enjoyed folding this origami heart and taking a moment to work on something simple and thoughtful. It’s the kind of model that’s easy to come back to and always feels right, no matter the occasion.
If you fold one, feel free to share a photo in the comments. Different papers, colors, and sizes can completely change the feel of this paper heart, and it’s always nice to see how others interpret it.
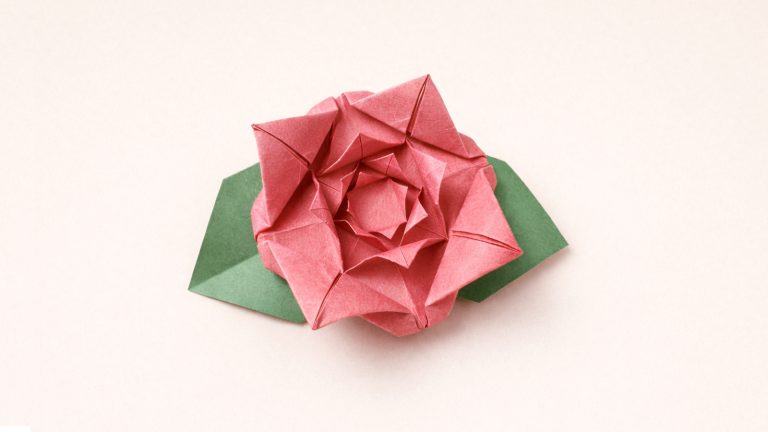
If you’re in the mood for more, you can explore our origami heart collection for different variations, or browse our Valentine’s origami ideas for models made to be shared and gifted.
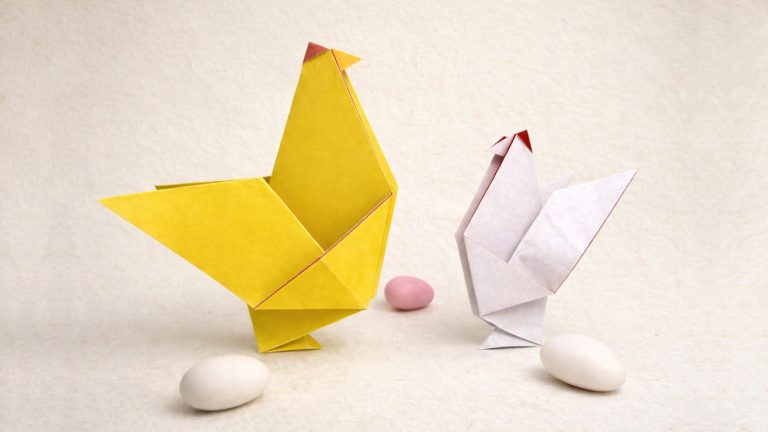
Ready to try something new? Visit our origami hub to explore more models and techniques.
And if you’d like to keep folding with us, don’t forget to subscribe to our YouTube channel and join our newsletter for new tutorials, seasonal ideas, and a steady dose of paper inspiration.
More Origami Heart Ideas


Download the Full Origami Heart Printable PDF
Instructions
We’d love to keep you in the loop, so by sharing your email with us, you’ll be signed up for our mailing list. Don’t worry; we won’t bombard you with spammy emails, and your information is safe with us – we won’t share it with anyone else.
Watch the Origami Heart Video Tutorial
Enjoyed this tutorial?
Subscribe to our YouTube channel for new inspiring origami videos every week!


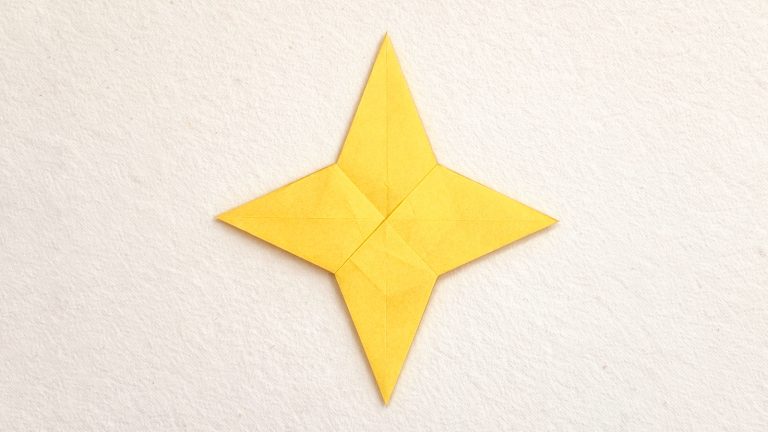

I wasn’t able to get it right for some reason 😞 but Ur website pretty nice my fav origami is the ninja star also since utube doesn’t work on my device(idk why my tab is android version 10) this the best website for me no ads spamming you in the face and all and ITS FREE!!!
Thanks to whoever thought of this (and every single person that has made ideas for this website here’s a smiley face for them and YOU TOO to whoever is reading this comment •‿• )
Thanks so much for your kind message 😊 Really glad the site helps!
And no worries, origami can take a few tries before it clicks. You can always come back to it later.
My school hosted a MINI-THON, and I used your diagram. People LOVED it!